Pears are a fruit that does not ripen very well on trees. To get the perfect pear, take it off the branch and let it ripen on its own. The inside of the pear matures before the outer part of the pear, so a firm pear can still have a soft interior.
Achieving the perfect pear, whether you buy it from the store or pick it from a tree, requires allowing time for it to ripen in your kitchen. Ripening is a crucial step you need to take into account if you plan on canning pears with any success.
A tricky thing to figure out when learning how to can pears is when the pear is ripe. Pears may take five to ten days to ripen fully. The downfall is you have such a small window to use the pear before it becomes too mushy.
Luckily, you can test your pear’s ripeness before you start canning pears. Test for ripeness by using your thumb to push the stem end of the pear. If it has a little give, it is perfect for eating or for canning.
The Ultimate Guide to Canning Pears
Canning is the perfect way to preserve not only your pears, but also a wide variety of other produce varieties. Make canned squash, tomatoes, strawberries, and potatoes with the same amount of effort and enjoy fresh fruits and veggies all year.
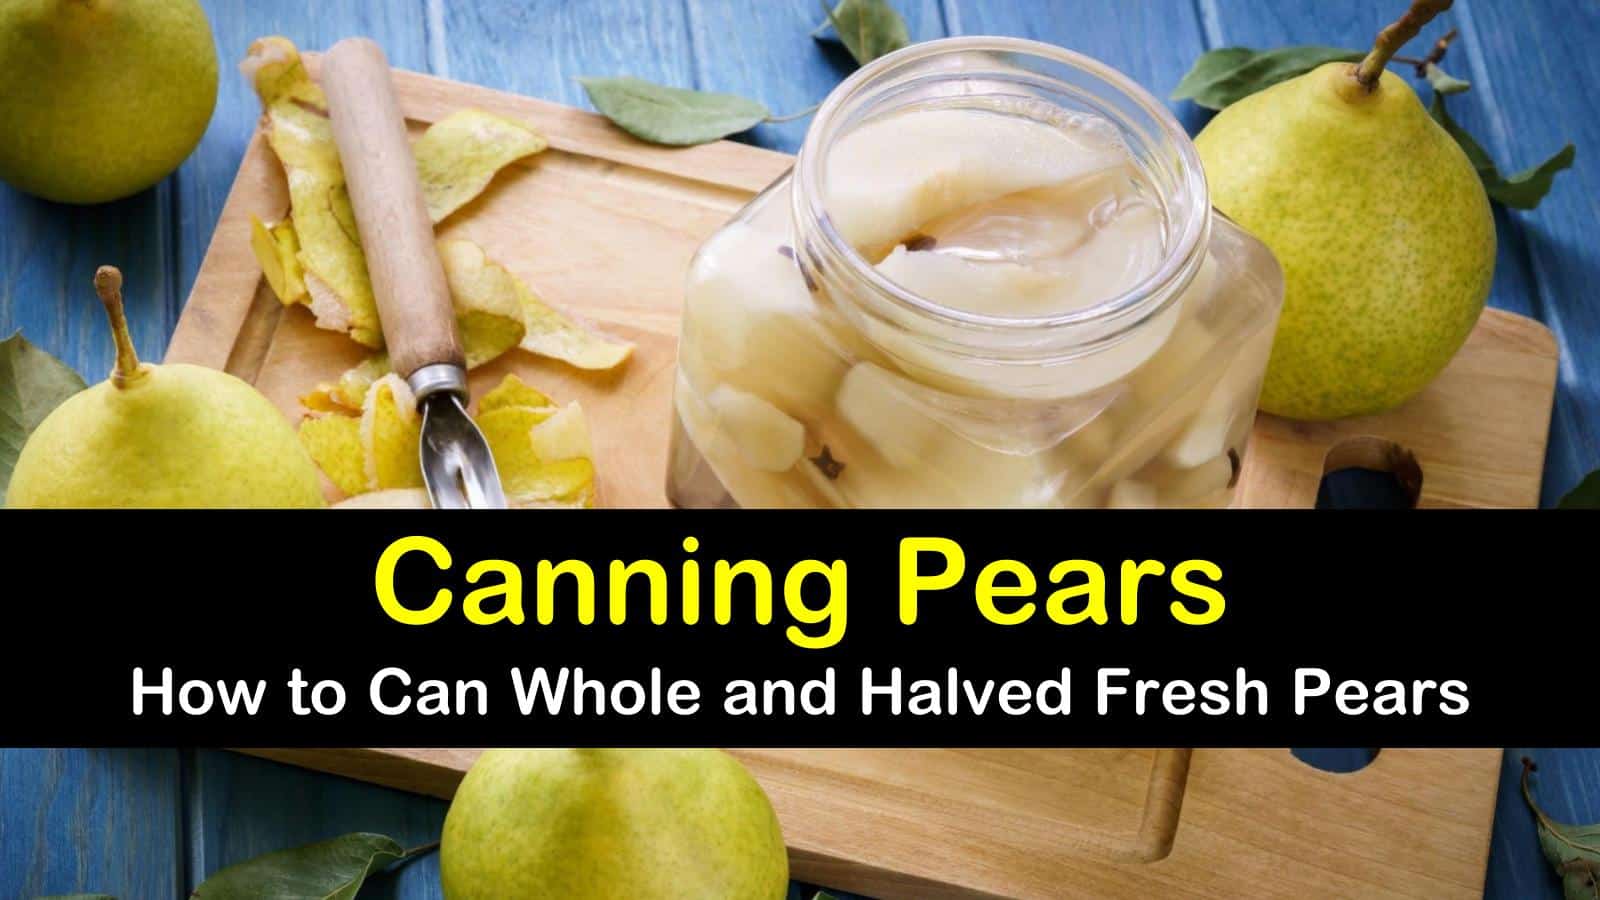
Canning Pears
Everybody knows that pears taste better fresh, but canning them allows you to enjoy them well past their peak season. Canning is not the same as fresh pear, but if you take the time and steps necessary to preserve the color and texture of this delicious fruit, you won’t be able to tell the difference.
Canned pears can be eaten straight out of the jar, but they are also used in cooking and baking. Use canned pears in your next dessert or even to add a sweet bite to your next salad. Learning how to can pears allows you to enjoy them long after the small window of ripeness has passed.
What Pears are Best for Canning?
When it comes to canning pears, the most common variety used is Bartlett pears. The best time to get these fresh is in the first two weeks of September. Pick large fruit that has a smooth appearance.
Bartlett’s are chosen for canning as they are tender and juicy with a buttery flavor. Orcas, which appear in most areas in mid-September, are another excellent choice for canning.

The large fruit is quite flavorful. El Dorado is a medium to large sized pear also used in canning but offers a bumpy surface with yellow-green skin even when ripe. The sweet fruit ripens in mid-October. Asian pears can also be used in canning, but the canning process is a little different.
Before preparing your pears for canning, it is very important to sterilize canning jars that you will be using. You must also sterilize lids and rings. This ensures that you have a safe environment for your canned goods and that they will last and stay fresh until you are ready to open a jar to eat them in a few months or more.
It would be a shame to put up your fresh produce and try to preserve it with containers that are contaminated. The food will go to waste and you will have spent a lot of time on canning for nothing.
How to Can Pears
You can find a variety of recipes for canning pears, but the basics are all pretty much the same. Wash, peel, core, and cut up your pears.
Fruit can be halved, quartered, or cut into chunks; you can leave the peel on if desired. When cutting up the fruit, cut out any brown or mushy parts. Blanching will also remove the skin.
You need Fruit Fresh for canning to prevent it from browning. Sprinkle fresh pears with ¼ cup lemon juice or some Fruit Fresh, which is a natural mixture of vitamin C and citric acid.
Stir gently to ensure the fruit is evenly coated. Others use a solution of 2 tablespoons salt, 2 tablespoons vinegar, and one gallon of water.
Packing pears in either syrup or fruit juice is a necessary step, although there are recipes for packing fruit with water or an artificial sweetener instead of sugar.
Sugar is by far the cheapest option, and you can make a light, medium, or heavy syrup based on your preference. Fruit juice like apple juice or white grape juice is a natural alternative. If you are using an artificial sweetener, stay away from Nutrasweet.
To make light, medium, or heavy sugar syrup, you need six cups of water and some sugar. For a light syrup use two cups of sugar, for medium syrup use three cups of sugar and heavy syrup use four cups of sugar. Bring the sugar water solution to a boil, reduce the heat, and keep syrup hot until ready to use.
Do All Home Canning Recipes for Pears Require Hot Packing?
Every home canning pears recipe calls for hot packing. Neither Ball nor the USDA recommends cold or raw packing pears. Hot packing is not only safer; it also makes it easier to pack the fresh fruit into the hot jars.
With hot packing, there is a lower risk of floating fruit than with the raw packed method. To hot pack your fruit, place pears inside the boiling syrup solution for five minutes and then put into jars.
In a large bowl, mix lemon juice with a ½ gallon of water. Wash, peel, and core your pears and place in the lemon water solution.
Bring sugar and six cups of water to a boil over medium-high heat in a large pot. Drain pears and add to boiling sugar water for four minutes.
Use a slotted spoon to remove pears and put into sterilized canning jars. Allow for 1/2 inch headspace in each jar. Pour hot syrup into each jar, making sure to cover the pears. Secure jars with lids and bands. Process fruit in a water bath canner for 25 minutes.
Canning Pears with No Sugar
Canning pears with no sugar is very similar to canning pears with sugar or fruit juice. Prepare the pears. They need to be soaked in a lemon juice bath for three minutes to prevent browning and then packed into jars.
Boil the water and then pour hot water directly over the packed fruit. Leave ½ inch headspace — seal jars with lids and bands before processing in a water bath canner. Processing time for quart jars is 30 minutes, and pint jars are 25 minutes.
Spiced Pears Canning Recipe
Recipe with canned pears range from plain to spiced and everything in between. This recipe delivers a wonderfully spiced pear that makes an excellent topping for cakes and ice cream. Spiced pears make a superb pear butter for toast or rice cakes.
Prepare your pears to prevent discoloration. Inside a three-gallon pot, pour in vinegar and water. Add sugar and spices and stir well. You can use ground ginger but the taste will be much more pronounced if you use preserved ginger that either you or a friend stored. Just make sure to cut the ginger pieces very small – minced is best.
Put prepared pears in the vinegar solution. Over medium-high heat bring to a boil before reducing heat to low. Simmer on low until pears are tender.
Remove all pears from the syrup and set aside. Pour a ¼ cup of sugar syrup into hot jars, add fruit and 3 whole cloves. Fill remaining space in jar with more syrup.
The liquid should be within a ¼ inch of the rim. Remove air bubbles, wipe rims, and secure with lids and bands. Process jars in a boiling water canner for 20 minutes and then remove and tighten bands. Turn upside down until cooled.
Canning Pears with Honey
If you want to add a touch of sweetness to your pears that will bring out their natural flavor, try using a honey syrup.
Prepare your pears and allow them to soak until ready in your Fruit Fresh and water solution. You can also substitute lemon juice for Fruit Fresh. In a saucepan, add honey, lemon juice, water, and apple juice and allow to come to a simmer over medium heat. Add pears to honey syrup and heat for 5 minutes.
Place a cinnamon stick into each Mason jar. Pack hot pears into each jar, leaving a ½ inch of headspace. Pour hot syrup over pears, remove air bubbles, wipe rims, and secure with lid and band. Place filled jars in water bath canner or pressure canner and process accordingly.
You can use some of these same ingredients for making a tasty applesauce recipe for canning, too. Cinnamon adds a nice touch to your applesauce and gives it some added flavor. Other spices you can add to pears or applesauce include cloves, nutmeg, and even ginger. Step up your canning game by adding a little touch of the exotic to your jars.
Helpful Canning Tips for Pears
Fruit will float towards the top if the syrup is too heavy, any air remains in the jar, or if packed too loosely. To prevent floating use a light or medium syrup in place of the heavy syrup. Fruit should be packed tightly into jars, but avoid crushing the fruit.
If the fruit isn’t submerged in liquid, it may darken in color while being stored. To prevent unnecessary fruit darkening, remove air bubbles from liquid, as well as any trapped air bubbles.
A knife or spatula run around the pears inside the liquid removes trapped air bubbles. Tipping the jar slightly and pressing the knife or spatula into the fruit gently also aids in air bubble removal.
As with water bath canning tomatoes and other fruits and vegetables, pears can be canned in a pressure canner or a water bath canner. It’s important to follow the USDA guidelines for the proper amount of canning time for each individual type of produce.
For water bath canning pears, water needs to be one inch above the top of the tallest jar and processed for 20 minutes. For pressure canning, use either a dial-gauge or a weighted gauge canner.
If using a dial-gauge pressure canner, the pressure depends on altitude, but the processing time is 10 minutes. For a weighted-gauge pressure canner in elevations less than 1,000 feet, you need 5 PSI for 10 minutes, while above 1,000 feet you need 10 PSI for 10 minutes.
After jars have cooled, check each jar for a proper seal. Lids should not flex when pressed in the center. If caps do flex, either process again or place in the fridge to keep fresh.

Thank you for learning about how to can pears. If you found our canning recipes or tips useful, please take a minute to share our pears canning tips with others on Facebook and Pinterest.