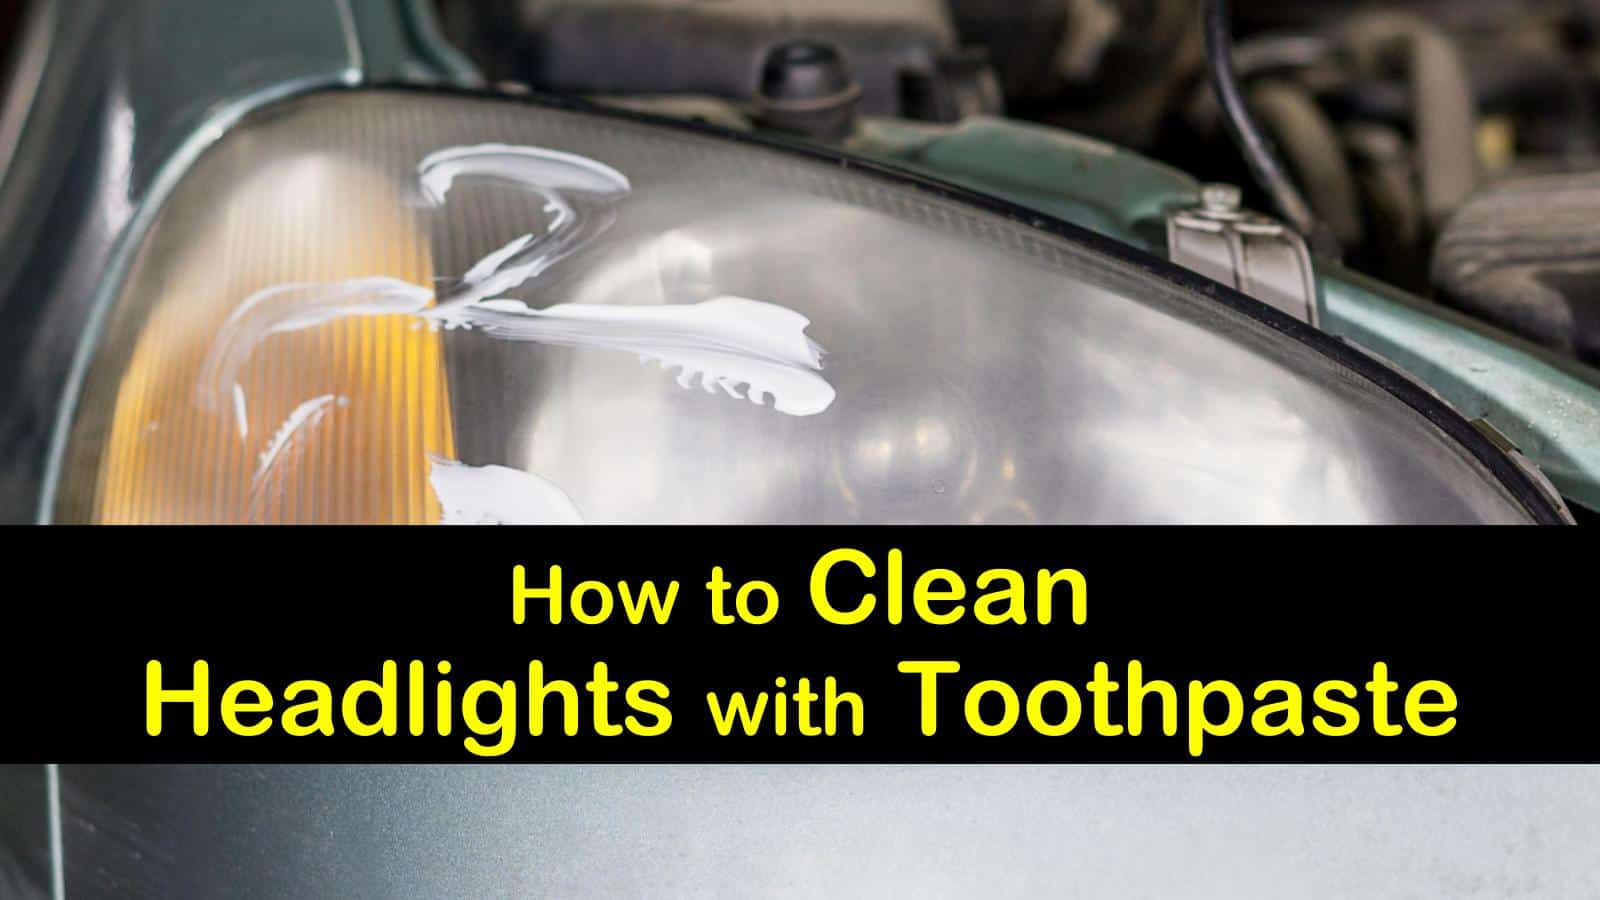
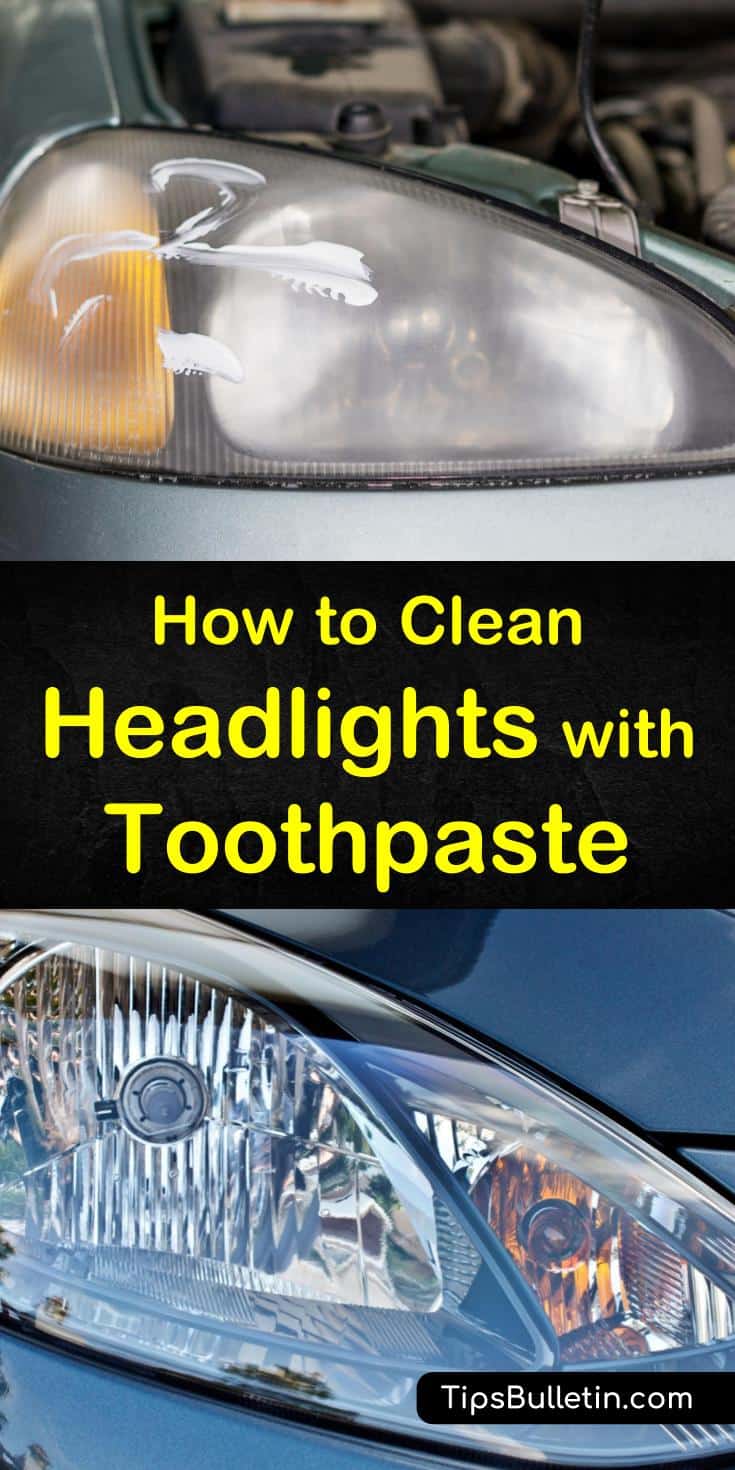
It can be a pleasant experience to drive a car at night, but not when the headlights get foggy. Modern cars no longer use glass headlights but instead use polycarbonate for added safety, and they can fog up over time and with sun exposure. Cleaning headlights with toothpaste can clean foggy headlights and leave your light bright and beautiful.
Knowing how to clean car headlights will make your evening drives safer and more enjoyable. This guide looks at how to clean headlights with toothpaste and gives you an in-depth guide so that you can get your car looking pristine.
We show you how to prepare your car for the cleaning, and you’ll also get a step-by-step layout of the headlight cleaning process so that your vehicle continues to perform well all year.

How to Clean Headlights with Toothpaste
Whenever you embark on a task such as cleaning headlights with toothpaste, you first need to make sure that you’ve got your ducks in a row. An effective homemade car headlight lens cleaner starts with the prep work; having a well-considered preparation strategy is vital to quality cleaning that lasts for months rather than just a few days.
When you know how to get your headlights ready for cleaning, the task is more straightforward, and the outcome is better. Prep work is vital to ensure a thorough cleaning afterward.
Preparing to Clean Car Headlights
This section looks at how to get ready to use toothpaste to clean car headlights. We’ll cover how to wash your headlights before the deep cleaning. You’ll get a first-rate education in how to tape your lights ahead of the headlight cleaner so that you don’t wind up cleaning paint off part of the car body by mistake.

Wash and Dry Your Headlights
Before you find out how to clean headlights with toothpaste, you need to get your car ready for the big cleaning. To do this, you’ll need to start with a little pre-wash. A pre-wash removes the layer of grease, grime, and soot build up that coats your car.
Once you’ve got the car washed up, it’ll be ready for taping. This moment is also an excellent time to clean the car’s interior. You can make an outstanding do it yourself car upholstery shampoo out of vinegar and other DIY cleaners.
Add dish soap to the bottle of water. Open headlight covers and spray the headlights thoroughly. Scrub both headlights with sponges or a clean cloth until they’re squeaky clean, and then rinse them off.
Dry them with a clean microfiber cloth or other lint-free cloth. Spray glass cleaner on the headlights, and dry them. This method is also the best way to clean car windows.
Tape Your Headlights
When you start cleaning headlights with toothpaste, any car paint you touch with the toothpaste can discolor or even rub away. Toothpaste will cut through car wax and polish in a hurry, so tape any areas around the headlights to protect them. A proper taping protects your car’s body and leaves only the headlights for polishing.
Don the gloves to avoid getting oil on the headlights. Use the tape to create a border around your lights and cover the car body and paint. It’s essential not to use a stronger tape such as duct tape or electrical tape when you tape up your headlights because you might remove car paint when you remove the tape.
How to Clean Headlights with Toothpaste
Now that the headlights are taped and washed, you’re ready to start your toothpaste cleaning. Toothpaste works wonderfully on plastic lights and cleans away the fog. With a quick toothpaste cleaning, your headlights will look as clear and bright as the day you drove the car off the lot.
Here we’ll cover the steps you’ll take while you clean car headlights with toothpaste. You’ll get a blow-by-blow account of the cleaning process, including toothpaste application, cleaning and tape removal, and the final sealant application. When you finish this section, you’ll be ready to clean every headlight you encounter.
Apply the Toothpaste and Polish the Headlights
We’re at the big cleaning step that will bring your headlights back to like-new condition. Use a non-gel toothpaste for this method to work, and you should avoid toothpaste with added sparkles or colors. Plain old white toothpaste is a mild abrasive.
It’s like gentle sandpaper and will do just fine to clean the plastic with the same action it uses for whitening your teeth. A toothpaste with added baking soda is even better.
Bug spray with DEET will also work, but it does so by melting the headlight plastic instead of cleaning it. A headlight restoration kit found on Google will also do the same job with a polishing compound for a higher price.
Apply a blob of toothpaste about the size of a penny to the center of the headlight. Rub the soft cloth with circular motions to spread the toothpaste across the headlight. You only need a little toothpaste for it to work.
Keep scrubbing in a circular motion, and put some elbow grease behind your work. You’re sanding the plastic and need to give a little effort to clear up the headlights. Scrub the corners and crevices with an old toothbrush. The plastic should clear up after a few minutes of buffing.
If the toothpaste doesn’t work, and your headlights are still foggy or grimy, you may want to learn how to clean headlights with bug spray to see if that will help. Bug spray contains surprising ingredients that work well to shine your headlights to almost-new condition.
Rinse the Headlights and Remove the Tape
Your headlights are clean and no longer foggy, so it’s time to rinse away the toothpaste and get your lights ready for driving again. Rinse off the headlights using a bucket of warm water, and follow that up with a good soaking with a garden hose. Rinse until you’ve cleaned away all traces of toothpaste.
Once you’ve cleaned off the toothpaste, remove the tape. Pull the tape off carefully; even though you’re using specially designed tape, you can still pull away paint if you’re not careful and yank too hard. Dispose of the tape, and put away the cleaning gear.
Seal the Headlights with UV-Resistant Sealant
Your foggy headlights got that way because of the way the sun interacts with plastic. Plastic headlights undergo chemical reactions thanks to UV rays, and the result is a foggy layer blocking your lights and yellowing lenses. A UV-resistant sealant can protect your headlights and delay that chemical reaction.
Wet the paper towel with the sealant, and wipe it on the headlights. Make sure to cover them completely, and only apply a single coat. Leave the car with the headlamps exposed to the sun.
The sealant will react with the sun and cure over an hour or so. Don’t wash the car for at least eight hours to ensure that the sealant has a solid start. Repeat the toothpaste method and sealing process every three months as needed.
We hope you enjoyed taking a look at how to clean headlights with toothpaste. Your modern car is a beautiful and comfortable way to get around, but plastic headlights can lead to foggy headlight lenses and murky driving lights at night. Our guide takes you through the entire cleaning process and shows you how to get your headlights back to mint condition using toothpaste.

Thank you for checking out this clean car headlights guide. If you thought our tips on cleaning headlights with toothpaste were helpful, we’d love it if you’d share these suggestions on how to clean headlights with toothpaste with your family and friends on Facebook and Pinterest.