Headlights are a vital part of any car, so it is essential to find the best headlight lens cleaner. Not only are they needed for night driving but they are also useful on rainy, misty, or foggy days as they help others see you. Over time, you will notice your headlights aren’t as bright as they used to be.
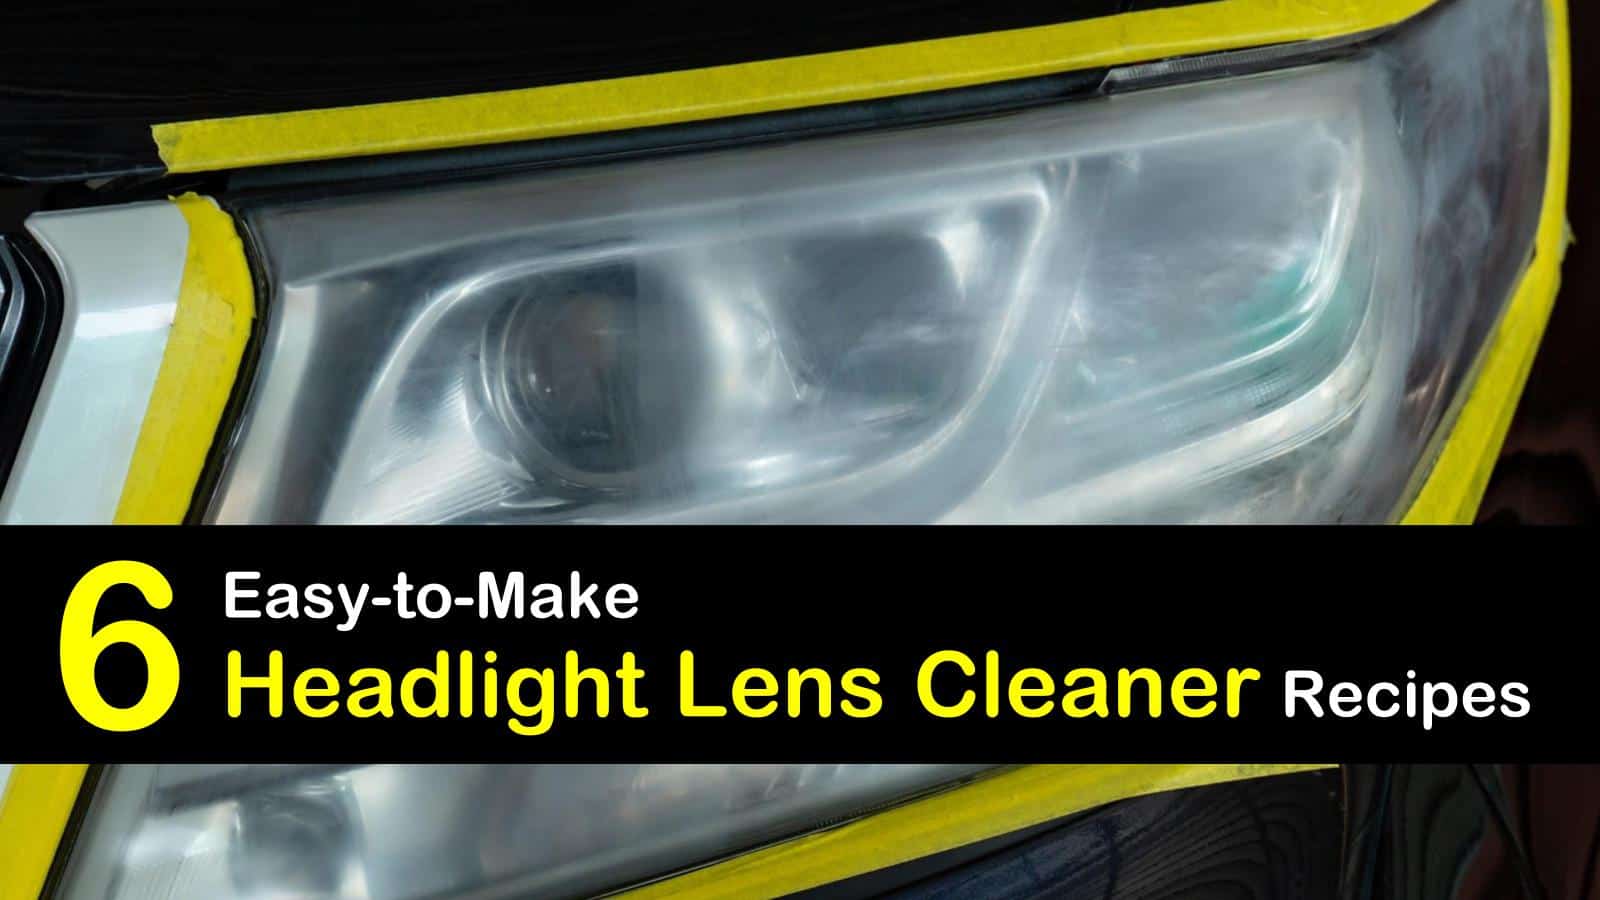
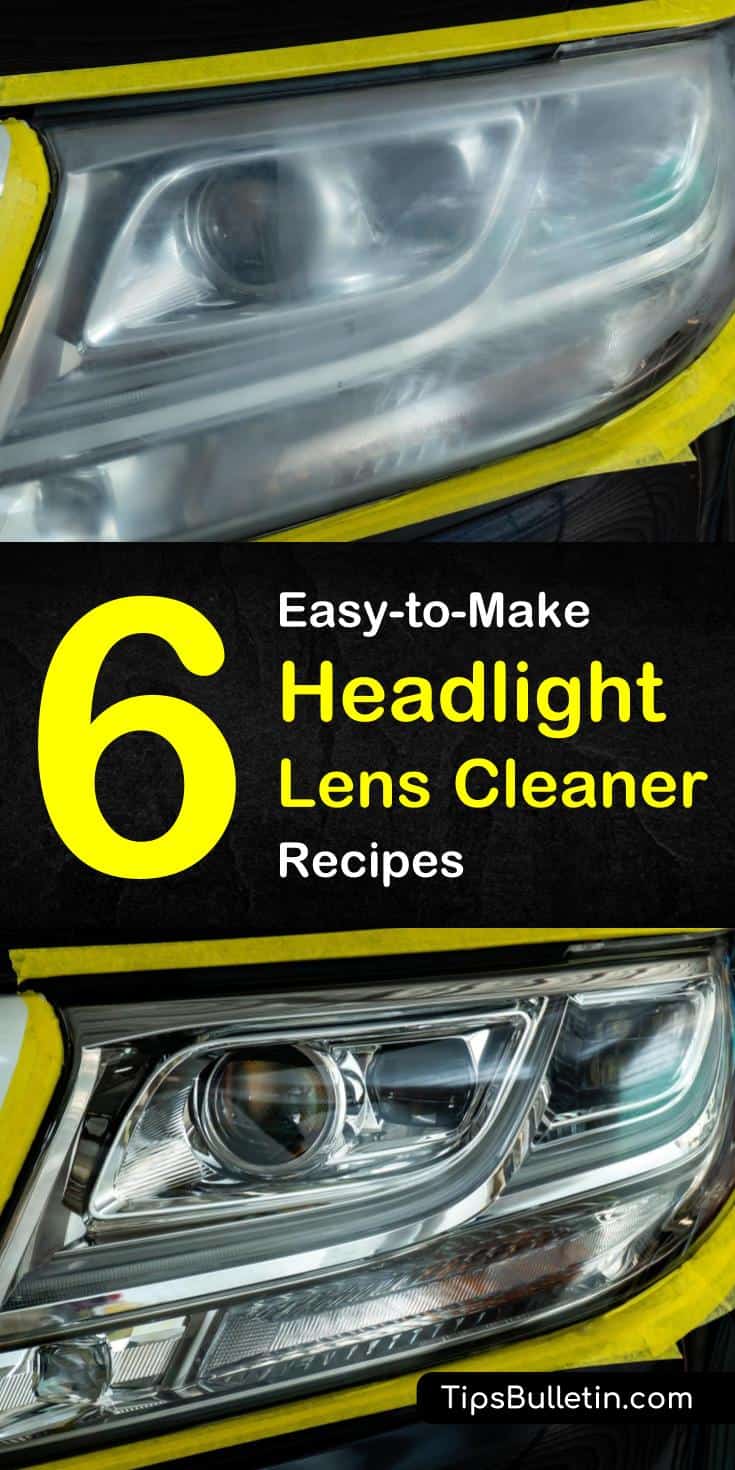
You can try buying new headlight bulbs, but that’s not necessary. No matter how good your car care routine is, the plastic lenses on your headlights will start turning yellow or look cloudy or foggy. Dirty headlights create a couple of problems for drivers.
The first problem is that it reduces a driver’s visibility as the light output is no longer being diffused adequately onto the road. The other problem is that it can potentially blind oncoming drivers as the light is projected up at a higher level than usual. Rather than buying new headlights, learn how to clean headlights instead.

Best Cleaners for Foggy Headlight Lenses
Use a headlight restoration kit or a headlight renewal kit to get your headlights looking brand new again. These headlight restore packages can be found at your local auto parts store and are designed specifically for clearing up dull, foggy headlights, but they can get rather pricey.
Your other option is to use household items to create a headlight lens cleaner that provides fantastic results with all brands of headlights, including Toyota.

How to Clean a Headlight Lens with Dish Soap and Toothpaste
Soapy water is the best way to clean just about anything, including foggy headlights. Dish soap alone will get the lens clean, but you may need a little extra something to shine up those cloudy headlights.
Begin by mixing water and dish soap to create a soapy water solution. Use a clean rag to apply the suds to the headlights and wash in a circular motion. Washing headlights with soap and water will remove dirt and grime build-up, but to get an even better clean, rinse headlights with a power washer cleaner.
Using regular toothpaste rather than gel toothpaste, apply a layer of toothpaste to each headlight. Use a toothbrush and circular motions to rub the toothpaste into the plastic lenses to remove built-up grit and grime. Rinse with warm water and repeat the cleaning steps as necessary until you are happy with how the headlights look.
Once clean, dry the headlights, and apply a coat of polishing compound to the plastic lenses. Buff out with a soft cloth. This headlight restoration method is not permanent but will last longer than others without using a headlight restoration kit.
Dish soap is also the main ingredient in car washing soap. Since you’ll be tackling the headlights anyway, you may as well wash the entire vehicle, too. Your car will look like it just came off the showroom floor.
DIY Headlight Cleaner Idea
Oxidation of headlight lenses occurs from UV rays breaking down the clear protective coat on your car’s headlights. There is no way to prevent oxidation, but there are home remedies you can try to clean and restore your car’s lights.
One cleaning method you can use is a homemade glass cleaner to clean the headlight. Spray glass cleaner right onto a paper towel and wipe the light clean. Spray windows directly to take care of cleaning the inside of car windows, as well as the outside, while you are tackling the headlights. You may as well get all the glass surfaces clean at once!
Heavy Duty Headlight Lens Cleaner
One of the best foggy headlight cleaner methods is the wet sanding method. This technique uses different grit sandpaper to remove dust and grime from your headlights. Once the lights are clean, finish up with a gloss clear coat for protection against future UV rays and yellowing.
Take care to protect your car’s paint. Use masking tape to secure trash bags across the hood and bumper of your vehicle, as well as any other exposed paint near your headlights.
Baking Soda, Vinegar, and Dish Soap Headlight Cleaner
This homemade cleaner provides a little extra cleaning power when you need it most. Begin by washing your headlights with soapy water. Create a paste with white vinegar and baking soda.
Scrub each light with the paste and rinse with warm water. Once your headlights are clean, use a DIY tire rim cleaner to shine up your wheels.
DIY Headlight Cleaner
Not everybody is a fan of baking soda and vinegar as the vinegar often cancels out the cleaning power of baking soda. If the baking soda and vinegar paste isn’t sufficient, try dish soap and salt.
Mix everything until salt is fully dissolved. Dip a sponge into the cleaner and wash each headlight. The dish soap breaks up the dirt and grime, while the salt creates an abrasive cleaner. Rinse headlights with clean water.
Best Headlight Restoration Kits
If none of the homemade cleaners are working to your liking, your best option is to buy a headlight lens restoration kit. The problem is that there are a variety of different headlight lens restoration systems available; finding the best one is a little overwhelming.
Best Headlight Restoration Kits
- Turtle Wax Headlight Lens Restorer Kit – Inexpensive and offers three restoration pads to clean and protect your lenses. This kit earns the number one spot for all-weather protection.
- Sylvania Headlight Restoration Kit – Heavy duty headlight restoration kit that offers excellent UV protection from future yellowing of the lenses in just three steps. The final step involves UV blocking protection to protect your lights from extreme sun damage.
- Wipe New Headlight Restore Kit – Not too expensive, this kit leaves your headlights looking like new for up to three years. Your lights are also guaranteed to pass the most rigorous safety inspections.
- Mothers NuLens Headlight Renewal Kit – This kit offers PowerPlastic 4Lights Polish for the best results. Not too expensive, this kit includes restoration discs, 8 ounces of polish, and a three-inch backing plate to provide you with results that last for years.
- Meguiar’s G1900K Clear Headlight Kit – This one step headlight restoration kit isn’t for the average user. It offers the use of power tools with the buffing pad to restore headlights in a matter of minutes. The package is safe to use on head and tail lights, as well as motorcycle helmet visors and boat windows.
Recipe for Headlight Lens Cleaner

Headlight Lens Cleaner
Salt isn't just a favorite condiment!
Materials
- 1 tbsp dishwashing liquid
- 1 tbsp table salt
- 24 ounces of water
Tools
- 24-ounce sprayer
- Tablespoon
- Measuring cup
- Microfiber cloth
- Water hose
Instructions
- Pour the water, salt, and dish soap into the sprayer.
- Shake until the salt dissolves completely.
- Spritz one headlight at a time.
- Wipe with the cloth.
- Rinse with the hose.
Notes
Using warm water will help the salt dissolve faster.

Thank you for reading about how to clean a headlight lens. If you found our DIY headlight cleaner ideas useful, please share your favorite headlight lens cleaner with others on Facebook and Pinterest.