Record enthusiasts and dirty records do not often go hand in hand. Cleaning vinyl records regularly is essential to keeping them pristine for the perfect listening experience, whether they are old or new records. We show you how to clean your records using a few household items and a homemade vinyl record cleaner.
Most record collectors agree that there’s something about listening to music on an album that digital music simply does not match. Vinyl records produce warm and rich sounds that speak to the soul. The only downfall is that these forms of audio require a lot more care to ensure good sound quality.
As an audiophile, you undoubtedly handle your record collection and turntable with TLC. However, over time, dust and grime get trapped within the record grooves. This dirt not only alters the sound quality but often damages the surface of the record during improper cleaning.

- Maintaining and Deep Cleaning Vinyl Records
- Cleaning Away Dust and Debris
- How to Clean Vinyl Records with a Carbon Fiber Brush
- Cleaning the Record Player Stylus to Remove Dust Buildup
- Natural Vinyl Record Cleaner
- Homemade Vinyl Record Cleaner
- DIY Vinyl Record Cleaner
- Cleaning Vinyl Records with Glass Cleaner
- How to Clean Vinyl Records with Wood Glue
- How to Maintain a Vinyl Record
- Properly Storing Vinyl Records
- Homemade Vinyl Record Cleaner Recipe
Maintaining and Deep Cleaning Vinyl Records
There are a few dos and don’ts for record cleaning and maintenance to prevent damage to the record surface. We demonstrate how to perform both light and deep cleaning using household items and homemade cleaning products.
Cleaning Away Dust and Debris
It’s easy to remove minor debris from records using a soft cloth and compressed air. If there is more than a thin coating of dust on the record, consider using a natural vinyl record cleaner after cleaning the dusty surface.
Leave your album on the record player to provide a stable cleaning area. Follow the instructions on a can of compressed air and hold it far enough away from the record to prevent damage.
Press the button to gently blow across the record’s surface to remove dust. Follow this by using a microfiber cloth to wipe the record with a gentle circular motion around the vinyl to clean away possible condensation.
How to Clean Vinyl Records with a Carbon Fiber Brush
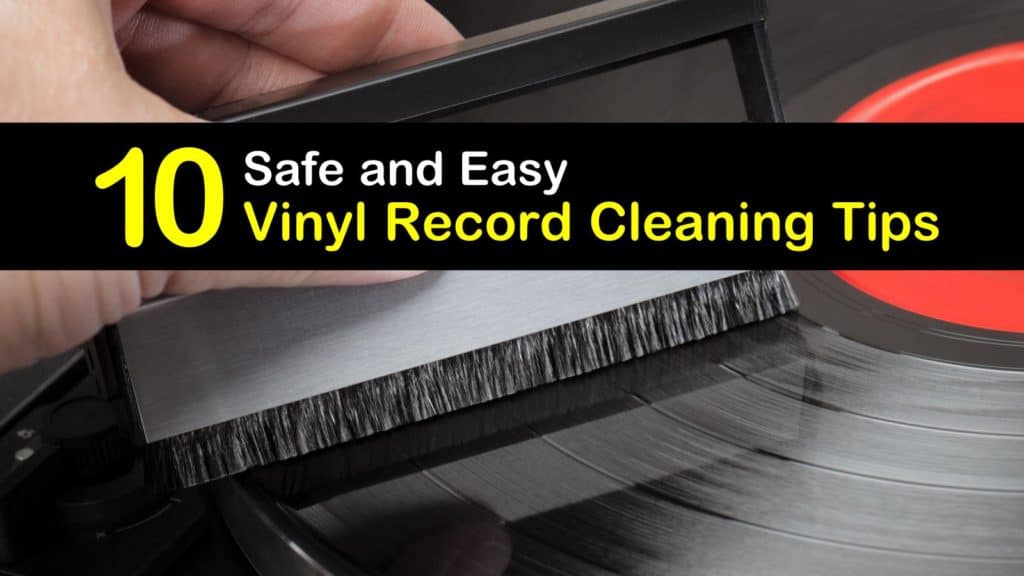
Records are a magnet for static, and using an anti-static record cleaning brush to remove dust from the grooves is a vital step in the cleaning process. Carbon fiber brushes are static eliminators and useful for cleaning the surface of a record.
Carbon Fiber Brush Cleaning
Lightly press the soft bristles of a carbon fiber brush onto the surface of the record. Start from the inside and push the brush slowly around the album to push the cleaning fibers into the grooves.

Continue moving around in a circle until you reach the outside of the record to pick up all of the dust.
Cleaning the Record Player Stylus to Remove Dust Buildup
When cleaning your vinyl records, it’s important not to forget about the stylus. Cleaning the stylus is a crucial step in the process to stop dust from transferring to your albums and prevent skipping.
Position the cleaning brush beneath the stylus and move it from back to front in the same way a record spins to remove dust and debris. If you do not have access to a stylus brush, try using a Magic Eraser.
Cut off a two-inch square of the eraser and place it on the platter. Lower the arm until the stylus is on the eraser and repeat the motion until it stops leaving residue.
Natural Vinyl Record Cleaner
Simple water is the best natural vinyl record cleaner if you’re on a budget. However, we recommend using deionized water to prevent impurities from building up on the record’s surface.
Leave the album in place on the record player, and pour distilled, deionized water into a spray bottle. Avoid using tap water to prevent leaving behind impurities, and spray one side of the record lightly.
Use a soft, lint-free piece of cloth to clean the surface by moving in circles around the record from the inside out. Flip the album over and repeat on the backside.
Homemade Vinyl Record Cleaner
If you have fingerprints on your albums, consider making a DIY record cleaning solution with distilled water and dish soap. While this method tends to leave a bit of residue behind, it is a quick and effective cleaning method for removing oily smudges.
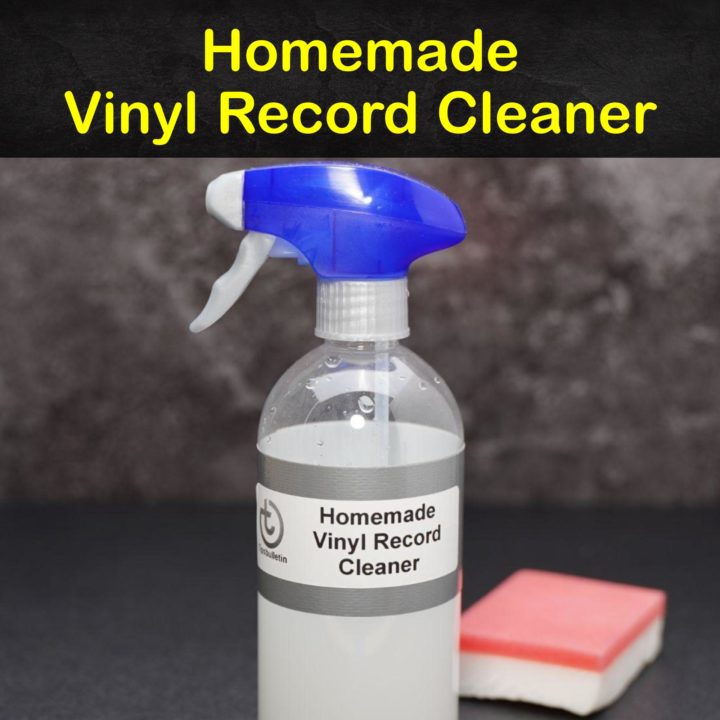
Pour distilled water into a spray bottle and add a couple of drops of mild dish soap. Place the album on the record player and spray the surface with a light coat of cleaning liquid.
Use soft, microfiber fabric to wipe it dry by moving in circles from the inside out. Turn the album over and repeat the cleaning on the other side.
DIY Vinyl Record Cleaner
This DIY vinyl record cleaner is a good substitute if you do not have a record cleaning machine, Spin Clean, or store-bought record cleaner. It safely removes dust, oily residue, and other grime for a clean finish.
Lay the record on a cleaning mat and combine the distilled water and isopropyl alcohol in a spray bottle. Squeeze a couple of drops of liquid dish soap into the container and shake it gently to mix.
Spray a light, even coating of the cleaner on the record’s surface and use a microfiber cloth to clean away the liquid and dirt. Start in the middle and move the cloth around in a circle until you reach the outside. Turn it over and repeat the steps on the backside.
Cleaning Vinyl Records with Glass Cleaner
Household glass cleaners, such as Windex, work well to clean vinyl records. However, this method is harsher than simple water or soap, so less is required during the cleaning process.
Leave the record on the player to keep it in place and spray a small amount of glass cleaner onto a lint-free cloth to dampen it.
Start in the middle of the album and gently press the cloth on the surface while pushing it around the album in a circle until you reach the outside. Turn the album over and clean the other side in the same manner.
How to Clean Vinyl Records with Wood Glue
While squirting glue on your vinyl album sounds like a horrible idea, wood glue lifts away dirt and gunk from within the deep grooves with ease.
This DIY vinyl record cleaner takes a bit of time and patience, but it’s well worth the effort when you see the results.
Set the record on a cleaning mat and squeeze wood glue over the surface. Use a popsicle stick or small piece of cardboard to smear the glue across the entire vinyl surface to fill in the grooves.
Keep the album in a safe place away from kids and pets while it dries overnight. Once the wood glue is transparent, pull it away from the vinyl surface to reveal a clean finish.
How to Maintain a Vinyl Record
A clean record only goes so far if you do not adequately maintain your collection. Here are a few simple ways to care for your albums to keep them dust and scratch free.
When handling your albums, avoid touching the interior grooves to prevent transferring oils to the vinyl. Pick it up at the label or by grabbing the disk perimeter with your fingertips.
Never use or store your record while it’s wet to avoid damaging the grooves. Use a carbon fiber brush or lint-free cloth to remove dust regularly and wipe it with a gentle cleaner as needed.
Properly Storing Vinyl Records
Now that all of your favorite albums are free of dust, debris, and grime, it’s essential to store them properly to ensure they stand the test of time and provide you with crystal clear audio.
Slip your album into an inner sleeve when it’s not in use to protect it from damage. These thin paper holsters act as a buffer between the vinyl and jacket.
Place the sleeved record into its jacket and place the whole item into an outer sleeve, which gives the album extra protection in between plays.
Store your albums on a shelf or in a crate vertically. Never lay your records horizontally, which causes uneven pressure and warping.
Gently placing your favorite album on the record player only to hear a scratchy recording is a disappointing discovery.
This rasping sound is often the result of dirt and static electricity. Fortunately, using the right cleaning process on your vinyl records keeps them sounding their best.
Homemade Vinyl Record Cleaner Recipe

Homemade Vinyl Record Cleaner
Remove grime and fingerprints from your records with ease!
Materials
- 3 ounces rubbing alcohol
- 8 ounces distilled water
- 2 drops liquid dish soap
Tools
- 16-ounce sprayer
- Measuring cup
- Microfiber towel
Instructions
- Mix the ingredients in the spray bottle.
- Place the vinyl on a smooth surface.
- Lightly spritz the record.
- Gently wipe the cleaner from the middle outward in a circular motion.
- Repeat for the other side.
Notes
Distilled water is safer for vinyl than tap water.

We hope that making a homemade vinyl record cleaner restores your record collection for the best listening experience, and we’d love it if you’d share our vinyl record cleaning solutions with your friends and family on Pinterest and Facebook.