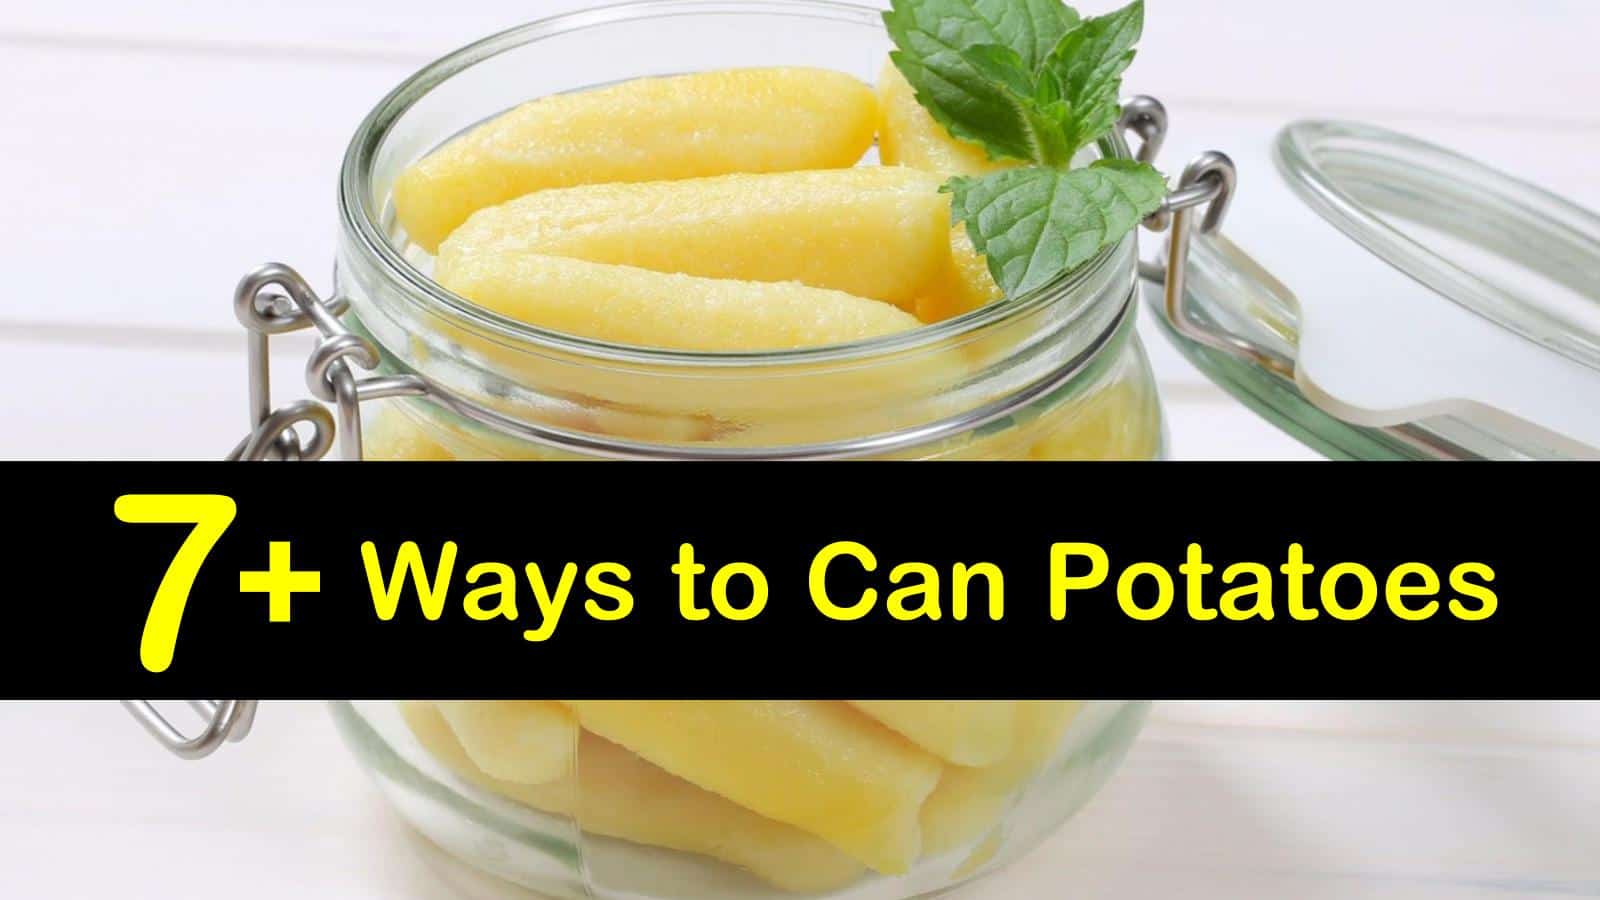
The great thing about veggies like potatoes is that they generally come in bulk packages for a fairly reasonable price, meaning you’re able to get your fill of this tuber for a minimal cost. The bad thing about potatoes is that you get so many in this bulk purchase that you can’t always eat them before they go bad. Knowing how to can potatoes increases the longevity of this starchy food and lets you enjoy them even longer.
When it comes to canning potatoes, there are numerous steps to take into account, including selecting the best quality potatoes and utilizing a killer canning recipe. You also shouldn’t forget about canning sweet potatoes.
While these yummy root vegetables aren’t actually tubers, they do follow many of the same preservation methods. Plus, you get a few bonus recipes to practice your canning skills. If you’re ready to learn how to can sweet potatoes as well as regular potatoes, then these delicious recipes won’t disappoint!

Easy Steps for Canning Potatoes
Can potatoes go bad? Yes, they certainly can and do if not properly stored or preserved. It’s important to store potatoes properly and keep potatoes from sprouting or getting mushy or moldy so that you can store them for future consumption.
There are many ways to preserve potatoes, from canning and freezing to preserving your favorite potato dishes. Knowing how to freeze and thaw frozen potato salad is one bit of popular food preservation knowledge.
Fortunately, canning potatoes is another excellent option. Canned potatoes are a great way to preserve these tasty foods for eating later.
Whether you plan on trying a new recipe from your cookbook, adding them to a stew, or mashing them up, all you need to do is grab a jar from the shelf and toss them into the pot.
Select the Best Potatoes
When choosing the right potatoes for canning, there are a few things you want to keep in mind. Though almost every type of potato works well when canning, boiling potatoes tend to be the best. These optimal specimens include red potatoes, russets, and Yukon gold varieties.
During your inspection, check your potato for size and quality, as well. Medium-sized potatoes are perfect for canning when chopped up, though whole potatoes work if they’re within an inch or two in diameter. If there is any discoloration on the potato, such as a green color, throw them out rather than commit them to long-term storage.

Sanitizing and Cleaning the Canning Jars
Before you even start the canning process, double-check that your jars are cleaned and sanitized. Think about it. Those canning jars are going to be the one place your potatoes call home for the next three to five years, so they should be completely free of all germs before starting.
If your dishwasher already comes with a “sanitize” cycle, use that method to prepare your pint and quart jars. If not, then toss the containers, without their lids, into boiling water for about ten minutes.
The lids should be cooked separately for approximately five minutes. Let them air out on a clean towel, and then they’re ready for use.
No matter what type of food you are preserving by canning, whether you are canning sauerkraut in jars or pickles, it is vital to completely sanitize the jars and lids for safe storage.
Prepare the Potatoes for Canning
The next step to take is to prepare all those pounds of potatoes you intend to use for canning. Washing potatoes with cold water and a bristled vegetable brush to clear off any dirt on the surface is best. Once the tubers are good and clean, it’s time to peel potatoes and remove any soft or discolored pieces before chopping them up.
After you peel off all the potato skins, cut the veggies up into smaller pieces to make it easier to can them. If the potatoes are less than two inches in diameter, then they are acceptable to be canned whole. Otherwise, cut the potatoes into small half inch cubes for more straightforward storage during food preservation.
How to Can Potatoes Using Lemon Juice
There are multiple ways to prepare potatoes for canning. Most involve soaking your veggies in a solution before you start the actual home canning process. A lemon juice solution is the best option since it contains a natural preservative called ascorbic acid.
Let the cut potatoes soak in the liquid for approximately five minutes, then drain it when you’re ready to start the cooking process. Doing this keeps the vegetables from browning while you’re preparing for the next step. It also acts as an added preservative and a great way to retain flavor.
Blanch Before Canning Potatoes
Before you’re able to can potatoes, you need to cook them first. While there is a raw-pack method for canning potatoes that are uncooked, similar to canning pickles, it isn’t advised, since this often leads to a starchy buildup in the jar.
Cooking the potatoes ahead of time reduces the amount of starch left in them during preservation, helping the tubers retain most of their texture and taste. How long do cooked potatoes last? After canning, the blanched potatoes can last for a couple of years if you don’t eat them before then.
You use this same process when freezing raw potatoes for long term storage. If dealing with cubed potatoes, place them in a pot of water, then bring to a boil for only about two minutes.
When dealing with whole potatoes, leave them in that large pot of boiling water for at least ten minutes. Drain the hot water from the potatoes, and then you are ready to place them in the jars.
Package Your Potatoes
When packaging your hot potatoes, the typical amount of potatoes is about two to three pounds for every quart jar. Place the potatoes in the container, leaving a one-inch headspace from the top when packing. Another option is to add a teaspoon of salt to each quart jar.
The canning salt only aids in retaining some of the taste. It doesn’t help with the preservation process. So if you prefer a low-sodium option, leave it out.Next, pour fresh boiling water into the jars, still leaving that 1-inch of headspace in the jar when doing so.
If you notice any air bubbles before sealing the jars, use a spoon and run it along the edges of the jar between the glass and the potatoes to release those air bubbles, making it easier for you to pressure can them. Seal them with the lids, and then they’re ready for canning.
Can Sweet Potatoes in Syrup
The process for preparing and canning sweet potatoes is very similar to canning regular potatoes. The most significant difference is adding syrup to retain that sugary flavor sweet potatoes have. After peeling, cutting, and packaging the sweet potatoes, you’re ready to make the syrup using the formula below.
Mix the two ingredients in a large pot, then bring them to a boil. Once they’ve reached the boiling point, carefully ladle them into the canning jars. Leave one inch of headspace from the top. Make more syrup as needed, depending on how many potatoes you make.
Of course, you can always freeze cooked sweet potatoes rather than canning them or utilize both methods to preserve this delicious and nutrient-dense veggie. See what works best for you.
Pressure Canning Sweet Potatoes and White Potatoes
You’re finally ready for the canning process, but you aren’t sure which piece of equipment to use. Do you start with a water bath canner or a pressure canner? The USDA advises the use of a pressure cooker or canner to package potatoes safely and for a recipe for canned carrots.
A water bath is more suited to higher-level acidic veggies, while pressure canning prevents the potential for botulism in low-acid foods. Set the jars down into the pressure canner and cover them with the lid. If you have a weighted-gauge canner, then leave the weight up at this point.
Let them sit in the pressure canner for about ten minutes to release all the air. For weighted-gauge canners, lower the weight at this point. If you have a dial gauge canner, then watch for the dial to reach 11 pounds of pressure before adjusting the heat and leaving it to process.
The pounds of pressure varies depending on altitude and what type of food you are canning. If you live in an area with a higher than average elevation, refer to the USDA’s site for pressure amounts (..).No matter which type of pressure canner you have, the processing times are the same: 35 minutes. If you haven’t bought your pressure canner yet, then Presto makes some amazing ones.
After the potatoes finish processing, turn down the heat and leave them to cool. Wait until the pressure reaches zero before opening the canner.
This step takes around 45 minutes, so patience is essential. Next, remove the hot jars from the canner when ready, and place them on a dry towel to cool. Leave them overnight, then store them in the pantry for up to five years.
Mouthwatering Recipe for Spiced Canned Potatoes
Now that you know how to can your potatoes, you should pair that knowledge with a fantastic new recipe. Apply this to pressure canning peppers or any other vegetable, as well. Eating the canned produce is good, but a yummy recipe is even better!
This spiced potato recipe only takes about 15 minutes to prepare and ten minutes to cook, making enough for six servings. It’s the perfect size for using up a quart jar of canned potatoes.
Melt the butter at the bottom of a saucepan, then add in the garlic, onion powder, cayenne, paprika, and parsley flakes. Open the can of potatoes, drain them, then add them to the mix. Next, stir in the water and lemon juice and bring it to a boil.
Add the salt and pepper, then remove from heat. Sprinkle some Parmesan cheese and chives over the top for a tasty garnish, and enjoy!
Whether you plan on using these canned potato recipes to make a delicious potato salad, a traditional bowl of mashed potatoes, or a delectable sweet potato casserole, you have everything you need to store those spuds until you’re ready to use them.

We hope you enjoyed learning everything you need to know about canning sweet potatoes and white potatoes alike. If you found these yummy potato canning recipes and tips to be as helpful as they are tasty, then please feel free to share how to can potatoes with all your favorite foodies on Facebook and Pinterest.