Today we are going to show you how to clean a mechanical keyboard to extend its lifespan and help keep it functioning correctly. Many types of external contaminants continually bombard your keyboard, which can lead to sticky and broken keys.
It’s not just dust, office supplies, pet hair, soda, food, and candy that can get stuck in your keyboard. It can also be a home to bacteria.
We are going to show you how to clean a mechanical keyboard as well as disinfect it. Some of our tips and tricks are simple, and some require you to disassemble and then reassemble your keyboard. The extent of keyboard cleaning work you need to do depends on the state of your keyboard.

What is a Mechanical Keyboard?
There are two main types of keyboards in everyday use, the mechanical, and the chiclet. The chiclet is far more prevalent, and it uses rubber pads and conductive membranes under the keys to make connections and alert the computer. A mechanical keyboard uses switches under the keys.
Laptops almost always use chiclet keyboards while desktop computers traditionally use mechanical. However, it’s becoming much more common for desktop computers to use chiclets, as well.
Mechanical keyboards are still the best choice for gaming because of their superior quality in several ways. If you have one, it is undoubtedly worth cleaning to keep it working at peak performance.
The easiest way to tell what kind of keyboard you have is to look at it. If there are plastic borders around the keys, it is probably a chiclet keyboard. The keys on a mechanical keyboard will bump right up against each other.
Learning to Clean a Mechanical Keyboard
There are usually different ways for how to clean a laptop keyboard with chiclets and a mechanical keyboard. Cleaning a gaming keyboard can bring dead keys back to life in some cases, and it can usually fix sticky keys.

While these tips and tricks are designed to clean a mechanical keyboard, many of them will work just as well on your laptop’s chiclet keyboard. Give a few of these tips a try before you buy a new keyboard.
Many times you’ll find you don’t realize how dirty your keyboard is until you clean it. You may be able to save a little bit of money!
Tips and Recipes for Cleaning Keyboards
Let’s take a look at a few tips and recipes that will help clean and improve the performance of your mechanical keyboard.
Rubbing Alcohol or White Vinegar
Before your keyboard even gets the chance to get dirty, you should try to get in the habit of wiping it down regularly with isopropyl alcohol or white vinegar. The more you wipe it down, the better off you will be. A keyboard is a magnet for bacteria, but if you are the only person that uses it, you can probably get away with wiping it down once a week.
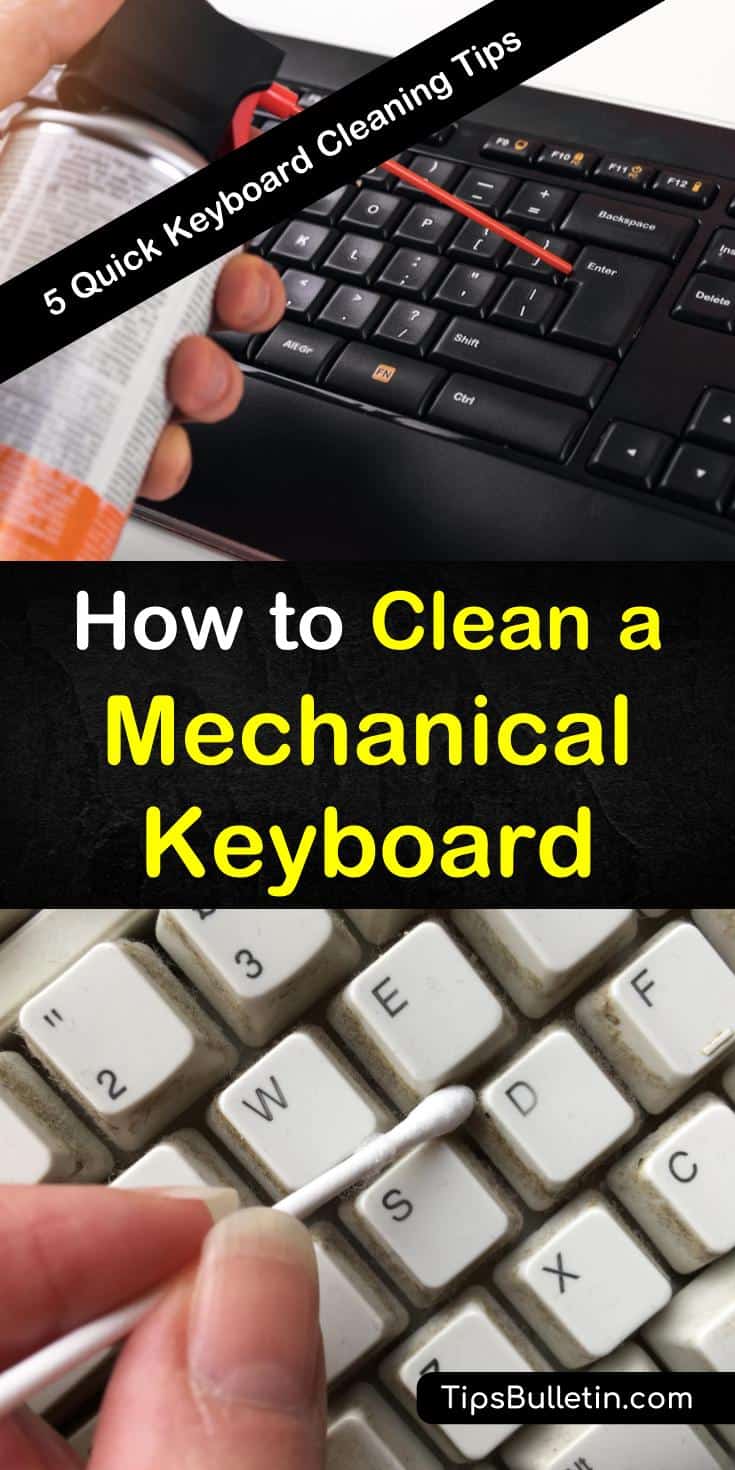
Rubbing alcohol and white vinegar are potent germ killers. You only need to dab a little onto a microfiber cloth and wipe down the keyboard to kill the germs. Dip a cotton swab into the alcohol to get between the keys.
These actions will instantly kill any bacteria on the surface as well as remove any gunk that has built up. A spray bottle is a fantastic way to give your keyboard a quick spritz every time you sit down. Spray your towel though, not the keyboard.
Spraying is a convenient way to help to keep it germ-free and reduce grime build up. Alcohol cleaning will work for all types of keyboards and does not require any disassembly.
Cleaning a Gaming Keyboard with a Vacuum Cleaner
Another great way to clean a mechanical keyboard without removing any parts is to use a vacuum cleaner with an upholstery attachment. A vacuum cleaner does a fantastic job of getting dust and other foreign particles out from under your keys where they can prevent a key from operating correctly.
It’s even possible to get larger items like a paper clip out of your keyboard without disassembling it. If you can, use an anti-static vacuum designed for use on a computer. Handheld vacuum cleaners are also available and may be easier to control.
The vacuum technique works best on stand-alone mechanical keyboards such as the ones used by desktop computers, but it can be surprisingly effective on laptops also. We highly recommend cleaning your keyboard with a vacuum at least once a month.
Vacuum often to prevent dust and other particles from collecting moisture which can cause them to turn into gunk and be harder to remove. When vacuuming, remember not to press too hard on the keys, or you might cause damage to the key switches.
Cleaning a Gaming Keyboard with Dawn Dish Soap
Dawn dish soap is specially formulated to cut grease. It does a beautiful job removing oily residue from our fingers, as well as any number of things that may contaminate our keyboard.
To use Dawn dish soap as a cleaner when cleaning a gaming keyboard, mix a few drops into a small tub filled with hot water. Dab a microfiber cloth with a tiny amount of the dishwashing solution and wipe down your keys. You want to be sure to use a damp microfiber cloth and not a wet one.
You do not want any water to drip underneath the keys that you are cleaning.Once you are finished washing the keyboard, dry off any excess moisture with a soft cloth.
Cleaning with a paper towel often leaves small pieces of the sheet behind that can become lodged in the keyboard you’ve just cleaned. Dish soap will come in handy to clean any keyboard, and it should be done often to reduce and grime build up.
Ways to Clean a Mechanical Keyboard with Compressed Air
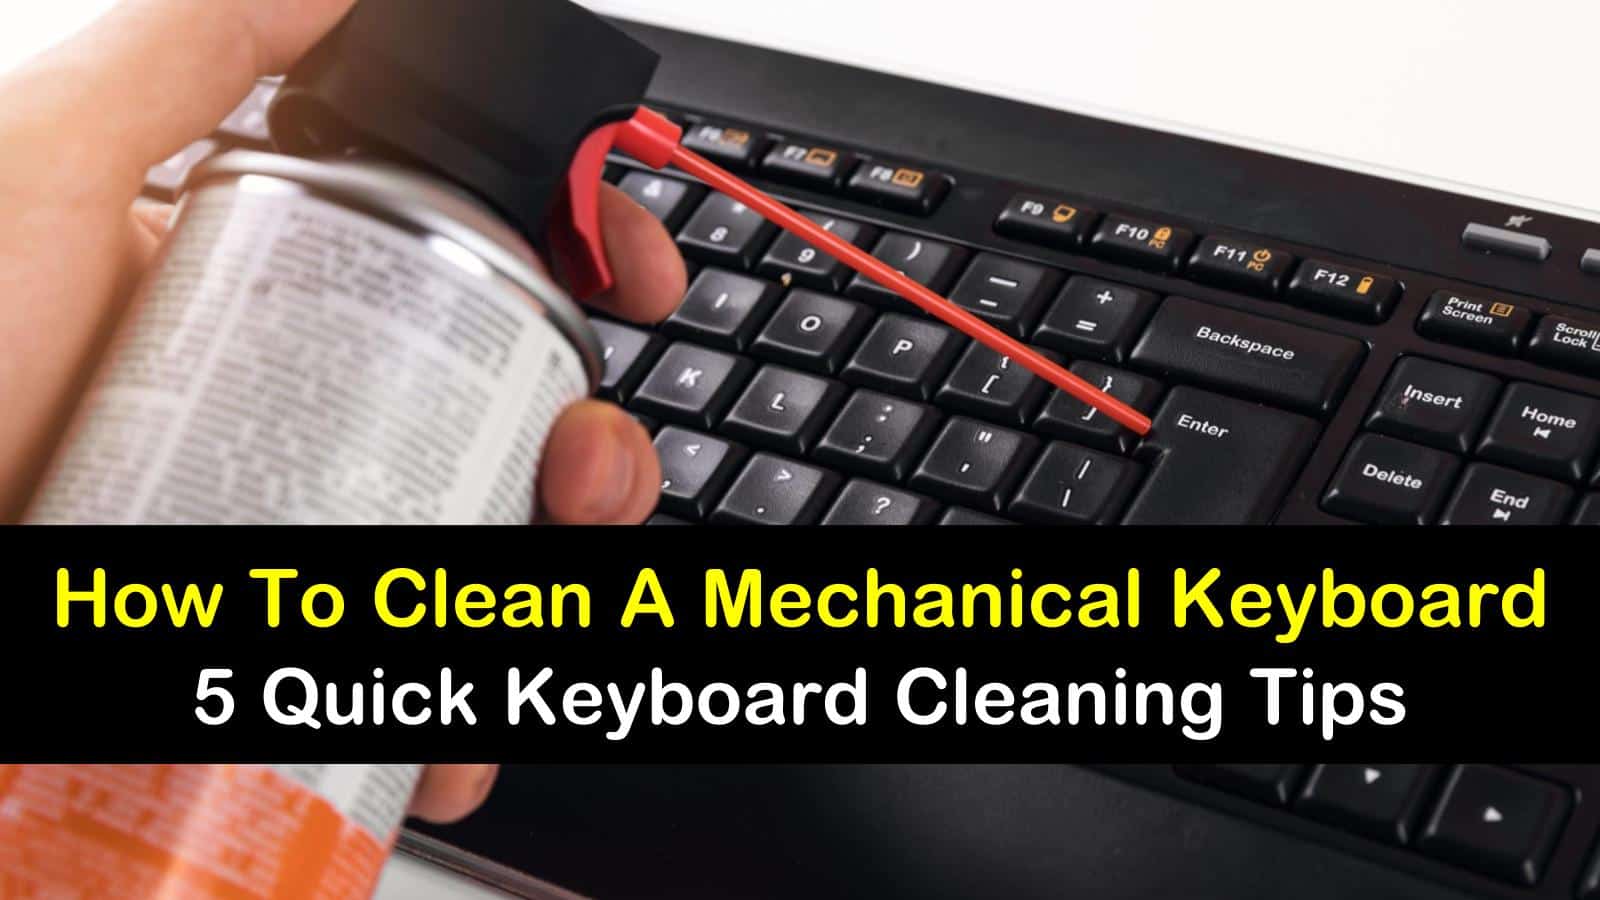
Compressed air is one of the best ways to clean a mechanical keyboard and is how to clean under keyboard keys. Purchase cans of compressed air at any hardware store and many larger grocery stores like Walmart and Target.Compressed air has an attachment that connects to the nozzle of the can.
This attachment allows you to point the air to a tiny area where you need it, and it is perfect for getting in between the keys of a mechanical keyboard. One of the best ways to clean a mechanical keyboard is with compressed air. Take the keyboard outside, turn the keyboard upside down, and use the compressed air to blow the dust out from under the keys.
Be sure you have removed as much debris as you can by using the pointer to get around each key. Once you have gotten out as much as you can, use a vacuum cleaner with an upholstery attachment to finish removing any particles that might remain.
Compressed air can be a handy tool for stand-alone mechanical keyboards like the ones used by desktop computers. However, it will have limited usefulness with laptop keyboards because there is not enough space below the keys to expel dirt.
Mechanical Keyboard Disassembly
If your keyboard requires a deep cleaning because something has been spilled or dumped on it, you might need to disassemble it. You can only remove the keys from a mechanical keyboard and not a chicklet. To disassemble a mechanical keyboard, you need an item called a keycap puller.
Gamers may already own one, but a keycap puller can be easily found using Google, or you can make your own out of paper clips. If you press down on the key in front, you can use a flathead screwdriver to pry a keycap off. The screwdriver can damage the keycap and the switch in several ways, so it is only a last resort.
Once you have acquired the keycap puller, use it to remove the two Alt keys on the left and right side of the spacebar. Use your two index fingers to grip and gently pull up on the space bar. Once the space bar is free of its switch, disconnect it from the metal bar by gently pushing on one side until it comes loose.
Many of the big keys may also have a similar bar. These bars are called stabilizers, and they keep the keys from flopping around. With the spacebar removed, continue to remove the rest of your keys and place them in a small pail or tub filled with hot water and some Dawn dish soap.
Let the keycaps soak in the soapy water while we move on to other cleanings. With the keys removed, it will be a lot easier to get in there with the vacuum and compressed air to remove any dirt that has accumulated around the keyboard switches.
Once you have vacuumed, wipe down the insides with a damp cloth and cotton swabs to remove any remaining grime but don’t get any water inside the switches. Once complete, dry any residual moisture with a second microfiber cloth.
Tumble the loose keys soaking in the Dawn dish soap and hot water to break up any particles that may have worked loose due to the soaking. Remove the keys one by one, rinsing and scrubbing each one before setting them aside on a paper towel to air dry.
Once they are dry, replace the keycaps starting with the big keys until only the two Alt keys remain. Replace the spacebar by first reattaching the metal bar then gently pressing it on to the switch. Replace the two Alt keys, and you are finished.
A Few More Tips
- Instead of soaking the keycaps in soap and water, soak them in a small pail filled with warm water and a few denture tablets. The effervescing action of denture cleaning tablets is very effective at getting the grime off your keycaps while also disinfecting them.
- If you spill on a keyboard, disconnect it immediately to reduce the risk of permanent damage to the keyboard and possibly your PC.
- If your keyboard resides in an extreme environment, several brands of keyboard covers will protect it very well. These covers are designed to minimally impact typing or gaming performance.
We hope that you will extend the life of your keyboard and also learned something new due to our five quick tips for keyboard cleaning.

If we have shown you how to clean a mechanical keyboard, and these tips have produced the results you were expecting for a clean keyboard, please share them on Pinterest or Facebook.