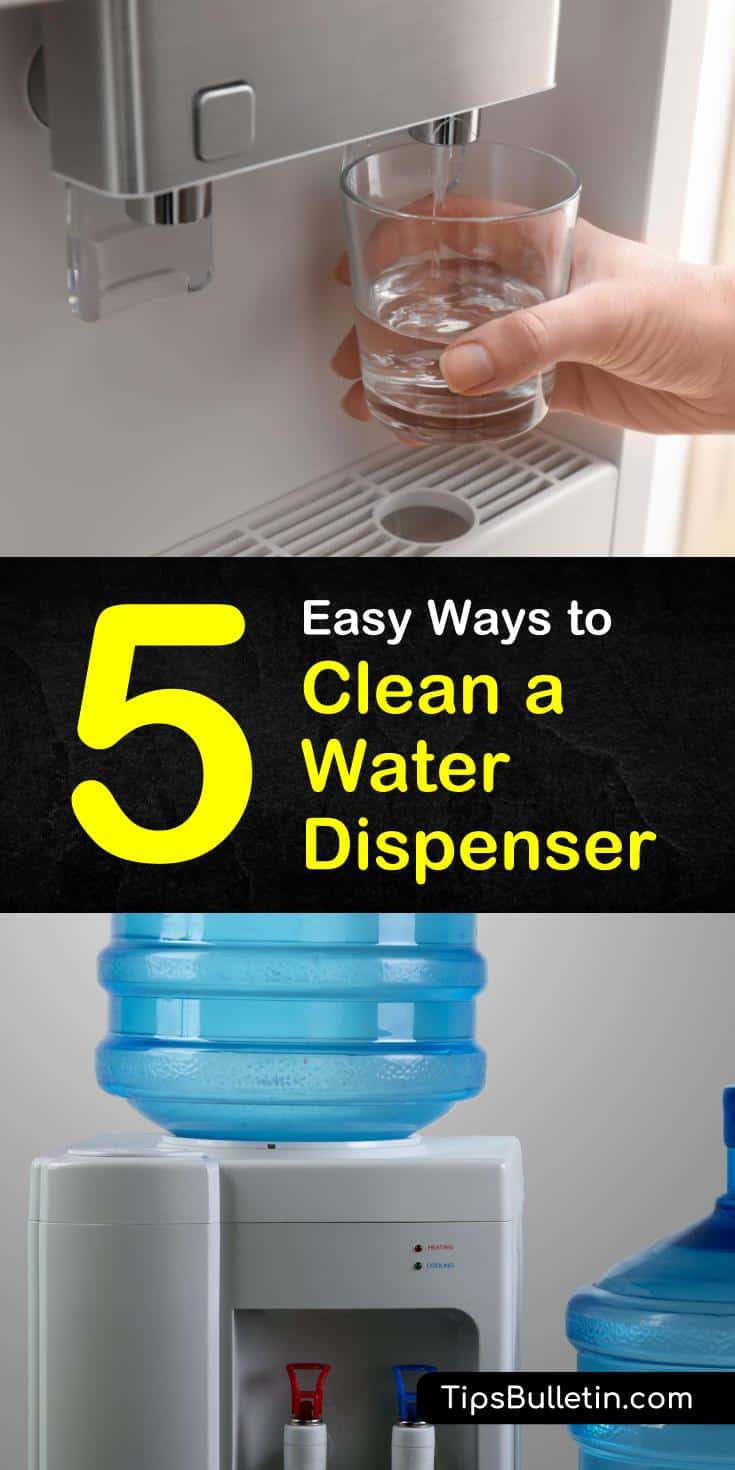
When you reach for an ice-cold glass of water from the office cooler, you expect a refreshing taste similar to a new bottle of water. Maintaining this crisp taste and healthy drinking water requires regular cleaning of the water cooler with the right cleaning solutions. Understanding how to clean a water dispenser properly, and how often, will keep that fresh water taste lasting longer than ever.
Not only does learning how to clean a water cooler keep the contents from tasting as stale as tap water, but it also reduces the possibility for a mildew buildup in the reservoir and the dispenser tabs. The process to sanitize a water dispenser is relatively simple and requires no more than four steps to clean.
We have included an additional choice for those who want to use a natural cleaner like vinegar over the traditional bleach method. Both are excellent techniques and deviate only slightly from one another.

What You Need to Know about Cleaning a Water Dispenser
It’s essential to clean your water dispenser regularly to ensure that the water you get from it is fresh and free from contaminants.
How often should I sanitize a water dispenser?
Cleaning your water dispenser or cooler should take place approximately every six weeks. Some even suggest cleaning it every time you swap out a new water bottle. Depending on how often you use the water cooler and the type of air filter attached to it, you can make this call on your own.
A reverse osmosis filtration system on a cooler requires even less regular cleanings. These types of coolers can go an entire year without being sanitized, which is the same time to replace the filter.Dispensing tabs and drip trays, however, should be cleaned much more frequently.

Use a cleaning agent like vinegar once a week to clean them out. Vinegar is an excellent, natural sanitizer ideally suited for this task, especially since it will not leave behind toxic chemicals after cleaning. This method is also a fantastic DIY cleaner for the washer when homeowners don’t want to add unnecessary chemicals.
What materials do I need to clean a water dispenser?
Cleaning your water dispenser does not require a ton of complicated machinery or tools to get you started. However, there are a few materials you will need throughout the cleaning process to ensure a thorough deep clean.
There are two ways to clean the interior of your water cooler, either with chlorine bleach or vinegar. Both use the same method to clean, differing only in proportions.
No matter which avenue you choose, these same materials will be necessary for cleaning your water cooler dispenser. You can also use this solution to clean a Bunn coffee maker but be sure to run clean water through it afterward to remove residual bleach or vinegar before brewing your next cup of coffee.
How to Clean a Water Cooler
How to Clean a Water Dispenser with Vinegar
Using this first method is similar to cleaning a coffee maker with apple cider vinegar. Vinegar acts as a non-toxic disinfectant that removes mold and mildew from the interior chambers of the water cooler. Apple cider vinegar is not necessary for the clean water solution, however, and white vinegar acts as a marvelous substitute.
To create the vinegar solution above, mix the contents in a large bucket. The lemon juice is optional but reduces the smell of the vinegar when cleaning.
If you need a natural descaler for your water dispenser or coffee pot, vinegar and lemon juice will also do the trick. The acidity in these household staples does a great job in removing scaling from appliances in the kitchen.
Sanitize a Water Dispenser with Bleach
While many of us try to avoid harsh chemicals, sometimes it is the best way to sanitize an object. Similar to creating a vinegar solution, add bleach to one gallon of warm water. Do not add more than one tablespoon of chlorine bleach for every gallon of water.
Before you administer the cleaning solution, ensure you are taking all the necessary safety precautions. Start by wearing clean rubber gloves when handling bleach, and unplug the power cord from the wall before cleaning.
How to Clean a Water Cooler Run Using Your Cleaning Solution
The next step in the cleaning process requires pouring the vinegar or bleach solution inside of the reservoir. Allow the cleaner to sit for about five minutes before beginning to run through the water dispenser.
When ready, run the solution through the cold water dispenser and into an empty bucket until all the cleaning solution has exited the chamber. Next, run several cups of water through the dispenser to check the cleanliness of the machine.
Do this step at least four times, using an empty cup to collect the exiting water to ensure that you have thoroughly rinsed all the cleaning solution out of the dispenser before adding a new water bottle to the cooler.
Do not add the fresh water if there is a chlorine taste to the water. Instead, continue to rinse until the flavor dissipates.
Cleaning a Water Dispenser on the Exterior
A significant part of the cleaning process is maintaining the exterior and smaller pieces of your cold water cooler. Using a soft sponge, wipe along the top of the water cooler where the water bottle usually rests. Continue cleaning the sides of the water cooler with hot water and mild soap.
Rinse thoroughly afterward with clean water, then dry with a microfiber cleaning cloth or lint-free towel. The drip tray also comes clean with some dish soap and warm water, and don’t forget to clean the water guard. If the exterior of your water cooler is made from stainless steel, you may also want to add some baking soda for a streak-free clean.
Add the New Water Bottle
Now you are ready for the final step: adding the new water bottle to the dispenser. After adding the new bottle, you want to double-check the taste and quality of the water. As long as there is no chlorine or vinegar taste, and the water is fresh and crisp, enjoy your newly sanitized water filter for another six weeks.
Cleaning your water cooler is a simple task that should be conducted regularly. That delicious fresh taste of water is vital to preserve during those long working hours.
It is even more critical to prevent mold and mildew from forming in the dispensers or inside the reservoir. Use these simple steps to keep your water clean and refreshing.

Hopefully, you found this step-by-step guide for sanitizing your water cooler as easy as pouring yourself a fresh glass of water. If you learned something about cleaning your water dispenser, please remember to share how to clean a water dispenser with everyone you know on Facebook and Pinterest.