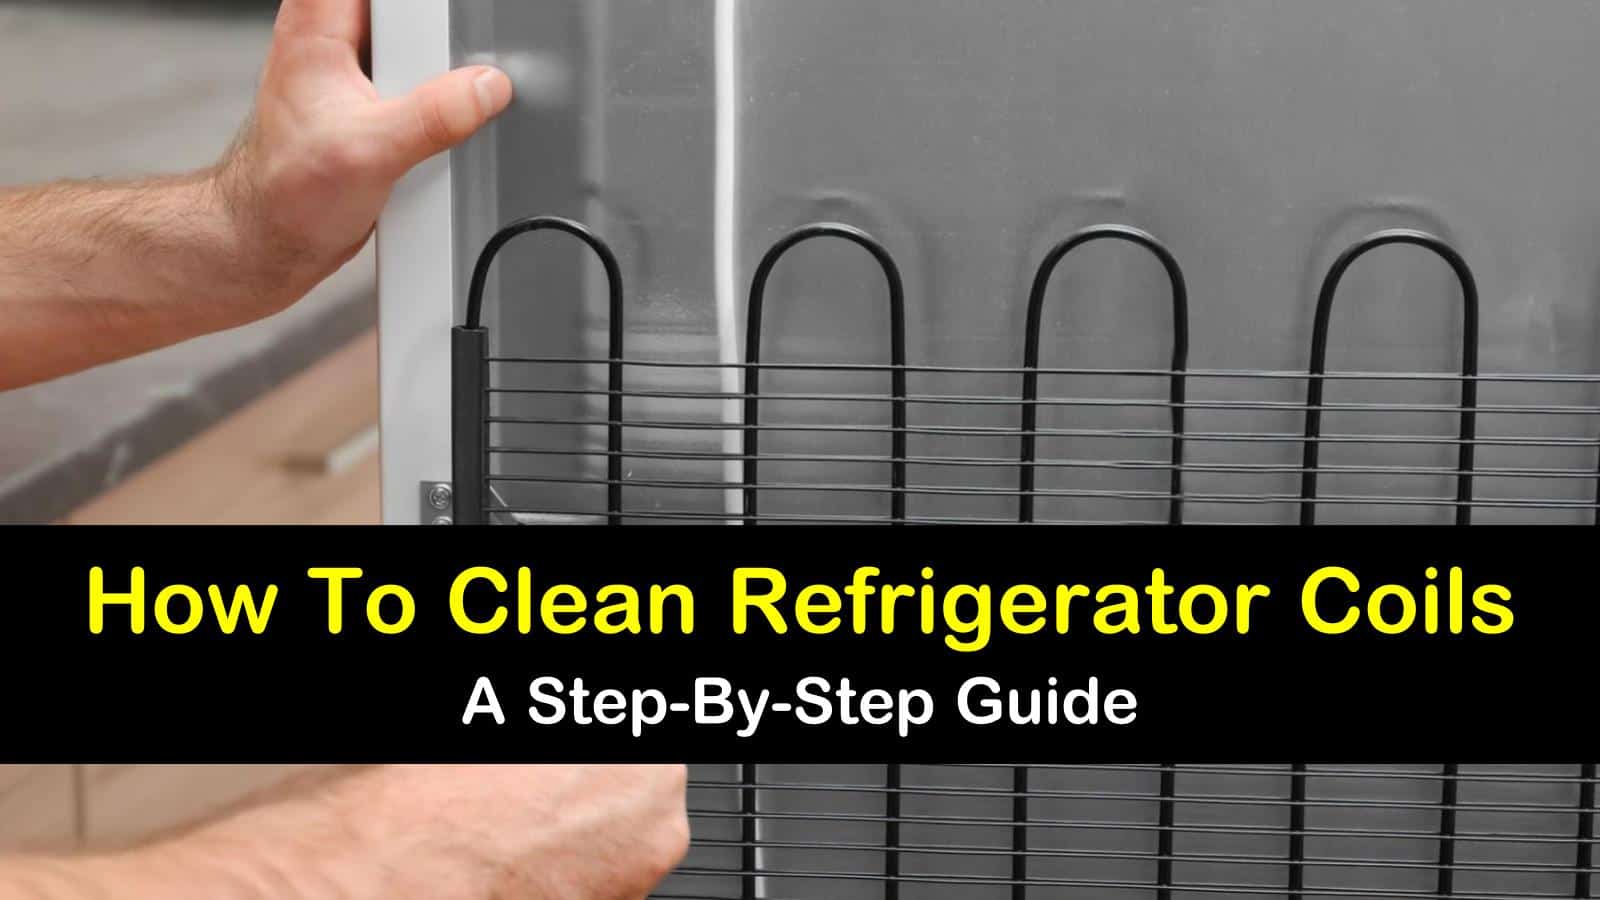
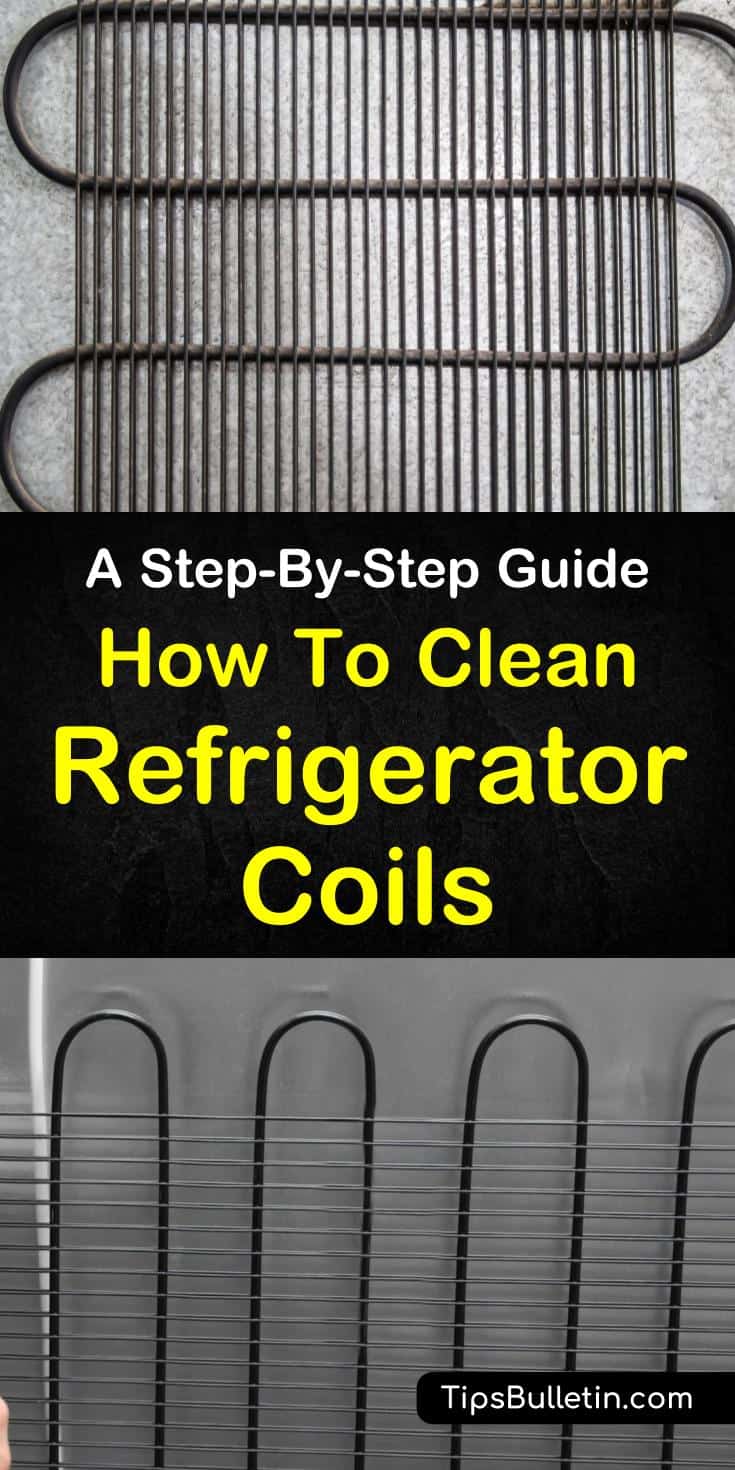
We don’t think about our refrigerators much until they break. The fridge is a miracle of modern technology. This fantastic home appliance allows us to save money and maintain our family’s health by preventing our food from spoiling. However, dirty condenser coils can impact the life of your fridge or air conditioner.
It also hits your electric bill and can lead to appliance repair, and it can prevent your food from staying cold. To make sure that our refrigerators remain in good shape for their entire lifetimes, it’s a good idea to know how to clean refrigerator coils.
We put together this guide to help you keep your refrigerator condenser coils in tip-top shape. In this article, you’ll discover how to prep your fridge and its environment so that the coils stay clean. We show you how to clean fridge coils on the back or underside of the refrigerator, too. You won’t believe how simple it is to keep your fridge happy and humming along for years to come.

Cleaning Refrigerator Coils
To make sure that your coil cleaning experience is a good one and that your refrigerator stays clean for a long time afterward, take the time to get your fridge and kitchen ready.
Cleaning fridge coils isn’t enough by itself; you must also prep for the task. Failing to prepare the fridge and surroundings could leave you with a dirty fridge much sooner than if you tackle the environment around the fridge while you’re there.
Preparing Your Refrigerator and Its Surroundings
This section examines the preparation process for cleaning refrigerator coils. We provide you with all the steps you’ll need to take to maintain a safe environment during the coil cleaning, and you’ll learn what you should also clean while you’re there to keep your refrigerator in good condition.

Preparation is half the battle, and with our help, you’ll be well-prepared for cleaning fridge coils.
Unplug, Empty, and Move the Refrigerator
Whenever you perform any maintenance on an electric appliance, you must always disconnect it from the power source. After all, you don’t want to shock yourself while you’re working on your fridge.
Start by unplugging the fridge power cord. If you can’t get to the plug for some reason, track down the circuit to which the fridge is connected, and turn off the circuit breaker.
Because your refrigerator is going to be without power for some time, empty it. Move any food you want to keep to a cooler or second fridge if you have one.
Throw away old or unwanted food that remains in your refrigerator and remove all of the shelves before you proceed. Once you’ve emptied the fridge, move it away from the wall so that you can get to the wall and floor where it usually stands.
If the refrigerator coils are on the bottom of the fridge, remove the bottom panel to access them; check your owner’s manual to find out how to do it.
Clean the Inside of Your Fridge with Vinegar
Take advantage of the fact that your refrigerator is empty and unplugged to give the inside a good cleaning.
Leaving a disconnected refrigerator uncleaned can result in musty odors and contaminated equipment, so whenever you clean fridge coils, plan on cleaning the shelves and interior with a vinegar solution, as well. There are tons of uses for vinegar in your home, and it makes a dynamite fridge cleaner.
Mix your vinegar and water in the spray bottle. Spray the interior fridge walls and the back of the refrigerator, and scrub at any stubborn stains with the brush. Use the sponge to scrub at lighter stains.
If your refrigerator has an ice maker, clean all of its pipes, tubing, and narrow nozzle to prevent a musty odor and flavor from developing. Wipe away any residue with the cloth or paper towels, and wash the shelves in the sink in warm, soapy water. You can use vinegar as a non toxic stainless steel cleaner, too; it’s a fantastic cleaning agent.
Cleaning Refrigerator Coils
Now that you have the refrigerator disconnected, moved away from the wall, and cleaned out inside, it’s time to get down to the cleaning. Deciding how to clean refrigerator coils depends on how dirty they are and whether they have food stains or other caked-on grime that need extra attention.
This section covers cleaning refrigerator coils with a few different approaches. You’ll learn about the easiest and least messy way to clean fridge coils, so they sparkle and perform like new, and we also give you a cleaning method you can use to tackle more difficult cleaning jobs so that your fridge will purr like a kitten.
How to Clean Refrigerator Coils with a Brush and Vacuum
Always start your coil cleaning by removing all of the accumulated dust and other dirt with a coil cleaning brush. Your fridge coils are far from the messiest areas in the kitchen, so it’s entirely possible that all they have on them is dust and pet hair; they’ll come out of a simple brushing looking like they just came off the showroom floor.
Don protective gear to keep the dust out of your eyes and lungs. Then, gently brush at the coils with the coil brush, making sure to get the undersides and crevices as you go.
Vacuum up loosened dirt and dust, and vacuum the bottom of the refrigerator as well, even if the coils are on the back of the fridge. Repeat until the coils are clean.
How to Clean Fridge Coils with a DIY Cleaner
If basic brushing and dusting don’t get your coils clean and happy, you might need to pull out the big guns to clean tougher stains.
You can make a homemade coil cleaner out of household items to get your coils looking great. This cleaning solution is easy to use and won’t fill the air with noxious chemical smells like commercial products.
Combine the alcohol and vinegar in the bottle, and fill it with warm water. Spray the mixture on sticky or gummy spots on the coils, and let the mixture sit for a few minutes.
Scrub the area carefully with the brush and wipe down the coils. If the stain is still there, sprinkle baking soda on the spot, and repeat the cleaning process.
After you have finished cleaning the coils and the interior of the refrigerator, its time for cleaning a stainless steel refrigerator on the exterior. A spray of vinegar and water and a nice rubdown with the grain will make your fridge as shiny on the outside as it does on the inside and on the back.
We hope you enjoyed our coil cleaning guide. Keeping your new fridge coils in top shape is key to refrigerator maintenance and can mean the difference between a short and unhappy life for your fridge and a long and productive one. This article provides you with what you need to keep your fridge coils shiny and like new.

We appreciate you reading our fridge coil cleaning guide. If you found our refrigerator coil cleaning tips helpful, please spread the love and share this cleaning fridge coils article with your friends and family on Pinterest and Facebook.