From buying dyes at your local grocery store to making your own using ingredients found around the house, there are plenty of options available when you want to inject excitement into your hair. Read on to discover some, effective tips on how to dye your hair.
While you may not dye your hair on a daily basis, monthly root touch-ups may be in order.
With salon prices through the roof for a simple dye job, it is time to turn to at-home dyeing options.
How to Dye Your Hair
Dyeing your hair with a store-bought dye is a relatively simple and straightforward affair. The better you prepare, the better the results.
Preparing to Dye Your Hair

Wash your hair one to two days before dyeing it. Washing your hair cleans it while giving it time to redevelop natural oils that help the dye’s color to bind with your hair, so the color will last longer and blend better. Avoid conditioner, as this can remove some of your natural oils.
This system will also work when dying a wig. Luckily, you can wash a human hair wig without wig shampoo – just use your own regular shampoo to prep the wig.
Now that your hair is ready, it’s time to choose the color you want. If you’ve never dyed your hair before, you want to choose a color close to your natural hair color.
You may also want to try out a temporary or semi-permanent dye to get a feel for how it will look before taking the plunge. While semi-permanent dyes last for twenty shampoos and temporary dyes last for six shampoos, permanent dyes can last up to eight weeks.
Cover the surfaces around you with newspapers to keep cleanup to a minimum if you spill. Keep paper towels on hand and wear disposable clothing. You will also want to put a towel around your shoulders to protect your neck and shirt.
Brush your hair, so there are no tangles in it. Cover your hairline, neck, and ears with Vaseline so that any dye that gets on your skin will be easy to remove. Don the gloves that came with the dye kit and mix the dye according to the directions. Once you’ve combined the ingredients, you’re ready to begin.
Dyeing Your Hair
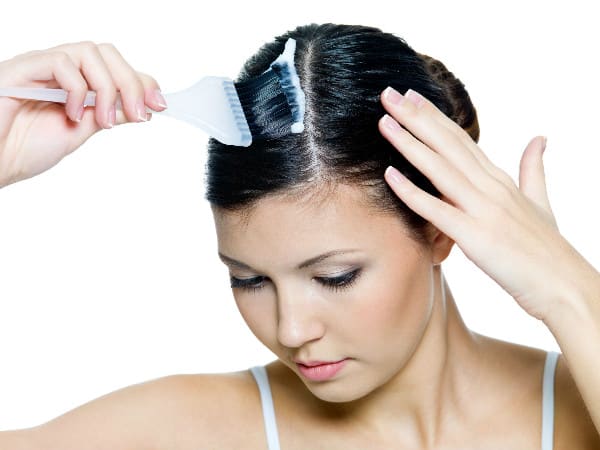
Use a comb to separate your hair into four sections. Use clips to keep the sections apart, as separating your hair before dyeing it will improve coverage. As you work through one section at a time, dye it in smaller subsections.
Use a brush or applicator bottle to get the dye onto your hair. You can also use your fingers to work in the dye. Make sure you work it in thoroughly, or you’ll only end up covering the top section of your hair.
Using the directions on the box, set the timer for the amount of time you have to let the dye set. You can put on a shower cap at this point because the added heat will help the dye work better.
When the time is up, follow the directions on the box to rinse your hair out completely. Use a paper towel to wipe up any dye that may have gotten on your neck or face and rinse your hair until the water runs completely clear. If a conditioner came in the box, use it now. Voila! Enjoy your new hair color.
Will Hair Dye Kill Lice?
Yes and no. Some brands of hair dye contain chemicals that will kill lice. The problem is that while you may kill the adult lice, their eggs will still be there, and the chemicals are usually unable to penetrate the shells of the eggs.
When they hatch a few days later, you’ll be back at square one. Generally speaking, it is better to treat lice using methods specifically intended to do so, rather than relying on hair dye.

Home Remedies to Dye Your Hair
If you dislike the chemicals in store-bought dyes, there are some different options that you can use at home. Whether you are bleaching your hair, covering up gray hair, or changing your hair color, products like henna and lemon juice can help.
Check out these home remedies to dye your hair for some safe and chemical-free ways to tweak your hair style.
Henna Hair Dye
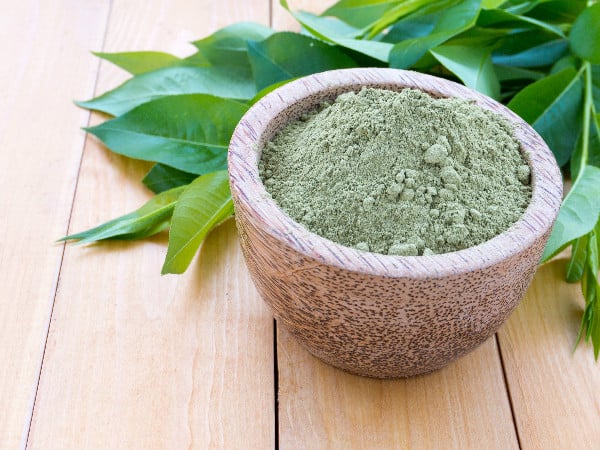
Henna has been used to dye hair for thousands of years. The end color will depend entirely on the type of henna used and the color of your hair. Henna will often produce colors that range within in the orange, dark burgundy, and red color.
Blending powdered henna with lemon juice will ensure that the henna breaks down enough for the color to attach to your scalp. You can also add coconut milk to the mixture to prevent the lemon juice from drying out your hair.
Lemon Juice and Chamomile Tea
If you want to lighten your hair, use lemon juice, chamomile tea, and sunlight. Chamomile tea is an all-natural bleach that helps to nourish the hair. The citric acid in lemon juice activates this home remedy in sunlight and assists in speeding up the natural lightening process.
Blend lemon juice and boiling water. Add in coconut oil for moisturizing and let it melt into the water. Place chamomile tea bags in the mixture and allow it to steep for ten minutes.
Shake the container so that everything mixes and apply it to your hair. Sit in the sun for fifteen minutes, and repeat this process about three times a week.
Honey and Coconut Oil
Blend honey and coconut oil in a bowl. Raw honey is one of the home remedies that can naturally help to lighten your hair.
If you want your hair to be substantially lighter, add a tiny amount of hydrogen peroxide, which will have a bleaching effect. Don’t use hydrogen peroxide if you have black or dark brown hair because it will turn your hair orange.
Apply the mixture to your hair and let it sit for 30 minutes. Since this is a natural blend, it tends to take longer to work, so you may need to do this three times a week before seeing a change in your hair color.
Kool-Aid

Yup, you can dye your hair with Kool-Aid. Start by picking the color you want. Choosing the right color may take some trial and error on your part, but generally speaking, you have a good idea of what the finished color is going to look like based on the flavor.
The number of packets you use is going to vary based on the length of your hair. Buy unsweetened because the sugar in sweetened Kool-Aid may make your hair sticky. Empty the Kool-Aid packets into a bowl and add conditioner to make a paste.
Mix it until it’s smooth, taking care to break up lumps. Don a pair of gloves. Kool-Aid will wash off, but gloves will help keep the cleanup to a minimum. You’re also going to want to wear a towel over your shoulders to keep your clothes from getting messy.
Work the Kool-Aid mixture into your hair, starting at the roots and then dyeing the middle and finally the tips. Take care to be thorough – you want your hair to be damp. Otherwise, the Kool-Aid will wash out without properly coloring your hair.
Finally, wrap your hair in plastic wrap or wear a shower cap. Unlike with store-bought dyes, you’ll have to sleep with Kool-Aid in your hair overnight, so take care to cover your hair completely.
You may even wrap your pillow in a towel, in case the plastic/cap shifts overnight. When you wake up the next morning, remove the plastic (or shower cap) and rinse out your hair with warm water until the water runs clear.
Ta-da! Your hair is now Kool-Aid colored.
Peroxide
Want to go for the bleached look? Here’s how to dye your hair with peroxide.
Is Bleaching Your Hair Bad?

Not necessarily, no. There’s a right way to do it, and a wrong way. Hydrogen peroxide is a harsh chemical, so if you do it incorrectly, your results will probably be undesirable. Here’s how to make sure you’re bleaching your hair safely.
First, you want your hair to be all-natural. Avoid hair products (gels, straighteners, etc.) in the weeks leading up to your planned bleaching, and stick to natural shampoos and conditioners.
Pay attention to the ingredients and avoid products containing sulfates, as sulfates will dehydrate your hair. Additionally, avoid using appliances on your hair, such as blow dryers and straight irons.
How to Bleach Your Hair at Home
When you’re ready to start the bleaching process, collect the materials you need so you’re ready. Obviously, you’ll need hydrogen peroxide. Different concentrations of hydrogen peroxide are available.
You’ll see everything from 3% hydrogen peroxide to 35% hydrogen peroxide; anything more than 35% is a hazardous material and typically reserved for industrial use. You’re likely to be dealing with 3%, 10%, or 35%. Use the 3%.
You’ll also need an empty spray bottle. Purchase spray bottles at your local drug store, or reuse an old one. Just make sure to take care that you wash out thoroughly – the last thing you want to do is to spray Windex residue on your hair and turn it blue.
Additionally, if you plan on storing the hydrogen peroxide in the spray bottle, go for a dark-colored bottle rather than a clear one. Hydrogen peroxide fairs poorly against sunlight, which is why manufacturers store it in brown, non-translucent bottles.
Finally, you’ll need hair clips, cotton balls, and a towel. Now that you have all of your materials, it’s time to get to work. Start by washing your hair with your natural shampoo and conditioner, which will get rid of any oil or grime that might still be in your hair.
Take care to thoroughly condition your hair, as the bleaching process can dehydrate your hair, and a good conditioner will help to protect it. You’ll also want to air-dry your hair. Pat your hair with the towel, but don’t be too worried if your hair is still a little damp — dampness will help the bleaching process.
You want to do a test beforehand, to gauge how much peroxide to use. Test by using a cotton ball to apply a small amount of peroxide to a hidden part of your hair. Let the peroxide rest for about 30 minutes, then rinse your hair with cold water.
Dry your hair (again, using the towel instead of a hair dryer) and use the clips to divide your hair into sections. Sectioning your hair is technically an optional (though recommended) step, as doing so will allow for more even coverage.
Now, regarding the application of the peroxide, you have three choices.
Natural Highlights
If you’re just looking for natural highlights, use a cotton ball to apply the peroxide, drawing it down the strands you wish to highlight, starting at the roots and working down to the tips. Do this with each section.
Ombre
The ombre still is similar to the natural highlights look, but reversed – with ombre, the hair is lighter at the tips and darker near the roots, whereas highlights are lighter at the roots and darker toward the tips. Do the same you would do with natural highlights, only start at the tips and draw upward. Again, do this with each section of hair.

Total Bleach
If you want your hair to be completely and totally bleached, use the spray bottle instead of cotton balls. Spray the entire sections of hair and use a comb to disperse the peroxide evenly. Repeat the process for all sections of your hair until you have full coverage.
After You’ve Applied the Peroxide

Once you’ve made your choice and used the peroxide accordingly, you’ll want to allow the peroxide to sit. A general recommendation is 30 minutes, but the length of time you let it sit varies, so you’ll need to experiment.
Factors such as your hair color, the amount of hair you have, how much the peroxide irritates your scalp as it sits, and your desired brightness dictate how long the peroxide should rest. As a general rule, the longer peroxide is in your hair, the lighter the result.
Once the peroxide has sat for a while, rinse your hair with cold water and use conditioner once more. For lighter hair, you’ll have to repeat the process. The first time you do it, you may find that your hair only becomes a little bit lighter.
Do it again the next day and it will get brighter, repeat it the next day and it will get even brighter, etc. It’s better to bleach in small increments rather than trying to do it all at once, i.e., using a little bit of peroxide each night for a week will yield better results than dousing your hair in peroxide all at once.
If you have reddish hair, this step is almost a requirement; chances are, bleaching your hair will leave it looking orange, so you’ll want to repeat the bleaching over and over if you want to have a more blonde look.
Aftercare
Remember that peroxide can potentially harm your hair. You’ll want to care for your hair after the bleaching process. Once it’s bleached, continue avoiding appliance-based drying methods (such as blow dryers) as blow dryers can exacerbate the damage caused by the peroxide.
You’ll also want to wash your hair on an intermittent (rather than daily) basis. Staggering your washing allows for natural, protective oils to accumulate and further protect your hair.
Make sure you use a powder-type shampoo, rather than a liquid-type. Finally, handle your hair gently — allow to air dry instead of wringing it out or wrapping it in a towel.
How to Get Hair Dye Off Skin
Is hair dye on your skin bad for you? Hair dye on your skin isn’t bad for you, but the skin will look funny for a few days. The important thing to do when you get hair dye on your skin and get hair dye off your scalp or face is to hurry. Your skin has multiple layers.
The longer the dye remains on your skin, the more layers it will seep through, and the stain will be more pronounced. Ideally, you want to address the stain as quickly as possible before it has a chance to permeate. You can use a large variety of natural cleaners to get hair dye off skin.
To get hair dye off nails, try dabbing the stain with acetone-containing fingernail polish remover, vinegar, or vegetable oil. Usually at least one of these options will work.
The same principle applies to get hair dye off your carpet if you have an accidental spill. Blotting it quickly is half the battle.
Toothpaste
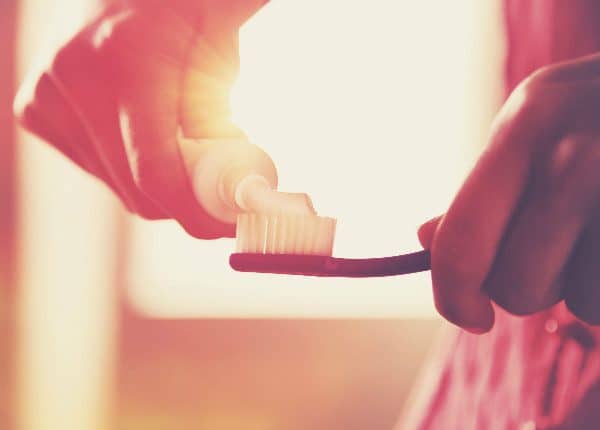
Toothpaste to get hair dye off skin since it contains a gritty ingredient that helps remove plaque from your teeth. The grit in toothpaste can also be used to remove stains on your skin. Make sure you’re using paste-type toothpaste (as opposed to the gel-type) and wash your hands with it.
Hopefully, this will remove the dead skin on the surface of your hands, revealing the fresh (un-dyed) skin beneath. Wash with warm water and if your hands are still stained, try again, but this time use a trace amount of baking soda.
Oils
Using various types of oils can help clean your hands. Apply the oil and let sit overnight. Not only do oils address the problem of dyed hands, but they also soften and hydrate your skin.
Consider wearing gloves or stick clean socks on your hands to contain the oil while you rest, because otherwise, you might ruin your sheets. Come morning, wash your hands in hot water and use a cotton ball to blot away excess oil.
Baking Soda & Dish Detergent
Mix enough baking soda and dish detergent to make a paste, and then wash your hands with it.
The baking soda/dish soap method works similarly to the toothpaste method to get hair dye off skin – the grittiness of the baking soda will help to get rid of the dyed, top layer of skin. Using warm water to rinse your hands will cause the mixture to bubble, which may help to get rid of the dye.
Dye-ing to Dye Your Hair
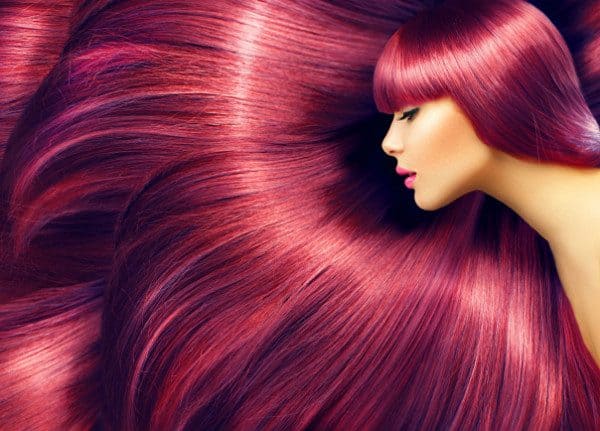
There’s no shortage of ways to dye your hair. Using the methods above, you can turn your hair pretty much any color you can imagine. Use store-bought dyes to dye your hair more traditional colors (brown, red, etc.) and use more unconventional means, such as Kool-Aid, to dye your hair whatever color best suits your personality (blue, green, purple).
In this article, we covered how to dye your hair and home remedies for dyeing your hair. If your dye-session gets a bit sloppy, you also know how to remove hair dye from skin.
Do you know someone who likes to dye their hair? Maybe someone who would benefit from a new look. Use the buttons below to share to Facebook, Twitter, and Instagram.