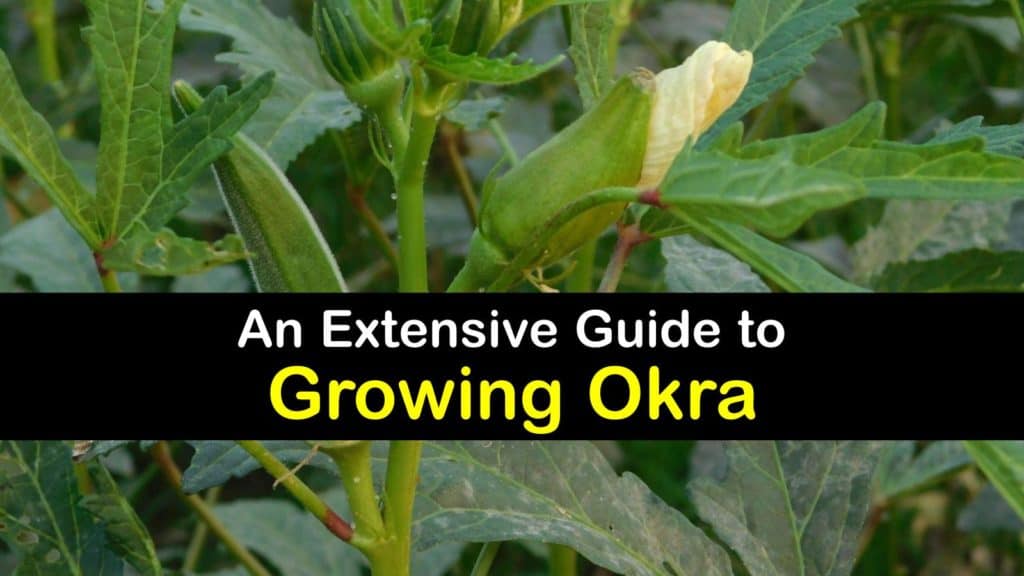
Okra has a mild grassy, sweet taste with a texture that is either creamy and dense or crunchy and juicy, depending on how you prepare it. It’s a great veggie to add to the garden and grows just about anywhere. Learn about the different okra cultivars and their growing conditions, how to grow okra and care for the plants, and ways to use them to make a delicious dish.
Brought over from Africa many years ago, okra plants enjoy growing in hot and humid areas of the south. Therefore, this veggie is a popular choice for southern cooking. However, it flourishes in many places if given a chance and the right care and conditions. Okra is only in season during the summer and not readily available at every market.
If you’ve ever decided to make a large batch of gumbo and discovered that your local grocery store does not have a good supply, then you know the struggle is real. Fortunately, it’s relatively easy to grow and store at home.

Growing, Maintaining, and Preparing Okra
There is nothing more enjoyable than the flavor and nutrition of fresh vegetables, and growing okra in the veggie garden is easier than you think.
While they are a perennial warm weather flowering plant, okra grows as an annual in most regions. Provide okra seeds with the right temperature for germination, give them proper spacing in the garden, and watch them thrive.
How long does it take to grow okra, and are there different types? These are important questions and knowing the answers ensures that you get a healthy crop.
Learn how to grow and harvest okra and prepare it for the dinner table at the end of the growing season.
How Long does It Take to Grow Okra?
Different vegetables have varying rates of growth. Some veggies are ready to harvest in a few weeks, while others aren’t ready to pick from the garden until the fall when the temperature begins to cool. How long does it take to grow okra, and when is it ready to harvest?
There are several stages to an okra plant’s growth – germination, plant growth, flower blooming, and okra pod formation. It takes two to twelve days for an okra seed to germinate, depending on the type.
At this point, the plant begins to develop and mature, growing three to six feet tall. It develops large flowers about two months after planting, followed by okra pods three to four days later. The entire growing process takes 50 to 65 days.

How to Prepare for Growing Okra
There are certain things to prepare for when growing okra for the first time. The different types of okra plants require the proper amount of sunshine, so location is key, and they enjoy growing in the right soil type. Discover everything okra needs for optimal growth.
Okra plants are sun-lovers and enjoy at least eight hours of full sun each day. They prefer loose and fertile soils that are slightly alkaline and adding some lime to the garden bed a couple of months before planting increases the soil alkalinity.
These plants grow well if they receive one inch of water weekly but tolerate dry spells better than many veggies. Okra needs food for healthy growth, so work a well-balanced fertilizer evenly into the top four inches of dirt before sowing seeds or planting seedlings.
Understanding the Different Types of Okra
Before you grow okra, it’s a good idea to understand the different types and research companion planting for okra to yield the best crop. Some okra varieties are perfect for container growing, while others are suited for a garden setting.
Some produce pale green pods, and others grow colorful burgundy okra pods. Here are some of our favorites to help you choose the best one for your tastes and space.
Okra plants (Abelmoschus esculentus) are members of the mallow family and are related to hollyhock, hibiscus, and cotton plants.
There are many cultivars, and one of the most popular is Clemson Spineless. As the name implies, it’s virtually spinless, so garden gloves are unnecessary during harvest.
It grows four feet tall and wide, matures in 55 to 60 days, and produces curved dark green pods up to nine inches long.
Another favorite is the heirloom Emerald variety. This classic type grows up to eight feet tall, matures in 60 days, and has smooth, straight, dark green fruits seven inches long.
Annie Oakley okra is a spineless, high yielding hybrid with a compact size of four feet tall, perfect for small gardens. It produces a generous crop of slightly ribbed green pods after 52 days.
Another short-season okra plant is Cajun Delight, which takes 50 to 55 days to mature. It has a maximum height of four feet and grows three to five-inch long, dark green pods with a slight curve.
Burgundy okra matures in 49 to 60 days and is unique from other types with its attractive green leaves and burgundy-colored stems and pods. It grows five feet tall with a four-foot spread, and the fruits reach up to eight inches in length.
How to Grow Okra
Once you find the perfect location to grow okra in the yard, it’s time to get planting. Find out how to grow okra by starting it from seed indoors and transplanting the seedlings with the correct spacing or sowing the seeds directly in the garden.
Growing Okra
To start your okra seeds indoors, the way to plant okra from seed begins six to eight weeks before the last frost. To encourage faster germination, soak the seeds in water overnight or for several hours to soften the seed coat.
When growing okra in pots, fill the peat pots with potting mix and sow two seeds in each one according to the seed packet instructions. Spray them lightly with water and keep them in a sunny, warm area of your home.
After they germinate, thin the seedlings so that there is one plant per pot. Otherwise, sow the seeds directly in the garden or outdoor container.
Prepare the garden bed for planting by adding fertilizer to the dirt. If you decide to grow a small variety in a container, make sure the pot is one foot deep and wide with drainage holes.
After the danger of the last frost date passes, harden off the seedlings by taking them outside each day for about one week. Begin by placing them in a shady area for a couple of hours and gradually moving them to a sunny spot by the end of the week.
After you acclimate the young plants, plant them in the garden or bed by spacing them one foot apart with three feet spacing between rows. Water them right after planting and spread mulch over the dirt to stop weed growth and retain moisture and warmth.
Okra Plant Care and Pod Harvest
As much as we’d love to plant seeds and let nature take its course, a veggie garden requires attention from time to time. Learn how to water, feed, and care for your okra as it grows, common problems that occur during the growing process, and how to harvest okra at the end of the season.
Water your plants when needed, ensuring they receive an inch each week, especially after they begin blooming flowers and seed pods and if you experience dry conditions for extended periods.
Keep an eye out for common garden pests, such as aphids, stink bugs, flea beetles, and corn earworms. Remove the insects by hand or use insecticidal soap if you suspect an infestation.
Okra is susceptible to the root knot nematode, or eelworm, a natural part of the soil makeup. These nematodes break down organic matter and sometimes suck the nutrients from roots, which is detrimental to okra plants. The best way to stop this problem is to perform crop rotation.
Fusarium wilt is another issue that plagues okra. This fungus causes yellowing and wilting of the leaves, and there is no effective treatment. Try to minimize damage by planting disease-free seeds, removing infected plant material immediately, and rotating the crops.
The best way to tell when your okra is ready for harvesting is to keep an eye on the flowers. Pods are usually ready to pick five to six days after the plant blooms. Harvesting takes place every other day from July through August.
The way to harvest okra is to wear gloves and long sleeves when picking pods to prevent the possibility of getting a rash from the small spines, and use garden shears or a sharp knife to gently cut the pods from the plant without bruising them.
Ways to Store Okra after Harvesting
Okra harvesting takes place over a month or two, and it’s vital to know how to store your veggies to keep them fresh, especially if you grow a high-yielding plant like Annie Oakley. Fortunately, there are several ways to store okra, including the refrigerator and freezer.
Okra pods have a very short shelf life, and refrigeration is necessary. Wrap the pods in a paper towel and put them in a perforated plastic bag, or set them in a paper bag and keep them in the fridge for two to three days. Keep them dry since moisture causes them to become slimy.
For longer storage, the best way to preserve okra is by freezing them. Wash the okra pods, cut off the stem, and blanch them in boiling water for three minutes. Transfer the pods to an ice water bath to halt the cooking process and drain them before moving to the next step.
To stop the pods from sticking while freezing, spread them in a single layer on a cookie sheet and flash-freeze them for several hours.
Slide the frozen pods into a freezer bag or airtight container and put them back into the freezer. Frozen okra lasts up to nine months when stored in this manner.
If you prefer not refrigerating or freezing okra, these veggies are great candidates for pickling, canning, and drying for long-term storage. Canning okra and tomatoes is a southern favorite.
How to Make Southern Style Fried Okra Patties
While gumbo is the go-to for using fresh okra, nothing says the south like a flavorful and crispy fried okra patty. They’re lovely for snacking or as a side dish and a great way to use up okra pods after a bountiful harvest.
Heat one inch of oil in a skillet until it reaches 375 degrees F. Combine the okra, onion, black pepper, salt, and egg in a mixing bowl and add the flour, cornmeal, and baking powder.
Gently drop spoonfuls of the okra batter into the hot oil and fry them for two minutes per side or until golden brown. Remove the fried patties from the pan with a slotted spoon and drain on a paper towel.
Okra pods have a unique flavor, and cooking gives them more depth, making them perfect for roasting, frying, and boiling in soups.
However you enjoy eating these tasty veggies, they are even better when they’re fresh from the garden, and growing your own keeps your kitchen well-stocked throughout the season.

We hope you enjoyed learning how to grow okra and prepare it in a dish, and we’d love it if you’d share our okra growing tips and plant care guide with your social circle on Pinterest and Facebook.