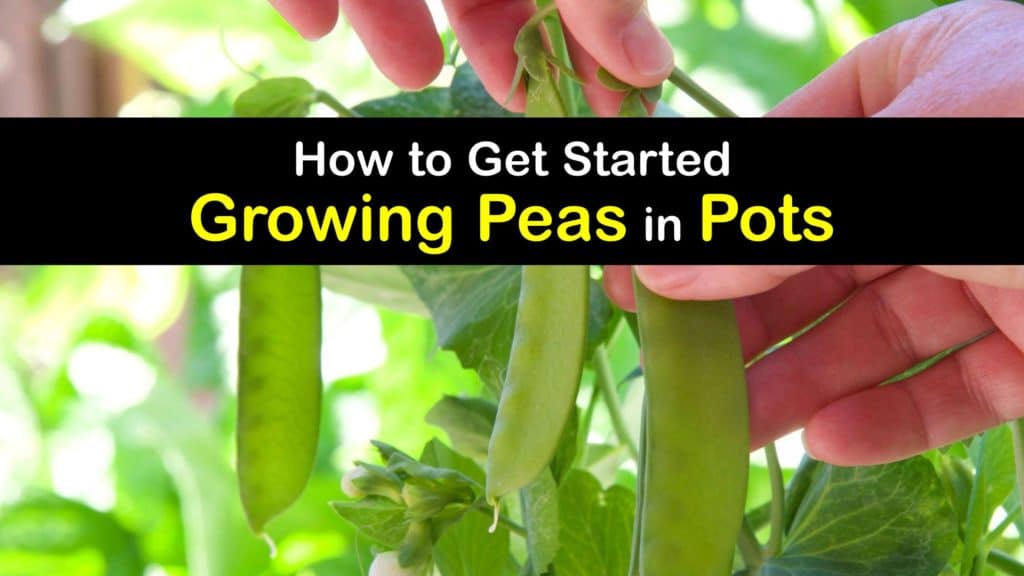
Peas are the small seed, or edible pod, of the Pisum sativum pod fruit. Individual peas that develop inside peapods are immature and used fresh, canned, or frozen in various dishes. Whether you prefer to utilize peas or edible pods in your meals, learning how to grow peas in a pot allows you to share homegrown and organic veggies with your family.
Commonly green, pea plants also grow yellow and purple peas in low-growing and vining varieties. The bush types available make peas an excellent plant to grow in pots depending on the space around the home. Before planting pea seeds, it’s essential to decide which type of pea to grow on your pot-grown pea journey.
In the 17th century, eating immature peas caught on, and the English began developing new kinds of peas like the English pea or garden peas. Other popular types of peas include sugar snap peas and snow peas.

What to Know about Growing Peas in Pots
Fresh peas are enjoyed worldwide in casseroles or stir-fried dishes using snap peas. Once you learn how to plant peas in pots, you’ll be on your way to including tasty peas in your favorite dishes.
Whether you are trying to grow sugar snap peas are a chickpea plant, peas are quick and straightforward vegetables to grow. The basic requirements for growing peas in pots are sunlight and moist soil.
Peas are cool-season crops, and although planting in pots provides more freedom for the growing season, peas do grow best when planted early to ensure you harvest peas before the temperature rises and your pea plant stops producing.
Early spring is the best time to plant peas in most locations across the U.S. This allows them time to grow before hot weather sets in.

Planting Peas in Pots
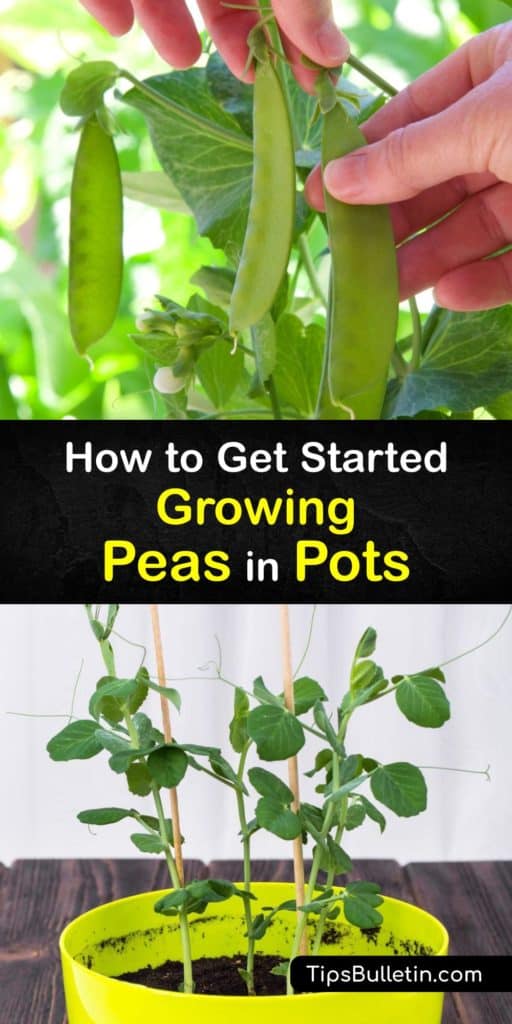
Select a large pot (at least 12 inches wide) with good drainage to start planting peas. If you plan on growing sugar snap peas, having a support system ready is essential. You can purchase support for your pea seedling online, but a tree branch stuck upright in the pot works just as well for the pea vine to grow on. It’s important to use pole bean supports to keep the plants from flopping over.
If you are planting peas in containers, fill the pot with potting soil, stopping three inches from the top of the pot. If you use potting soil that does not come with mixed fertilizer, add an all-purpose fertilizer by following the label instructions.
Peas do not require much fertilizer to grow, and adding too much may result in too much nitrogen in the soil. Although helpful for plant growth, an excess of nitrogen affects the development of your pea seed.
If your pea pod is large with small or no individual peas inside, this is a sign of your plant growing with too much nitrogen in the soil. Peas come from vines on healthy plants, so soil health is essential to vegetable production.
Peas grow easily on their own, but their growth is boosted by adding an inoculant to the soil or soaking seeds in water overnight before coating them in the inoculant. Inoculants are bacteria applied to seeds before planting to ensure the correct bacteria is available to the seed as it germinates.
When planting pea seeds, space them evenly across the soil before pressing them into the soil and covering them with two inches of soil. Water the pot thoroughly until the excess water drains through the bottom of the container.
Although the name sweet pea may indicate the taste of another pea variety, sweet peas are flowering plants within the legume family.
The seeds of this plant and plants within the Lathyrus genus are toxic. Some seeds in the Lathyrus genus create toxicity in the body known as lathyrism, leading to paralysis and muscle atrophy in the lower limbs.
How to Grow Peas in a Pot
After you plant peas, a crucial step to ensuring your plant thrives is to keep the soil moist. Growing peas in pots mean they lose water faster than they would if they grew in a garden bed. A lack of water while growing peas indoors results in the yellowing of pea shoots.
Your pea plant requires full sun, at least six hours of sunlight each day, to germinate. The sprouts of your seeds should appear in roughly two weeks, and two months from the time you plant them, they will start producing the seed pod.
One benefit of planting peas in pots is that nuisances like weeds, pests, and disease are less a factor. Weeds do not typically grow in potting soil, and a climbing pea variety avoids pests and types of bacteria that live on the ground.
After planting peas in pots, you may find some issues that hinder pea growth. If you plant pea seeds in containers outdoors, spray pests like aphids and slugs with the garden hose.
When growing peas in Europe or Canada, you may encounter a pea moth. These pests seek out blooming plants and lay eggs on the pods. After hatching, larvae dig into the pea to feed.
To avoid this, grow peas under row covers or an insect-proof mesh to keep female moths from laying eggs. Because peas are self-pollinating, there is no downside to blocking all insects from accessing your plant.
Leaf spots and powdery mildew are diseases that may affect your pea plant. If yellow or brown spots begin forming, snip off these affected leaves. Powdery mildew, which starts as a thin grey or white layer of mold on the leaves of your plants, comes from a fungal source in the area.
To avoid mildew, do not water your plant’s leaves, only the soil, and ensure your plant grows on a support system to provide good air circulation. A milk spray applied to your plant also helps prevent mildew from forming.
Pour water and milk into a spray bottle and spray generously onto the leaves of your pea plant. We suggest spraying in the morning or when the sun is highest in the sky as it is believed the protein in milk forms an antiseptic after sun exposure.
Harvesting and Storing Peas
After your plant blooms, pods grow and replace the flowers. Knowing when to start harvesting peas depends on the kind of pea planted. Generally, peas reach maturity in 60 to 70 days which means it is possible to have two harvests per year, one in late spring and another in fall.
If you are growing English peas or any cultivars like Green Arrow or Lincoln, wait for the pods to become plump, and the seed mounds visible. When shopping for frozen peas, you are likely buying English peas. They are the ideal shelling pea because their pods are too tough to be edible.
When to harvest peas of the sugar snap variety is after they’ve begun to swell slightly, but the pods are still young. Harvesting at this stage means your pods are sweet and tender. Sugar snap is a variety where shelling peas is optional. Although the pods are edible, the green peas inside are sweet enough to eat.
When harvesting snow peas, pick them off the plant before the pods grow too large, which results in them being tough. Peas inside snow pods are typically flat, and this variety is eaten whole without shelling.
With minimal preparation, peas are the perfect choice to grow plants in containers. To take full advantage of your container, place a porous landscape material in your pot before adding potting soil.
Once you harvest peas, remove the plant and plant a summer-season crop in the same pot. By the time summer is over, your pot should be empty and ready for another round of pea seeds.

We hope you learned how to grow peas in a pot and will share our tips on growing peas in pots on Facebook and Pinterest with anyone interested in container-grown peas.