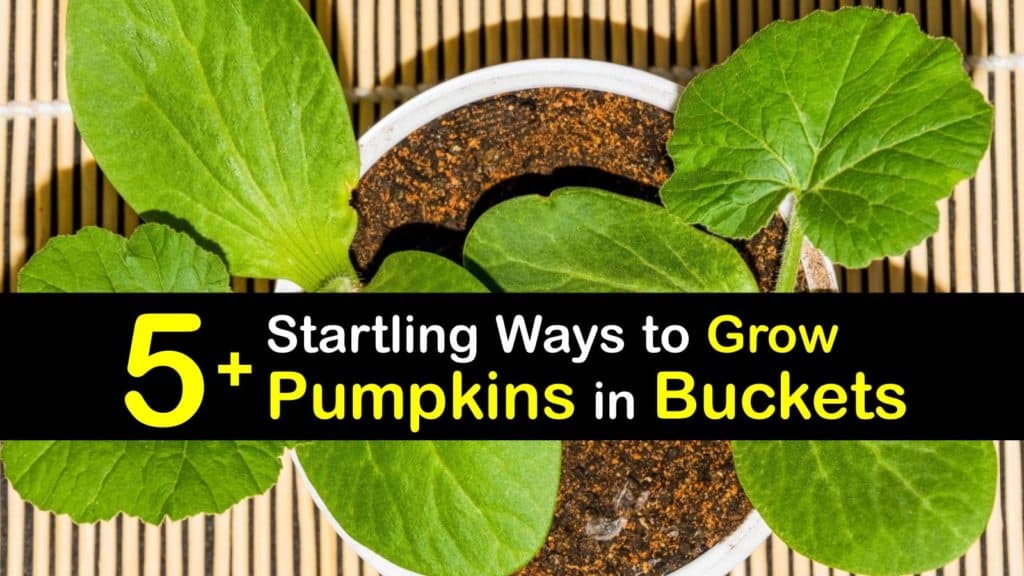
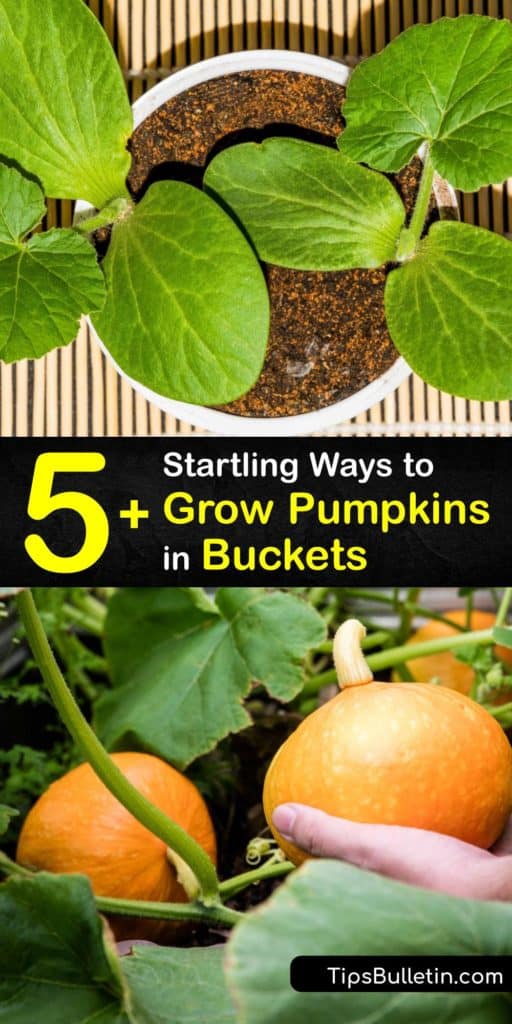
Have you ever thought about planting pumpkins in your container garden? Even though the plants become quite large, growing pumpkins in containers is possible if the vines have enough space to spread out or climb. Read on to find out how to grow pumpkins in a container on your deck, patio, or even indoors.
There are numerous benefits to growing pumpkins in pots. Container gardening is a practical option for growers with a limited amount of space or if you don’t have a raised bed or garden plot at home. It also gives the gardener more control over some growing conditions and reduces the likelihood of pest and disease problems.
In addition to providing festive Halloween decorations, pumpkins are incredibly nutritious veggies. They’re rich in antioxidants, fiber, potassium, protein, and vitamins A and C. These nutrients help reduce inflammation, boost the immune system, and decrease the risk of chronic diseases. Pumpkin is also beneficial for skin, heart, and eye health.

What to Know about Growing Pumpkins in Containers
Pumpkin plants are reasonably easy to grow. When considering how to grow pumpkins in containers, the most critical factors to keep in mind include water, temperature, sunlight, and space.
Pumpkins, or Cucurbita pepo by their botanical name, are in the Cucurbitaceae plant family along with cucumbers, gourds, melons, and squash.
These warm-weather crops grow best in full sun, where they get eight or more hours of direct sunlight each day. The uncommon and common types of pumpkins thrive when temperatures are between 65-90℉.
There is really no difference between pumpkin, squash, and gourds when it comes to the amount of water they require. Pumpkins are thirsty plants and require consistently moist soil. Provide your pumpkin plants with approximately one inch of water per week and more during periods of especially dry or hot weather.
Adequate pollination is vital when planting squash in a container of any kind for a satisfactory harvest of pumpkins at the end of the growing season. Pumpkin plants develop separate male and female flowers. The male flowers usually bloom first and feature a stamen that generates pollen.
Female flowers have a central pistil to receive pollen and a small lump or node at the base that eventually turns into the pumpkin after the flower is pollinated. Plant aromatic herbs and flowers alongside your pumpkin pots to attract pollinators.
Most pumpkin varieties produce long, trailing vines that sometimes grow 25 feet. When growing pumpkins in pots, choose medium to small pumpkins with a more compact growth habit. It’s also possible to train pumpkin vines to climb up a trellis.
There are more than 50 different pumpkin varieties available. The list of gourds and pumpkins to grow in pots goes from miniature pumpkins like Baby Boo, Munchkin, and Jack Be Little to pie pumpkins like Baby Bear and Cinderella.
They sometimes grow in unusual colors like white and green. Select the pumpkin types that best suit your available space and have fun trying out a unique cultivar that isn’t normally available at the farmer’s market or grocery store. It’s easier to grow pumpkins and butternut squash at home than you may have first thought.

Choosing the Right Container
To set yourself up for success, select the perfect pot for the job. Use large containers that have several drainage holes at the bottom to prevent problems with root rot.
Ensure that your pumpkins have enough space for the root system to mature, making sure your container holds at least ten gallons of potting soil. The pumpkin plants only grow as large as their roots allow and won’t produce as much fruit in a pot that’s too small.
It’s best not to use terracotta pots for growing pumpkins. The terracotta absorbs water, drying the potting soil out faster. Weather-proof ceramic, resin, or plastic pots work well, as do large fabric grow bags.
It’s helpful to place a saucer underneath your pots to catch draining water so it doesn’t make a mess on your deck or patio. Empty it if you notice too much water accumulating.
How to Grow Pumpkins in a Container from Seed
The best strategy for how to grow pumpkins in containers depends on your growing climate. In warm regions, it’s possible to sow pumpkin seeds directly in your outdoor pots whenever the weather is consistently warmer than 60°F in late spring.
In USDA zones with a shorter growing season, plant your pumpkin seeds indoors three or four weeks in advance of the usual last frost date for your local region.
Gather a few propagation supplies before you begin. If you don’t already have some of these items at home, they’re available for purchase online or at your local garden center.
Fill your seedling trays or peat pots with a nutrient-rich and well-draining potting soil mix. Sow seeds one inch deep, then loosely cover them with soil. Lightly saturate the soil using a spray bottle. Top the tray with a humidity dome or sheet of plastic to retain moisture.
Germination takes five to ten days. The optimal soil temperature for germinating pumpkin seeds is between 80-85°F. The seeds don’t germinate at temperatures colder than 60°F.
Using a heat mat to maintain a consistent soil temperature during the germination process and while the pumpkin seedlings develop is helpful.
Once your seedlings begin sprouting, move the tray to a sunny, south-facing windowsill that gets a minimum of six hours of bright light daily. If you don’t have a sunny window available, consider using grow lights to prevent the seedlings from becoming too long or “leggy.”
When the roots start to emerge from the drainage holes in the tray, transplant your pumpkin seedlings into four-inch pots to prevent them from getting root-bound. Keep the soil consistently moist and rotate the pots every few days to encourage strong stem growth.
Best Soil and Fertilizer for Growing Pumpkins in a Container
For the best results when growing pumpkins in a container, use a high-quality potting soil mix rich in nutrients and organic matter.
Look for a potting blend with extra perlite for drainage, peat moss or coconut coir for moisture retention, and organic compost for slow-release nutrients.
Pumpkin plants are heavy feeders, so it’s essential to fertilize regularly throughout the growing season.You can use Epsom salt for pumpkins as an easy at-home fertilizer.
In addition, plants tend to require more water and fertilizer when growing in pots than in-ground plantings because nutrients leach out of the soil as the water drains from the pot.
There are three fundamental macronutrients in plant fertilizer: nitrogen (N), phosphorus (P), and potassium (K). Nitrogen improves leaf growth, phosphorus supports robust roots, and potassium promotes fruiting and flowering.
When transplanting pumpkin seedlings into large containers, it’s a good idea to mix a cup of organic, all-purpose fertilizer into the potting soil to give your plants plenty of nutrients as they get established.
Once the pumpkin plants begin flowering, switch to a fertilizer with greater amounts of phosphorus and potassium than nitrogen.
For slow-release granular fertilizer, apply it every three to four weeks. If you’re using liquid fertilizer, mix it in a watering can according to the instructions on the product label and fertilize your pumpkin plants every other week.
It’s also immensely beneficial to use organic matter like grass clippings, leaves, or straw as mulch over the soil surface to help keep the root system warmer, retain soil moisture, and suppress weed growth.
How to Grow Pumpkins in a Container Indoors
Growing pumpkins indoors isn’t much different than growing them outdoors. However, you may want to go for mini pumpkins that don’t take up quite as much space.
They still require large containers, but it’s easier to train the small pumpkin vines to climb a trellis and keep their sprawling growth habit in check.
The greatest challenge of growing pumpkins indoors is making sure they get enough light. Unless you have a sunroom in your house, you’ll probably need to use a grow light to get a sufficient pumpkin harvest.
Harvesting and Storing Homegrown Pumpkins
Now that you’re familiar with how to grow pumpkins in a pot, it’s time to learn about harvesting, curing, and storing them. Pumpkins typically get harvested in late summer or early autumn after they reach full maturity.
Ripe pumpkins have a hardened rind, and the stem begins pulling away slightly from the top of the fruit. The vines start to die back by this point.
A simple way to test whether or not your pumpkins are ripe is to firmly tap on the rind. If it feels solid and makes a hollow sound, the pumpkin is ready to be picked.
Another approach is to press a fingernail into the rind. If you can puncture it, leave it on the vine a few more days.
Make sure to harvest all of your pumpkins before the first frost date forecasted for your area. It’s best to harvest during dry weather if possible.
Using a sterile, sharp pair of pruning shears, cut the pumpkin’s stem several inches above where it meets the top. Leaving the stem intact significantly prolongs storage time.
Handle your pumpkins as gently as possible to avoid bruising them. Pumpkin vines often have small prickles, so some growers prefer to wear gloves and a long-sleeve shirt while harvesting to prevent skin irritation.
For extended storage, pumpkins must be cured to harden the rind and seal the stem. If the weather allows, cure your pumpkins outdoors in the sun for seven to ten days. Otherwise, cure them indoors in a warm, dry place.
Store cured pumpkins somewhere cool and dry. Under optimal conditions, pumpkins last up to three months.
After slicing a pumpkin open, try to use it within three days. Store fresh pumpkin in an airtight container in your refrigerator. Freezing is an excellent way to extend the shelf life of your pumpkin crop. Use frozen pumpkin cubes or purée within eight months.
Solutions for Commonplace Pest and Disease Problems
Even though the risk is lower when planting pumpkins in containers, regularly monitor your plants for any pest or disease damage.
Healthy plants are less susceptible to attacks from insects and pathogens. Providing appropriate levels of light, nutrients, and water are their best defense.
Insect pests that attack pumpkin plants include aphids, cucumber beetles, squash bugs, and squash vine borers. When you first notice a pest infestation, spray all parts of the plant with an organic pesticide like neem oil or insecticidal soap.
Use floating row covers in early spring to prevent insects from laying eggs on the tender young pumpkin seedlings.
Remember that pollinators and beneficial predatory insects are affected by the use of insecticides, as well. Be mindful of targeting infested plants only and use cultural controls like repellents and companion planting to deter pests when possible.
Pumpkin plants are sometimes susceptible to fungal diseases, including leaf spot, powdery mildew, and rust.
These fungi persist in warm, damp conditions, and the spores frequently spread through water droplets. Provide ample air circulation, and use drip irrigation or a soaker hose to avoid wetting the leaves when watering so you don’t have to worry about pumpkin leaves turning white or yellow or having moldy spots.
If you’ve never tried growing pumpkins in containers because they take up too much space, think again. When considering how to grow pumpkins in containers, use a large pot and make sure they get plenty of light, water, and fertilizer.
Although you might not be able to grow large pumpkins, you’ll have plenty of small sugar pumpkins for your Jack-O-Lantern and holiday pies.

If you found these container gardening tips helpful, please share this article about how to grow pumpkins in a container with your fellow green thumbs on Pinterest and Facebook.