Sometimes finding an onion that isn’t overpowering is a struggle. Shallots lack the sharp bite of regular onions while adding garlicky aromatics and spice to foods. Learning how to grow shallots at home is the easiest way to have milder ingredients on hand if you’re an avid home cook. However, because they’re less traditional, growing shallots at home leaves people panicking about taking care of them.
How long do shallots take to grow? What do they require to grow to maturity? Shallot bulbs are relatively easy to care for and don’t require too much labor throughout the growing season.
These plants are staples in Iran, India, Sri Lanka, France, and Ethiopia, but more people in the United States have realized how incredible these delicate onion family members are. This guide discusses everything about these veggies, from where they came from to how to make them thrive in your garden beds.
About Shallots
The scientific name of common shallots is Allium cepa. The allium family contains ramps, leeks, and chives. Some countries call shallots scallions, but they aren’t the same thing.
Scallions are also called green onions, but they are the green tops that grow from the top of young onion bulbs.
There are two categories of shallots that are most popular around the world. French shallots rarely set seeds or flower and the only way to grow them is if you have immature bulbs from the previous year.
French shallots are often grown from the seed and have lots of small hairy roots at the base of individual bulbs like regular onions do.
Dutch shallots are more like onions and form clumps of bulbs, called multiplier onions, instead of individual cloves. They taste similar but are sweeter than French onions, and their color is more yellow than red or purple ones.
Are shallots onions? They are in the same family. In general, the flavor of shallots is pungent when raw and sweet and rich when cooked. These plants are more of a specialty item in the United States.
They are possible to find at a regular grocery store, but always having a supply right in your backyard is super convenient.
History and Cultivation of Shallots
The French and Dutch cultivars of shallots give the impression that shallots come from one of these places, but that isn’t the case.
The origin of shallot plants is a mystery. Wild plants are found throughout Southern and Central Asia and don’t appear to grow anywhere else, so it is assumed that they come from Asia.

Growers are increasingly intrigued to add a new veggie to their garden beds and are making shallots grow in demand. They are hardy in USDA hardiness zones two through ten, which makes them appealing to many people.
If you live in zones two through five, sowing seeds starts in early spring. If you live in zones six through ten, sow them in the late summer or as early fall plantings.
Tips for Growing Shallots in a Home Garden
How long do shallots take to grow? How much water do they need? We answer every question you could have when learning how to grow shallots.
Propagating Shallots
Shallot sets are the easiest way to propagate shallots on your own. When you start the plants from seed, they usually only produce three or four bulbs for every plant.
Planting sets gives you bundles with eight to 12 cloves per plant. If you decide to go the more challenging route, make sure that the seeds look like small black raisins.
These seeds come from the flowers that grow on top of the scapes or flower stalks. We point this out because some sets are sold as “seed shallots” which aren’t the same.
How to Grow Shallots from Seeds
There are two options when you grow shallots from seed. Sow the seeds indoors eight to ten weeks before the last frost of early spring, or sow them outside four weeks before the last frost.
If sowing the seeds indoors, start by filling seed trays with high-quality potting soil. Make a half-inch deep hole in each cell and put two seeds inside. The way to grow shallots indoors is to cover the shallot seeds with soil, spray them with water, and set them in a warm, sunny location.
Continue to keep the seeds and soil moist until they germinate in ten to 14 days. Once the shallots sprout, place them into direct sunlight on a windowsill or under grow lights to give them a minimum of six to eight hours of sunshine per day.
These seeds are ready to transplant outdoors eight weeks after germination or when the plants reach five to six inches tall and have three leaves.
If sowing the seeds outside, start by planting shallots in a location that gets full sun, as they don’t tolerate partial shade very well. Ensure that the area has loose soil to help their shallow root systems spread.
Amend the ground with organic matter like compost or mulch. Dig holes that are half an inch deep and place two seeds in each one. How far apart to plant shallots is important. Six to eight inches of spacing is required between each hole, and spacing of 12 inches is the minimum between rows.
Keep the soil evenly wet but not soggy until they start sprouting. Continue to water them with an inch of water every week and thin them to one plant every six to eight inches. Mulch the soil surface if you want extra help retaining moisture and heat.
How to Grow Shallots from Sets
Growing shallots from sets is definitely quicker than replanting seeds every year. Purchase bulb sets directly from a garden center, nursery, or online. You can also use some from the previous year if you have them.
Choose a location in the garden that receives six to eight hours of sunshine. Growing zones two through five should plant sets two to four weeks before the last frost of spring and zones six through ten after the first frost of fall.
Shallots love cold weather, and they’ll grow larger and more flavorful if they go into a dormant period after their first freeze.
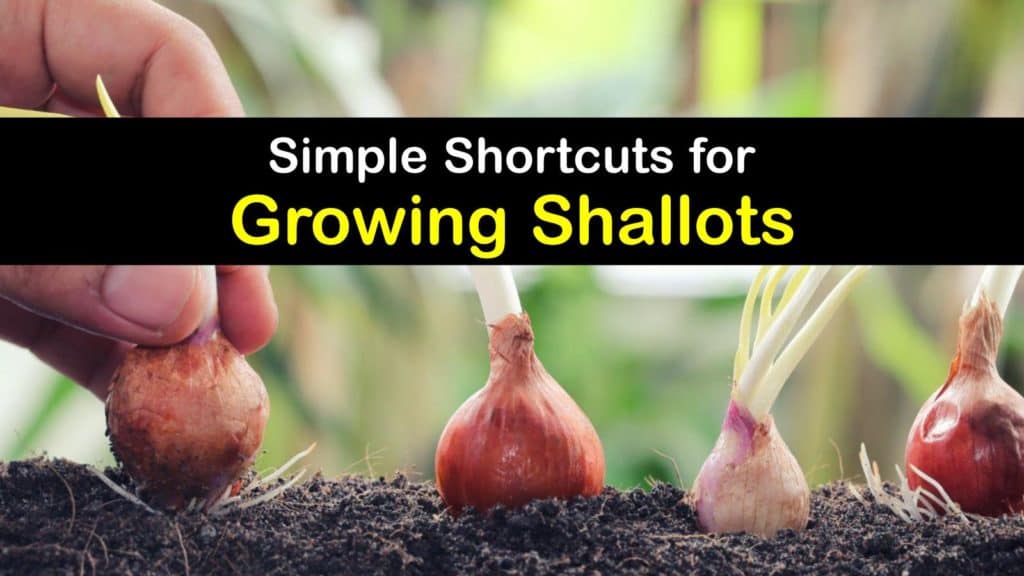
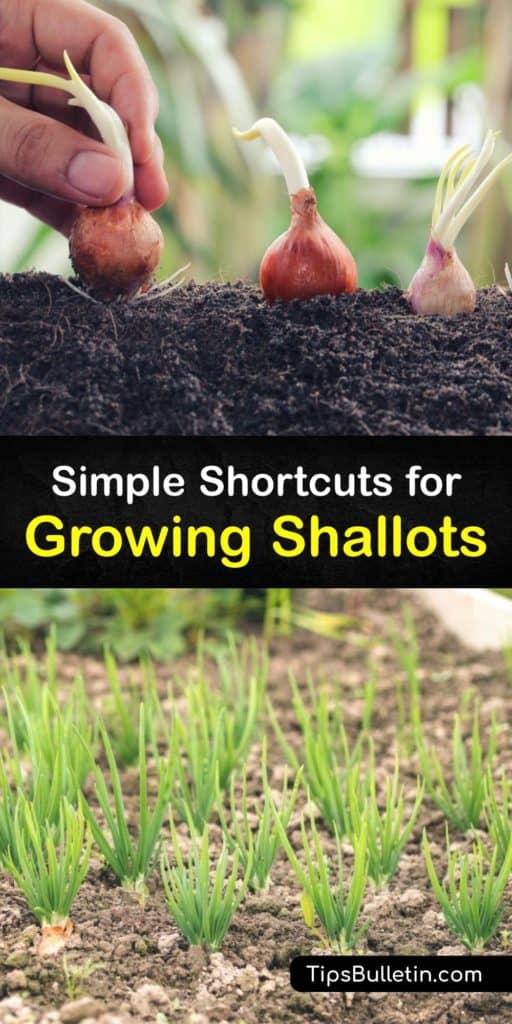
Separate the bulbs very carefully before you plant them. Make sure you don’t mishandle them and rip their skin off, or they might rot. Amend the ground with compost, manure, or an organic shallot plant fertilizer and dig a hole in the ground that is the same depth as each bulb.
Place the pointed end up and backfill with the same dirt but leave the tip of the bulb poking out. Water each set thoroughly after planting. Give planted sets an inch of water every week without them being so wet that they rot.
Growing onions or shallots in containers is just as easy. Follow the same process for planting in the garden.
You can regrow yellow onions, from the root end that you usually throw away. Try it for shallots and other onion types, too.
How Long do Shallots Take to Grow?
Despite being started from different stages, they both take similar amounts of time to mature fully. Planting both seeds and sets in the spring averages eight or more mature bulbs that mature within 100 to 120 days.
Bulbs planted in the fall usually take a little longer to develop because their growth slows during the colder months of winter. If you plant in the fall, they are generally ready to harvest seven to nine months after sowing.
Caring for Shallots
Shallots thrive in organically rich soil with a pH range of 6.0 to 7.0. If you’re unsure of the pH levels, conduct a soil test and amend it accordingly. Their shallow root system can’t tolerate much, so keep the area weed-free and try not to disturb them.
Give them one inch of water every week and apply liquid fertilizer every three to four. To go a step further with their care, use water-soluble kelp powder and bone meal for an extra dose of potassium, phosphorus, and nitrogen.
To protect the plants in the winter, add a thick layer of mulch to the base of each plant. Do this in the spring as well to create a barrier against weeds.
Shallot Cultivars
There may be only two types of shallots, but there are plenty of different cultivars to choose from. If you are trying to grow shallots from their seeds, try the Davidor cultivar.
The Dutch Yellow is the best choice for sweeter flavors. French Red is perfect for making a classy dinner and producing more noticeable flavors.
Pests and Diseases of Shallots
The best way to keep shallot pests and diseases away from your plants is to never plant them in the same area where other allium species have been for at least three years.
Shallots are fairly pest-resistant, and thrips and onion maggots are the usually only infestations they have. It is easy to get rid of them with spray or insecticidal soaps.
White rot is one of the most threatening diseases to affect shallots. White rot turns the leaves yellow prematurely and stops them from growing. The quickest way to identify this disease is by looking at the base of the plant and spotting white, fuzzy mold.
Take this disease seriously because it destroys entire crops and stays in the soil for up to 20 years. The only way to treat poor soil is to rotate fungicide treatments around the area and refill it with fresh soil.
Harvesting and Storing Shallots
Plants sowed in the spring are usually ready for harvest by late fall, while ones planted in the fall are ready whenever the tops yellow and dry out.
Before harvesting shallots, decrease the water by half an inch until the tops are entirely yellow. Tug the shallots out of the ground one at a time.
Once the shallots are out of the ground, braid their tops together and hang them in a warm, dry place to cure. After a week, remove and discard the dried foliage and store the bulbs in mesh bags. How long do shallots and onions last? Keep the mesh bags in a cool, dry place for six months.
Recipes for Shallots
The great thing about having your own vegetable garden is that you get to use fresh ingredients in your kitchen as soon as possible. We can think of a handful of tasty ways to use shallots in the kitchen.
One of our favorites is to use them in place of regular onions in traditional recipes, like green bean casserole, but to experience the rich flavors, try caramelizing them and tossing them into some fresh pasta.
Heat the fresh olive oil in a heavy Dutch oven over medium-high heat. Place the shallots in the pot with the sliced garlic and season them with salt and pepper. Cook the shallot slices until completely softened with a golden-caramel color or about 20 minutes.
Add the red pepper and anchovies to the pot and cook for another two minutes. Stir in the can of tomato paste and season once more with salt and pepper.
Cook for two additional minutes until the paste is brick red. Remove the pot from the heat and put half in the fridge to use for leftovers or a new meal. We like smothering chicken thighs and veggies with it.
Cook your pasta by the package direction in heavily salted water. Use a slotted spot to transfer the pasta into the onion mixture and slowly stir in one cup of pasta water if the combination is too thick.
Cook it down for three to five minutes until you reach your desired consistency. Mix the parsley and chopped garlic in a bowl, and then sprinkle the mix over each dish.
We hope you use these plant-shallots tips if you decide to try to grow them on your own. Shallots are amazingly simple to grow, and they add mouthwatering flavor to everything. Planting shallots in your garden this growing season is something you won’t want to miss.
If learning how to grow shallots has helped you change the flavor of your favorite dishes, share this complete guide to growing shallots on Facebook and Pinterest.