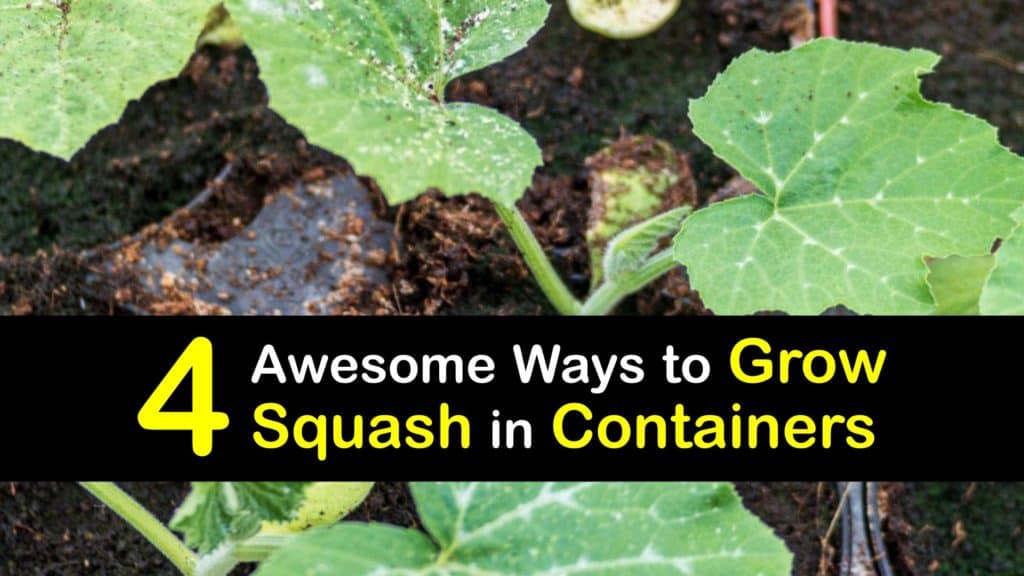
Squash plants are easy and fun to grow in your vegetable garden, but they tend to take up a lot of space. Container gardening is a practical solution for growers with small spaces. In this article, find out how to grow squash in a container on your deck, patio, or indoors.
Aside from saving space, there are numerous advantages to growing squash in containers. You have more control over certain factors like soil quality and light exposure. Additionally, you can move the pots and adapt to changing conditions throughout the growing season. The risk of having pest and disease issues is considerably lower.
Sunlight, temperature, and water are critical factors to keep in mind when considering how to grow squash in containers. Choose a site for your container garden with full sun and protection from the wind. Squash plants also benefit from a bit of radiant heat from a nearby wall.
How to Grow Squash in Containers
Did you know that there are over 100 different types of squash? Generally speaking, squash cultivars are divided into summer squash (Cucurbita pepo) and winter squash (Cucurbita maxima or Cucurbita moschata).
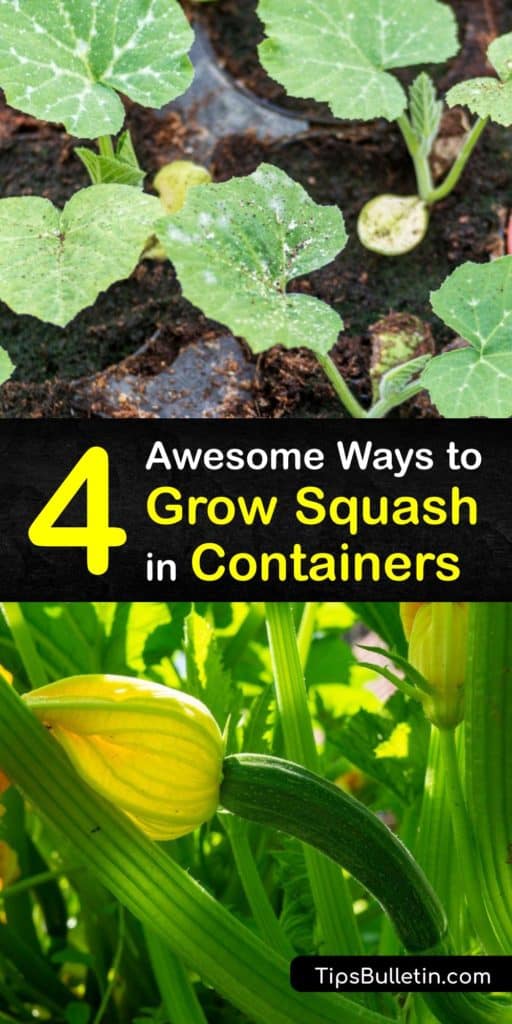
A few of the most common summer squash varieties are pattypan, yellow crookneck squash, and zucchini. Summer squash plants tend to be fast-growing and begin producing fruit within two months of planting seeds. They’re ready to pick approximately four to eight days after the flowers bloom.
Examples of winter squash varieties include delicata, acorn, spaghetti, and butternut squash. Winter squash like spaghetti squash grows much slower. Depending on the type, they take between 80-120 days to reach maturity. The squash ripens about two months after flowering and are harvested in late summer or early fall.
Many growers opt for compact bush-type squash varieties for container gardening. You can grow vegetables in pots of almost any type. Popular squash cultivars include Black Magic Zucchini, Butterbush, and Zephyr Yellow Squash.

No matter which kinds of squash you’re growing when you grow squash in pots, choosing a suitable container is essential for success. Squash plants have a shallow root system and don’t need overly large containers. Make sure your pot is at least 12 inches deep, and allow five gallons of soil per squash plant.
When you grow gourds in a container or another type of squash, always use containers with drainage holes at the bottom to prevent rot and fungal diseases. Terra cotta pots aren’t ideal for growing veggies because the porous material absorbs water, causing the soil to dry out faster.
Best Soil and Fertilizer for Growing Squash in Containers
When growing squash in a container, use high-quality potting soil to achieve optimal results. Look for a product that has added perlite for drainage, peat moss or coconut coir for moisture retention, and organic compost or slow-release fertilizer.
Use organic material like grass clippings, leaves, or straw as mulch to help keep the plant’s root system insulated, retain soil moisture, and suppress weeds.
Squash plants are somewhat heavy feeders and benefit from regular fertilizing throughout the growing season. In addition, container-grown plants require more water and fertilizer than in-ground plantings because nutrients leach out of the soil as water drains from the pot.
When transplanting squash seedlings into large containers or are following the way to plant butternut squash, mix a cup of organic, all-purpose fertilizer in the potting soil so the plants have plenty of nutrients to get established. Once they begin flowering, switch to a fertilizer with higher phosphorus and potassium levels than nitrogen.
Apply slow-release fertilizer every three or four weeks or dilute liquid fertilizer in a watering can according to the instructions on the product’s label and fertilize your squash plants every second week.
If you prefer a DIY approach, use this easy recipe for making homemade plant fertilizer with natural ingredients.
Blend the ingredients in a lidded, airtight container. Apply two tablespoons around each plant’s base every three to four weeks throughout the growing season. Store your DIY fertilizer in a cool, dry place.
Planting Squash in Containers from Seed
In warm climates, sow squash seeds directly in your outdoor pots whenever the weather is consistently warmer than 60°F in late spring. Bring the pots inside if nighttime temperatures drop below 40°F.
In regions with a shorter growing season, start seeds indoors three or four weeks before your expected last frost date. Fill seedling trays or peat pots with a rich seed-starting potting mix and lightly saturate the soil.
Plant squash seeds one inch deep, then loosely cover them with soil. Top the tray with a humidity dome or plastic wrap to retain moisture.
Germination takes between five and ten days. The ideal soil temperature for germinating squash seeds is between 80-90°F. The seeds won’t germinate below 60°F. Use a heat mat to keep the soil temperature consistent.
Once your squash seedlings sprout, move them to a sunny windowsill with six or more hours of bright light daily. Otherwise, use grow lights to prevent your seedlings from growing elongated or “leggy.”
How to Grow Squash in a Container with a Trellis
Vining squash plants have a sprawling growth habit, with vines sometimes reaching 12 feet or more. Train the squash vines to climb a trellis or tomato cage to save space in your container garden. Trellising also improves air circulation and reduces the risk of pest and disease problems.
Use sturdy materials for the frame of your squash trellis to support the weight of the developing fruits. Loosely tie the new growth to the lattice and encourage the curly tendrils to wrap around the supports.
If you’re growing larger squash varieties, it’s helpful to tie lengths of fabric to the trellis frame like hammocks to prevent the heavy fruits from breaking off the vine too soon. Repurposing old T-shirts or pantyhose works well.
Solving Common Squash Growing Problems
Although the risk is lower when growing squash in containers, it’s critical to routinely check your plants for any insect or disease damage. Healthy plants are far more resilient, so providing them with appropriate levels of light, nutrients, and water is the best defense.
Some of the most commonplace insect pests that feed on squash plants include aphids, cucumber beetles, and squash bugs.
At the first sign of a pest infestation, spray all plant parts with an organic pesticide like horticultural oil, neem oil, or insecticidal soap. Use floating row covers to prevent insects from laying eggs on the tender seedlings in the springtime.
Squash plants are sometimes susceptible to fungal diseases like powdery mildew, rust, and leaf spot. These harmful fungi persist in warm, damp conditions, and their spores often spread through water droplets. Ensure proper air circulation and keep the leaves dry when watering by using drip irrigation or a soaker hose.
If your squash plants are flowering but not producing fruit, the female flowers probably aren’t getting pollinated.
For adequate pollination and to promote natural pest control, try companion planting with aromatic herbs and flowers to attract beneficial insects like pollinators and predators. Beans, borage, and marigolds are good neighbors. Dill grows well with squash, and oregano, parsley, and radishes make excellent squash companions.
You don’t necessarily have to be a master gardener to succeed at growing squash in containers. Whether you’re a first-time squash grower or an experienced container gardener, you’ll enjoy a bumper crop of fresh, homegrown squash as long as you provide the proper growing conditions.
Significant considerations for how to grow squash in containers include choosing a pot that drains well, using nutrient-rich garden soil, and placing the pots in full sun.
If you found these vegetable gardening tips useful, please share this article about how to grow squash in a container with your fellow veggie growers on Facebook and Pinterest.