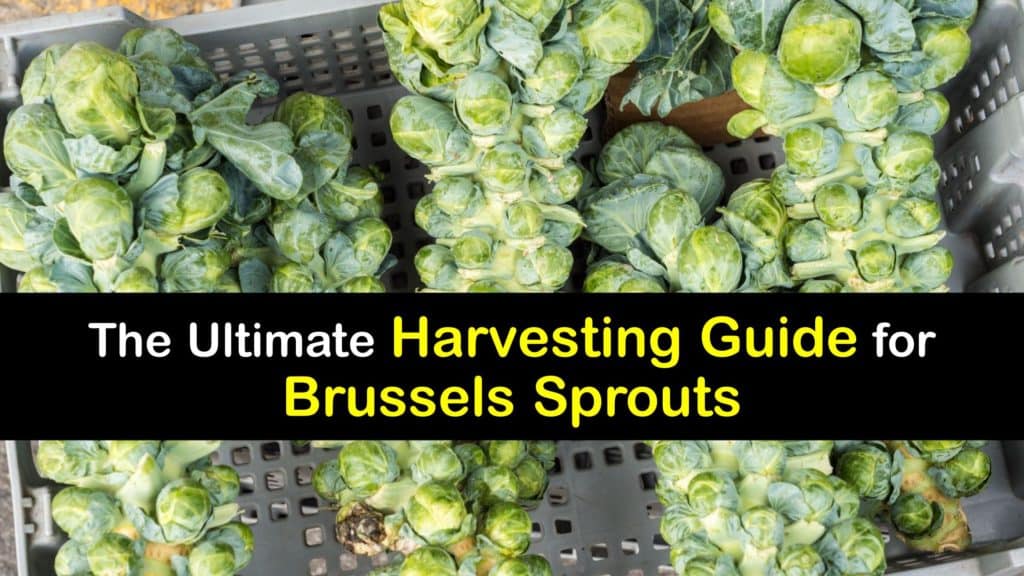
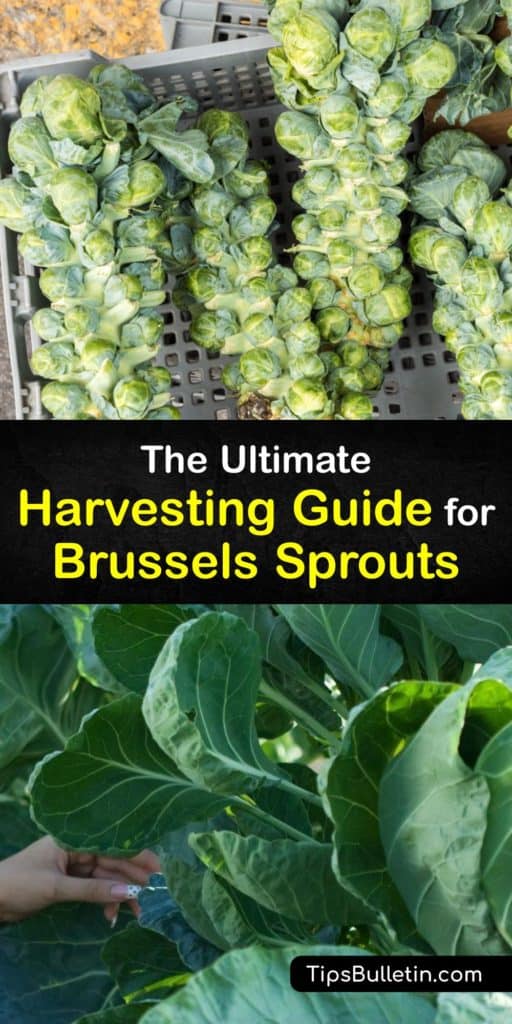
Brussels sprouts (Brassica oleracea) are among biennials belonging to the cabbage family of crops with collards and broccoli. If you’re a fan of these mini cabbages, then you’ll be glad to know that with proper planning and storage, these sprouts last an entire year. This article covers how to harvest Brussel sprouts and adequate storage options to ensure you enjoy your yield as long as possible.
Brussels sprouts received their name after their believed city of origin, Belgium. Since being introduced to the American market, California has become the focal point for growing sprouts due to the year-round temperatures being ideal for growing Brussels sprouts.
While you can purchase sprouts from the store, nothing is quite as satisfying as sowing your seeds and watching the fruits of your labor grow before your eyes until the day of harvest arrives.

What to Know about Harvesting Brussel Sprouts
Growing and harvesting Brussels sprouts also ensures you get all of the nutritional value after plucking them from their stem. Raw sprouts provide more than the daily value of vitamin C and K before cooking.
Harvesting Brussel sprouts requires a little knowledge. How to harvest Brussel sprouts includes knowing that the stalk continues growing to produce more buds. Additionally, if Brussel sprout harvest time is teetering close to winter, fool your plant into maturing the remaining buds so they are ready for harvest in time.
What to Know and Do before Harvesting Brussel Sprouts
Before your sprouts are ready to pluck from their stalk, it’s essential to understand what it takes to reach a successful harvest. How do you deal with insect pests in your home garden?
What kind of care do Brussels sprouts need? How long does it take for Brussel sprouts to grow? When are Brussel sprouts ready to harvest? All these relevant questions contribute to whether or not your sprouts make it to harvest time.
There are several varieties of Brussels sprouts, but Jade Cross or Long Island Improved is likely to be the two types you’ve seen at the store. They are well-loved for their size and resistance to cold.

To grow Brussels sprouts, the soil temperature should be between 45 and 80°F, when you plant Brussel sprouts zone 7 or 5. Instead of planting heirloom seeds, purchase starts for transplanting to get ahead of the growing season. Sprouts grow best in fertile soil with a higher pH. The ideal pH is 6.8 for healthy growth and discouraging diseases like clubroot.
Growing Brussels Sprouts
If you’re a home grower who lives in climates with cool weather, starting Brussel sprouts from seed starts in early spring following the last frost date. If you’re growing sprouts in a warm environment and want to harvest sprouts in late fall or early winter, plant seeds in late summer, at least six weeks before the first frost, for a fall harvest. If you live in a very warm climate, Brussels sprouts are vegetables you can start growing in November.
Sprouts enjoy full sun and moist soil. Make caring for your plants easy by adding organic mulch to the area to reduce weeds and regulate the soil moisture.
Cabbage family crops are susceptible to soil-borne diseases. To reduce the risk, rotate your crops every growing season so that you are not growing sprouts where another Brassica crop grew.
Plant seeds with a spacing of four inches between each seed. Germination occurs over a week with regular watering. At this time, thin out the seedlings, so there is one to two feet between each sprout seedling. If you are growing sprouts across multiple rows, leave at least 30 inches between rows for watering and harvesting.
Pests for Brussels Sprouts
As with other Brassica family members, pests like cabbage worms or caterpillars in your garden threaten your plants. Remove worms by hand to keep the damage to a minimum or crush them while wearing gloves. A less messy method is to pluck them off and drop them into a bowl of soapy water.
Installing a row cover over your plants effectively blocks pests like aphids from reaching your plants. If you suspect aphids, look for small holes and the yellowing of leaves. Because they are small, they cannot withstand a blast from the hose.
Cabbage loopers are another common problem when growing Brussels sprouts. Without companion plants to keep certain pests away, treating your plants with insecticides is the best way to remove pests. Apply a natural insecticide like Bacillus thuringiensis (Bt) to your plants to kill cutworms and cabbage loopers.
Another non-chemical method for pest control is spinosad.
Combine water and spinosad in a tank sprayer and spray all plant leaf surfaces. Because spinosad doesn’t penetrate the cuticles of your plant, it is best to apply without rain in the forecast. Rainfall on your plants causes the spinosad to wash away, limiting its effectiveness.
When to Harvest Brussel Sprouts
Knowing when to pick Brussel sprouts depends on the kind of sprout you planted as different varieties and hybrids boast various rates for reaching maturity. A standard for Brussels sprouts is around 100 days from the day you planted the seeds.
The timeframe for your sprouts is ready also depends on whether you started from seeds, a start, or a transplant. Common varieties like Diablo, Mighty, and Green Gems reach maturity between 85-110 days.
The fastest maturing sprouts reach maturity in around 75 days. These include varieties like Octia and Tasty Nuggets.
On the longer side of the spectrum, cultivars like Nautic and Redarling take 120 to 140 days to reach maturity. When to harvest Brussel sprouts also depends on the conditions your sprouts grow in and in the sunlight.
For some Brussels sprouts, it may take up to 200 days before they are ready to harvest. The best way to tell if your sprouts are ripe for picking is to observe their buds. Ripe buds should be firm, green (unless Redarling), and one to two inches in diameter.
How to Harvest Brussel Sprouts
When growing, Brussels sprouts develop from the bottom up, and as your plant reaches maturity, the sprouts at the bottom of the plant are ready the soonest. If you are growing sprouts in fall for an early winter harvest, you’re likely to get the best-tasting yield as light frosts boost the flavor of your sprouts, making them sweeter.
Grab the Brussels sprout bud and twist until it pops off the stem. Continue working on the lower sprouts first before moving up. The size of your plant determines where to stop harvesting to allow your plant to produce more buds.
While harvesting, it’s common to find leaves turning yellow; cut these leaves off to allow your plant to focus its remaining energy on producing more buds at the top of the plant. Monitor the plant for new growth and the start of new buds for you to collect once they mature.
If you are harvesting in early winter and a hard freeze is coming, gather the remainder of your sprouts or risk losing them to the weather. To force your plant to mature the remaining buds, use shears to cut off the top of your Brussels sprout plant.
Cutting off the top forces the plant to cease production of new growth and focus on its stem. To ensure you have time to harvest, do this three weeks before you want to harvest. This same method applies to harvesting in the summer. If high temperatures are coming, stop future growth to avoid the risk of losing your yield.
Storing and Using Brussel Sprouts
Unless you are cooking Brussels sprouts immediately after harvesting them, you need to know how to store your sprouts until you’re ready to cook them. With proper storage, keep Brussels sprouts and have them ready to eat at any time throughout the year, all the way up until Brussel sprout harvest time next year.
How long Brussel sprouts are good for depends on how you store them. To keep Brussels sprouts fresh in the refrigerator for up to a week, skip washing the sprouts after harvest and transfer them to a plastic bag.
If you harvest more sprouts than you can handle, store what you need in the fridge, and freeze the rest. Before freezing, thoroughly wash your Brussels sprouts, removing any off-color leaves in the process.
Add your sprouts to boiling water, boiling for five minutes. Then, shock the sprouts by immediately placing them in ice water to stop them from cooking. Once cool, dry them on a flat surface, and place your sprouts in a freezer bag.
Another option is canning Brussel sprouts to make tasty pickles. Experiment with spices to test different flavors.
Cooking with Brussels Sprouts
When it’s time to cook, wash your sprouts thoroughly before following your recipe instructions for preparation. If your sprouts are frozen, how you thaw them depends on how you intend to cook them.
For roasting your sprouts, place them on a baking sheet, season them appropriately, and put them directly into the oven. For any other cooking method, bring your sprouts out and lay them out to allow them to soften and reach room temperature on their own.
Prep your oven by preheating to 400°F and cut any brown ends from your frozen sprouts. Mix your Brussels sprouts with olive oil, salt, and pepper in a bowl before evenly spacing them on a sheet pan.
Roast the sprouts for 35 to 40 minutes until crisp on the outside and tender inside. Shake the pan or rotate the sprouts to brown them evenly and serve immediately.

We hope you learned how to harvest Brussel sprouts from our article and will consider sharing our tips on when to harvest Brussel sprouts on Facebook and Pinterest with other fans of these delicious veggies.