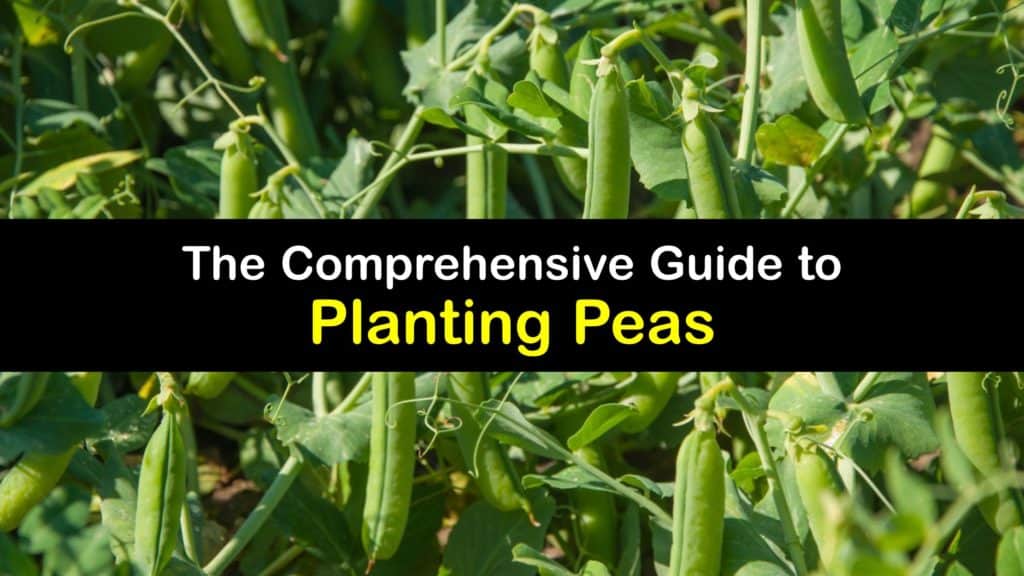
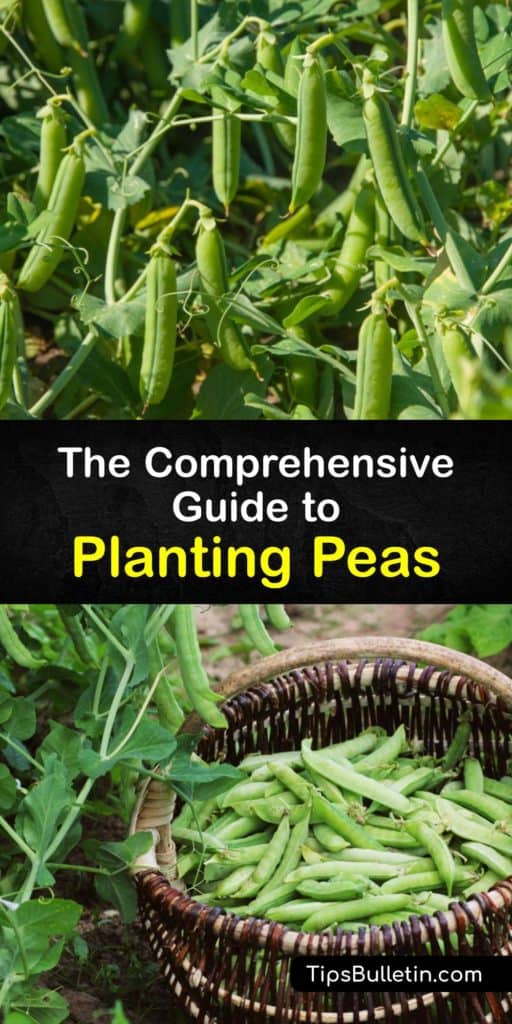
Peas are a delicious and nutritious legume and are easy to produce, so many gardeners ask how to plant peas. Many peas are available, including peas for shelling and peas with edible pods, like sugar snap or snow peas.
Every option in the pea variety is excellent and only requires minimal care during planting and growing to ensure a healthy harvest. The delicious flavor of magnificent garden-grown peas is a treat making planting peas in your home garden well worth it.
Plant your peas as soon as the earth is workable, even if it snows later. Peas are simple plants to raise, but their growing season is limited to the cooler months. Plus, peas don’t keep long after harvest, so savor them while you can.

Everything to Know about Planting Peas
The traditional date for planting peas is St. Patrick’s Day. Planting pea plants early enough in the spring allows them to develop while the temperature is still chilly. Pea growing season extends until the weather gets too hot.
For many regions in the United States, this means planting peas or growing garbanzo beans in late February, March, or April. Growers cultivate peas as an autumn or winter crop in warmer climates.
Peas, whether snap peas, chickpeas or garbanzo beans, are one of the vegetables most gardeners enjoy growing and eating. They usually produce a large harvest, ideal for eating immediately or frozen for later use.
Pea seeds are among the simplest to conserve any garden produce, and after pea plants are no longer producing, mulch them right into your compost pile to replenish nitrogen in the soil.
Plants and flowers of peas are lovely while they’re growing. Their brilliant green foliage and purple flowers appeal to people, bees, and other pollinators, making them an excellent addition to any home garden. Grow pea plants for a tasty and nutritious harvest.
The Right Pea Variety for Your Home Garden
Peas come in three types suitable for most gardening and culinary needs. Each has varying characteristics, from pea size and flavor to edible pod.
Sweet peas are often called shelling peas, the garden pea, or the English pea and have pods you cannot eat. The seeds, or peas, come from these pods.

The snow pea is an edible, stringless flat pea pod containing little snow peas. Snap peas like the sugar snap pea, sugar peas, and the Sugar Ann yield large full-size peas in thick pods. The snap pea is an edible podded pea, so enjoy the green edible pod and each green pea inside.
Fresh peas are delicious, nutritious, and a staple in most households. Choose a pea variety based on your culinary goals, or consider one of the dwarf varieties if you’re short on garden space, and make your goal of growing peas a reality.
How to Plant Peas – Timing
Starting a garden in spring with peas is easier than some other veggies, as peas like cooler weather. When the soil is cold or at the desired soil temperature, sow pea seed 4 to 6 weeks before the final spring frost date; typically plant around March or April in most areas.
Peas seeds put in chilly soil, for example, 40°F, take a long time to germinate. Peas sown in soil with a temperature of at least 60°F but no higher than 85°F germinate faster.
Plant in March in raised garden beds if the spring in your area is long and wet. Snow won’t harm sprouting pea plants, but frigid temperatures for several days may. If your first pea seeds don’t make it, you’ll have to start over. Alternatively, start peas in a cold frame to offer a little more protection.
Plant a second set of peas in late summer or early autumn, around 6- 8 weeks before the first frost date for fall. Planting peas again allows for a second harvest later in the season.
Preparing for Planting Peas
Choose a sunny spot with well-draining soil. While peas grow in partial shade, they aren’t as sweet or prolific as if raised in full sun. Grow peas in a container, raised bed or garden area.
In fall, turn over the earth in your pea plant area, mix in old manure or compost, and mulch thoroughly to give your seedlings the best start. Refrain from planting pea plants in the same spot in your garden more than once every four years. Crop rotation is essential, whether you are growing sugar snap peas in containers or in a garden plot.
Pea roots, like other legumes, fix nitrogen in the earth and make it available to other plants. Peas require phosphate and potassium in their fertilizer, but too much nitrogen encourages the growth of foliage rather than blooms or pods.
Spread a thin layer of manure or compost substrate over the surface of the soil around your pea plants or in the area designated for planting peas. Wearing gloves, gently use your fingers to work the substrate into the earth to enrich the soil.
Set up pea poles or a pea trellis when you plant peas for tall or vining pea varieties. Immediately after sprouting from the dirt, the new pea tendrils require something to climb.
How to Plant Peas
Understanding the best way to plant peas helps ensure a bountiful harvest. When growing bush beans from seed, as well as other pea types, soak seeds in water overnight before planting to speed up germination. Plant pea seeds about an inch into the dirt or slightly deeper if your soil is arid. Pea seeds planting any shallower may fall victim to pests or birds.
Although pea plants dislike having their roots disturbed, you may transplant them with care. Start seeds in biodegradable containers and transplant into the garden with the pot intact; the vessel decomposes. This method allows transplanting with minimal root damage.
How Far Apart to Plant Peas
When planting pea seeds, pea plant spacing is a significant consideration. Understanding how far apart to plant peas ensures your pea plants thrive. Sow pea seeds 1-2 inches apart in a single file row or a double row with 2-3 inches between rows.
Taller pea varieties and their trellises are easier to care for and harvest if you double the space when possible. Tall-climbing types, on the whole, yield more crops per plant, so any loss in density recovers in productivity. For best yield per plant, thin your pea plants to a spacing of around 3 inches.
What to plant with peas includes a lot of veggies like cucumbers, tomatoes, and carrots. Companion planting is recommended for all types of plants.
Important Plant Care after Planting Peas
Bush peas may reach a height of 18 to 30 inches. Pole types reach a height of 4 to 6 feet. Bush peas over 2 feet and all pole peas benefit from support such as pea sticks, a pea trellis, chicken wire, or netting. Plant the frame into the earth beside each seed for a large pea trellis before it germinates.
Unless the plants are wilting, water peas sparingly, no more than an inch every week, to avoid creating an environment for pea rot to spread among garbanzo vs chickpea or other pea varieties. However, do not allow the pea plants to dry either; otherwise, the plant forms no new pea pods. Poke seeds back into the soil if they wash away.
Hand-pull invasive weeds; if required, hoe or cultivate, but do so carefully to prevent disturbing the peas’ shallow, delicate roots.
There are various reasons why pea leaves become yellow, but the hardship of hot weather often causes it. Provide shade using row covers and water thoroughly during the warmest portion of the day. Plants are mulched thickly with shredded leaves, grass clippings, or other biodegradable material don’t require fertilizer.
How to Plant Peas – Harvesting Peas
Peas are generally ready for harvest about 60-70 days after sowing for most types. Pea plants are low-maintenance plants. Harvest pea plants with edible pods like snap peas and snow peas when they reach full length but before filling out too much.
Pick snow peas when their fragile pods begin to display immature seeds inside. Harvest your snap peas when the pods are plump but glossy and full of sweet-tasting peas. Pick shell peas before the pods get waxy to ensure the best flavor.
Peas develop quickly, so keep an eye on them once they bloom. After any dew is dry, harvest peas in the morning when they are crispiest. Pick your peas regularly to foster the growth of new pods and keep your pea plant at a high yield.
To avoid injuring the plant, harvest peas with two hands. Hold the vine with one hand and with the other, pull pods off gently and firmly. Peas are most flavorful right after harvest.
Peapods appearing dull in color or feeling hard have reached the end of their life cycle. In hot summer conditions, mature plants frequently stop production and die back. Gather, dry, and shell peas if you missed the prime season and use them in winter soups or other appropriate recipes.
Storing Peas
Store your fresh peas in the refrigerator for up to 5 days. Place freshly picked peas in paper bags, and wrap the packs in plastic wrap to keep the peas fresh. Green peas may be eaten raw as a healthy snack or mixed into salads, but they become starchy if not consumed immediately after harvesting.
Alternatively, peas do well when frozen. Sweet peas must be shelled and blanched before being immersed in cold water, drained, and packed in airtight containers. Prepare snow or snap peas in this manner, only without trimming or removing the string.
The amount of time it takes to cook green peas varies substantially depending on harvesting time. Cooking time is reduced for young, tiny ones compared to older, starchy ones.
Planting Peas – Fungi to Avoid
Many prevalent pea problems afflict the home gardener, whether they grow snap, garden variety, or oriental pod peas. Pea plants are susceptible to fungus.
Powdery mildew spreads through spores, and cool, moist conditions aid spore dispersal. Fusarium wilt is a fungus living in the soil and old plant matter. Wilting is among the first symptoms of this disease, which leads to fading, yellowed foliage, and inhibited growth. Most plants fall victim to this fungus and die.
To avoid fungus, purchase disease-free seeds or seeds that have been pre-treated with a fungicide. Plant peas in well-draining soil with correct spacing, rotate crops, and don’t use too much water.
Pests to Avoid When Planting Peas
Pea plants are susceptible to various pests, the most common being aphids and pea weevils. Aphids feed on the plant’s sap, leaving it weak and stunted; this also means fewer peapods and an increased risk of disease transmission.
Pea leaf weevils attack the plant’s roots and leaves and feast on the plant’s nitrogen-producing nodules. Notches identify the affected plant on its leaves. Ladybugs and neem oil spray are both environmentally friendly pea pest management options.
Mix and spray onto pea plants, covering all leaf and stem surfaces for effective pest control. You can also grow peas companion plants nearby to help with disease and pest issues. Tomatoes and eggplant are excellent choices.
Peas are delicious in pasta, soup, casseroles, stir-fries, and sautés. It’s not surprising so many people wonder how to plant peas or are interested in planting peas in their garden.
Thankfully, understanding how far apart to plant peas and the basics allows a wide range of gardeners to successfully add many kinds of peas to their home gardens, even in cold climates.

If you loved this article on how to plant peas, please share this handy information on how far apart to plant peas with your family and friends on Pinterest and Facebook.