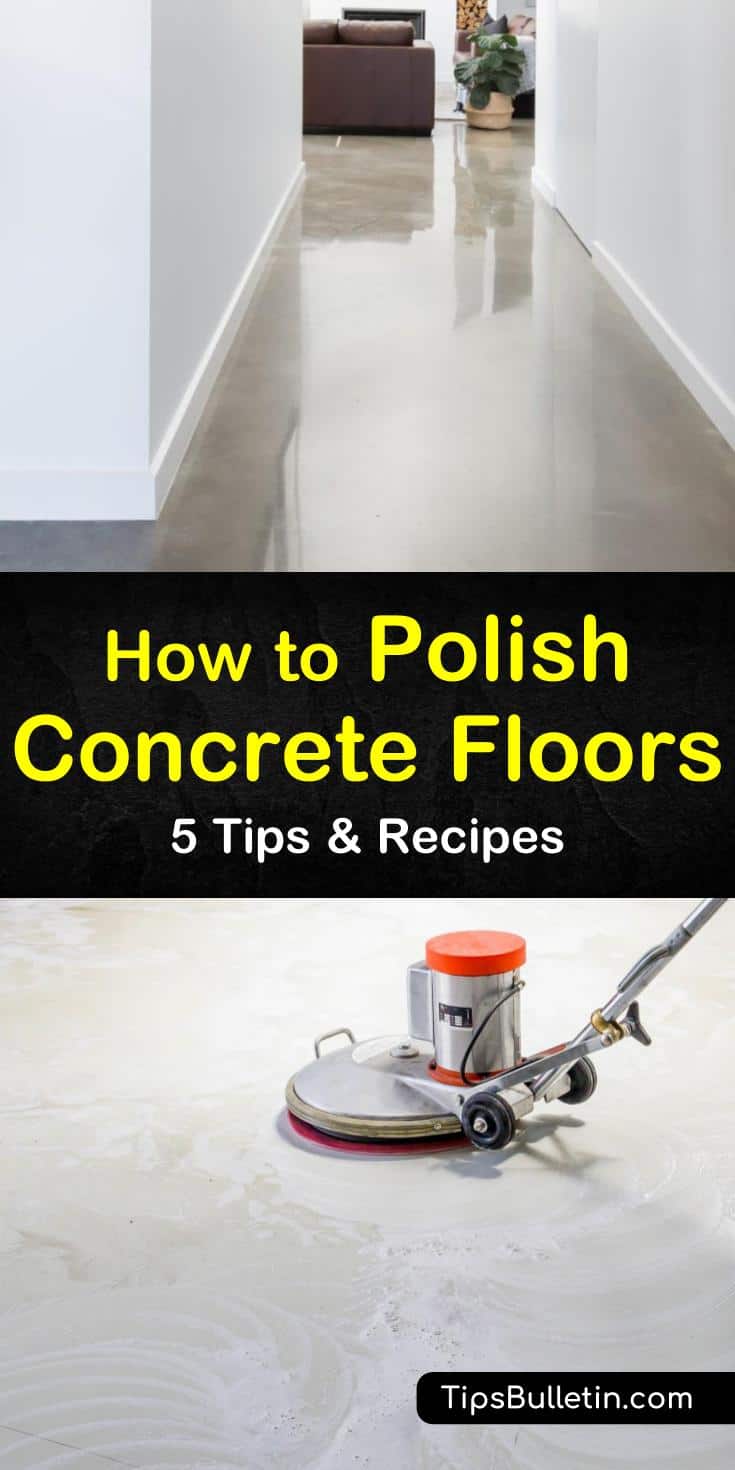
Floor trends inside the home change as the years go by, but every year concrete floors remain a popular flooring option. Polished concrete floors give off an industrial look and feel, but can add to a home’s style when done right and are low maintenance. Although concrete flooring is a durable option, you must learn how to polish concrete floors to keep them looking like new.
With concrete floor polishing is essential, not only does it keep them looking new, it is a vital step to creating an even and smooth floor surface.
No matter where the concrete floor is located, in a home or a business, polishing concrete floors is the difference between a lovely looking floor you can use or a floor that looks like your driveway. Concrete floor polish is similar to sanding for wood surfaces; without sanding, you are left with a piece of wood that is rough and jagged.

Tips and Ideas for Polishing Concrete Floors
Before you can even think about floor polishing, you need to make sure that your floor is clean. Washing the floor and removing stains is important prior to starting the polishing process. Get rust off cement and eliminate oil or other stains. If you recently pulled up some old carpeting, ensure that you take care of removing glue from concrete floors, too, so that you have a nice fresh surface to polish.
After you determine the best way to clean your concrete basement floor, it’s time for polishing. No matter what type of flooring you have, part of your regular maintenance routine should include polishing to bring out the shine in the floors. You can make a homemade marble floor polish or one for your hardwood floors, as well. For concrete, the process is a little bit more complicated but leaves your floors with an unbeatable finish.
Polishing concrete floors is something that you can do on your own, or it is something you can hire out to professionals in the field. If you are a DIY person, renting the machine from your local hardware is the most cost-effective option. No matter what option you choose, here are some step-by-step instructions for you or your general contractor to follow when polishing your concrete floors.

If you need to remove any flooring that sits on top of the concrete, consider following our guide to remove old linoleum from concrete to get off any plank flooring or adhesive before polishing the concrete surface.
Concrete floor polish options include a wet and dry version. The wet concrete floor polish method is extremely time-consuming and a bit on the messy side. The wet way is the best choice for those looking to preserve the abrasive integrity.
The slurry created from the wet method requires proper cleanup and disposal. The dry concrete floor polishing method uses a floor polisher that requires a hook up to a dust containment system while it polishes the floor. The upside to the dry process is the dust is cleaned up as you go, no messy cleanup to deal with later.
Regardless of what method you use when you rent the concrete polishing machine, ensure it comes with everything you need to do your floors. Polishing your floors requires the use of several different plates, all with a different abrasiveness. These disks are used to grind and polish the floor, similar to the effects of varying grit sandpaper on wood.
Preparing for Concrete Floor Polish Machines
Before you can begin polishing the floor, figure out the condition of the concrete or its hardness level. This allows you to use the right metal bond diamond abrasives to do the best job you can. You can use a concrete hardness tester kit that comes with many different tips.
To determine the hardness, start with the highest tip and work down from there. Use the tip for scratching the concrete floor; once the tip no longer scratches the floor, you have your hardness rating.
Test three areas of flooring to get the best average. Use the hardness rating to determine the best tooling bond for your floors. Before you begin using the concrete floor polisher, you want to clean concrete floor.
Mopping is the first step to cleaning concrete; use a floor squeegee to remove any grit or debris that will gouge the concrete. Determine if the floor has any coating; if it does, remove it with the correct tooling. Use epoxy or a semi-rigid filler designed for concrete floors to seal any cracks or holes in the concrete’s surface.
Using the floor grinder, grind the entire concrete surface with a 30/40 grit disc, then move down to an 80-grit metal disc, and finish with a 150-grit resin-bond disk. Grind the concrete floors with these discs until the floor looks like you want it.
The grinding is also used to achieve a flat floor. Some areas may require the use of a level to ensure it is flat, as eyes alone are not always enough. Once done grinding, densify your concrete using a concrete densifier.
Polishing Concrete Floors
Once the chemical hardener is dry, begin using polishing pads on your concrete. Start the polishing process using a 100 or 200 grit disc or alternate the two.
Then, move down to a 400, and then an 800-grit diamond pads. Use a 1500 or 3000 burnishing pad for your final pass. Always clean up and dispose of dust or slurry in between each of your passes with the concrete sander.
Seal and Protect Your Concrete Floors
Now that you have achieved the desired look of your concrete floor, you need to take a few extra steps to protect it, so all your hard work doesn’t go to waste. This step comes in handy when it comes time to remove oil from driveway and garage floor.
Use a commercial concrete sealer to make the floor easier to care for, plus the stain guard helps protect it from future stains. To apply, the product uses a pump sprayer. Apply a thin coat and wait for 30 minutes and then apply a second coat.
Once the sealer has cured, burnish the floor with a concrete floor machine or a propane burnisher. A burnishing pass requires low RPMs as you want to make sure the sealer cures completely, and the pad is not scratching the newly sealed floor.
Polishing Concrete Countertops
If you are polishing concrete floors, you may as well make your next home improvement project polishing your countertops. Countertops require a similar process as floors, but you use different polishing equipment.
As the square foot area of a countertop is less than the floor, you can use a window squeegee to remove any grit along with a natural concrete cleaner. As with the floors, fill any holes or flaws with a patching slurry.
To begin polishing, the countertops start with the coarsest pad for the grinder. Keeping the entire surface wet while you work, make sure you cover the whole surface, including edges. Most importantly, keep the grinder level as you work to prevent unwanted dips in the countertop.
After each full pass, change the grit of the pad until you have worked your way down to the finer grit one. Allow the countertop to dry before applying a food-safe high gloss sealer to protect against stains.

Thank you for reading all about polishing concrete floors. If you found any of our concrete floor polish tips and ideas useful, please take a minute to share your favorites with others on Facebook and Pinterest so they can learn how to polish concrete floors, too.