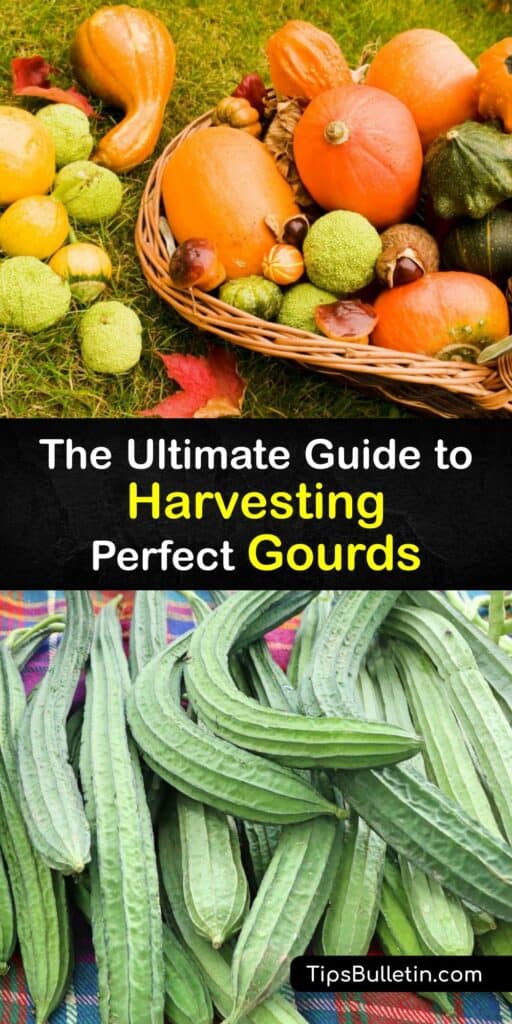
Ornamental gourds are an excellent addition to the horticulture garden; they are a diverse group of plants. Their vines quickly fill a trellis, their fruits add visual appeal, and harvesting the gourds is the easiest part. Learn how to harvest gourds and cure them at the end of the growing season for fun projects.
The world of gourds is vast, and you don’t have to be a master gardener to grow them. Some are small, colorful, and distinctly shaped, while others are large, like birdhouse gourds and dippers. Finally, there are those with pear, egg, ball, bottle, or spoon shapes, and their surfaces may be smooth or warty.
Unlike squash and pumpkin, gourds have a hardshell and are non-edible cucurbits popular for ornaments and utensils. Since all gourds must be properly harvested and dried before you can use them for crafting, it’s important to know when to pick them and how to cure them.

Harvesting and Curing Gourds
Growing gourds from gourd seeds in peat pots is a fun way to produce unique-looking fruits, whether you grow large gourds or small gourds. They are fast growers with long vines, and it’s essential to know when to pick gourds before the first frost for the best results.
Learn how long different gourd plants take to grow and how to tell when to harvest gourds. Find out how to pick them from the vines, cure and clean them for projects, and ideas for using them at home.
When to Pick Gourds
How long does it take for birdhouse gourds to grow? The easiest way to know when to pick gourds is to understand how long your particular gourd plant takes to mature. Consider the growth rates for common ornamental gourds.

Gourds (Cucurbita) want a lot of growing space, with mounds at least four feet apart and rows eight feet apart. They also need fertile soil, plenty of water, and mulch. Unlike winter squash, gourds require a place to hang, like a trellis, fence, or arbor.
Gourd seeds are slow to germinate and take anywhere from one to six weeks to sprout. Additionally, they require two to three weeks of growth after germination before they are ready to transplant outside in direct sunlight. To speed the germination process, clip the seed edges next to the point, and soak them overnight or longer.
Gourd vines take anywhere from 50 to 200 days to produce fruit ready for picking, depending on the gourd type. Ornamental gourds require about 100 days from sprouting to maturity, and hardshell gourds like Lagenaria need 120 to 140 days to mature.
You can begin harvesting snake gourds about 50 days after planting, whereas a birdhouse gourd takes up to 140 days to reach maturity. Luffa sponge gourds are one of the longest, taking 150 to 200 days from start to finish. It’s vital to check the seed packet for growing rates when planting gourd seeds.
When to Harvest Gourds
When are gourds ready to pick, and how can you tell when they are ripe? Discover when to harvest gourds according to their size and appearance to ensure you select them at the perfect ripeness.
The best way to tell when gourds are ready for harvesting is to look at the stem. Generally, when the fruit stem begins to dry and turn brown, they are ready for picking. It’s essential for ornamental gourds to fully ripen on the vine, and picking them too early causes the fruit to shrivel and rot.
The gourd is ready to harvest if it’s too hard to pierce. If you’re unsure, press your fingernail into the rind. Something to keep in mind when harvesting gourds is that leaving a gourd on the vine too long is fine, but picking it too soon is bad.
How to Harvest Gourds
You’ve waited all season, and it’s finally gourd harvest time. Explore these tips for picking, cleaning, and curing your gourds to ensure they are ready for home adornment or crafting.
Use shears to cut the gourds from the vine, leaving a couple of inches of stem attached to the fruit. The next step is to clean the gourds to remove dirt. Many prefer to use bleach or another disinfectant to kill mildew and decay organisms, but soapy water is sufficient.
Dry them thoroughly, and set them in a single layer in a warm, dry area with good air circulation. Do not let the gourds touch, and turn them frequently. The outer skin dries and hardens in one to two weeks, while the inside takes longer.
They are completely dry when seeds rattle on the inside when you shake them. Use the gourds as they are, polish them with fine sandpaper or steel wool, or spray them with shellac if you desire a shine.
Ways to Use Gourds Around the Home
There are many ways to use ornamental gourds, whether you are harvesting birdhouse gourds or snake gourds. Here are some of our favorite gourd uses to help get you started.
The most popular use after harvesting birdhouse gourds is to make a hole in the center and hang the gourd as a birdhouse. However, the number of other uses is only limited by your imagination.
Some gourds are ideal for making utensils, while others are shaped perfectly for creating musical instruments. There are gourds that look stunning strung with lights and those that are excellent for trimming the mantle with autumn leaves.
Make a Rustic Bowl After Harvesting Gourds
While two of the most fun ways to use gourds are to make a birdhouse or as a fall decoration, they are also helpful for making rustic bowls and utensils. This gourd bowl is easy to make and personalize by carving and painting.
Choose a canteen-type gourd about ten inches in diameter, and make sure it’s dry. Mark the circumference of the gourd a third of the way down with a pencil to create a bowl shape. Drill two holes above the pencil mark and cut down to the line with a keyhole saw.
Cut around the gourd by following the line with the saw. Remove the gourd top, empty the seeds and pith, and sand the rim. Finish by adorning the bowl with shellac or paint, or leave it in its natural state.
Growing ornamental gourds is a great way to make your yard stand out from the rest, and with so many to pick from, you’ll never get bored. Plant them in the garden and watch as they fill a fence or trellis with an abundance of fruits for harvesting.

We hope that knowing when and how to harvest gourds keeps you busy with fun crafting projects, and we’d love it if you’d share our gourd harvesting guide with your friends and family on Pinterest and Facebook.