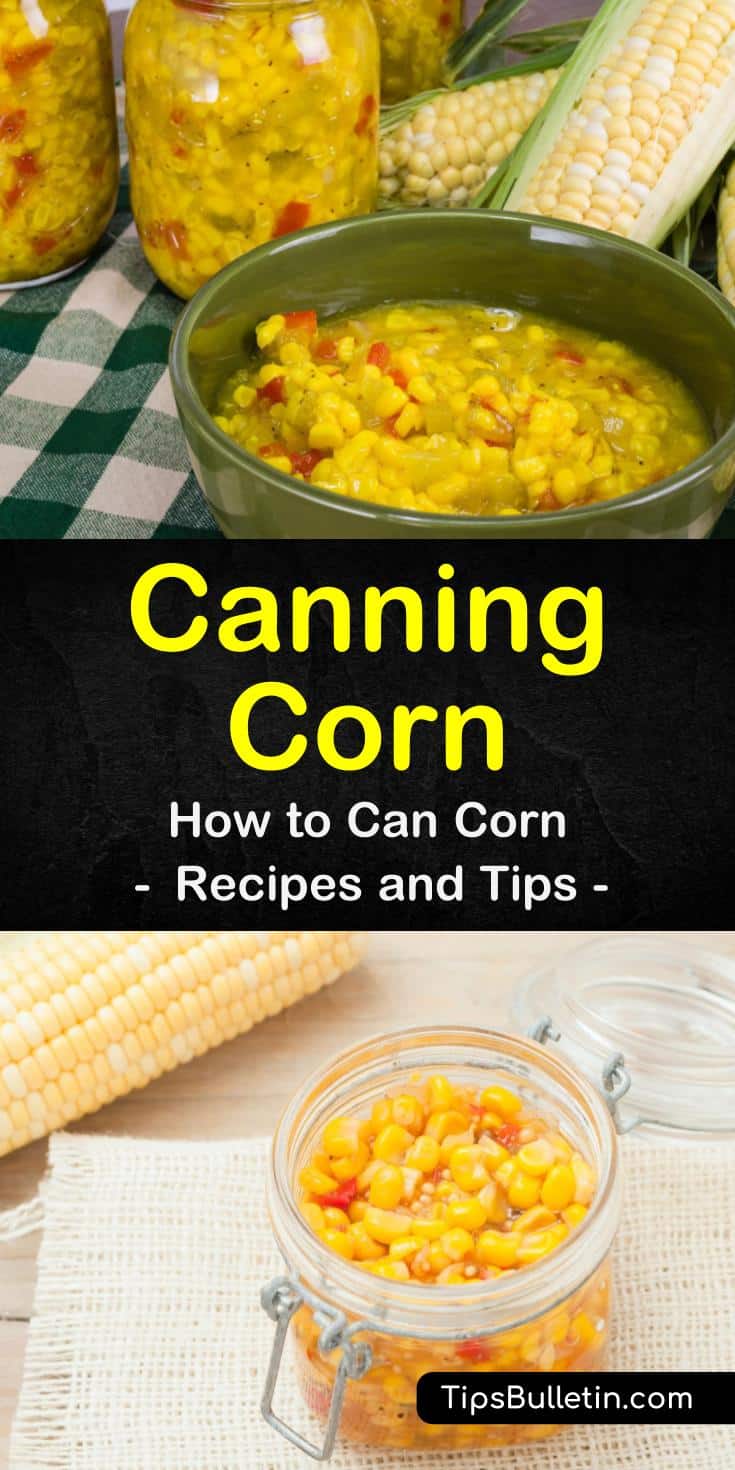
Corn is a bright and flavorful addition to any meal. Every summer, our gardens and local farmer’s markets fill up with corn on the cob and give us bright, sunny flavors. To avoid wasting this incredible bounty, we need to have a good recipe for canning corn.
Having tried-and-true canning methods and recipes will ensure that your food stays healthy during its long hibernation and comes out looking and tasting fresh and delicious. We’ve developed this article to help you find the right canning technique for your needs.
In our guide, you’ll find out how to prepare and can corn, and we show you why we preserve corn for long-term storage. We give you a couple of excellent methods on how to can corn, and along the way, you’ll even learn our favorite recipe with canned corn. With our help, your shelves will stay stocked, and your meals will be amazing.
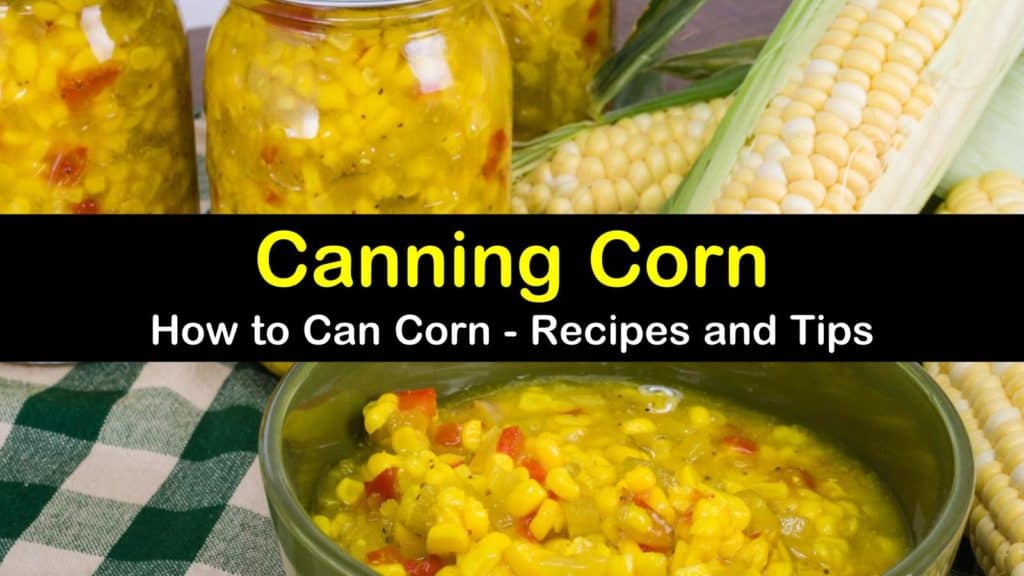
How to Can Corn
Corn is one of the best vegetables for canning and it is used in so many recipes that you want to have plenty on hand. It’ll take some time to commit your corn to jars and get them on the shelf, so you need to make sure you do it right the first time.
You don’t want to put in time and effort only to open a jar of spoiled corn a few months down the line. Ensure that your canning corn experience is a good one that yields consistent results.
You need to know how to prepare your corn and the canning jars correctly. You also need a quality canning recipe that won’t let you down and produces fresh-tasting and long-lasting corn every time.
Preparing and Canning Sweet Corn
This section looks at how to get your corn ready for canning and how to can corn afterward. You’ll find out how to clean and cut your corn before you start the canning process so that your corn stays tasty and safe to eat.
We also show you a couple of different canning recipes so that you can find the best personal option for canning sweet corn. By the time you finish reading this information, you’ll be ready start preserving.

Preparing Corn for Canning
There’s an old saying in computer programming: garbage in, garbage out. It means that the result is only as good as the information you provide. The same principle holds for home canning, too. If you want a quality product, you need to start with quality ingredients.
Old and damaged corn winds up delivering an inferior product on the other side, so begin with only the freshest vegetables and treat them with care. Our prep recipe yields about seven and a half quarts of corn kernels, which should be almost a full canner load.
Try to use corn picked as recently as possible to get the best results, and pick your own corn, if possible. Select only unbruised and healthy-looking cobs.
Don your safety gear. Husk and remove the silk from the cobs, and then wash them thoroughly under cold water. Add the cobs to the boiling water, and blanch them for about three minutes. Remove the corn cobs from the water with tongs, and immediately plunge them in ice water to halt the cooking process.
Use the manual or electric knife to cut the top ¾ of the whole kernels off each cob while holding it over the cake pan. Do not try to cut the lowest quarter off, and never scrape the cob to avoid adding tough, inedible pieces to the canning process.
Canning Corn
Before canning, ensure that you follow best practices for the way to sterilize canning lids and jars to ensure that no germs linger on the containers. Then, once your corn is picked, cleaned, and off the cob, it’s time to get it into jars and ready for its long sleep.
Because corn is one of many low acid foods, you can’t preserve it using a water bath canner, which doesn’t heat the jar contents high enough to kill off some contaminants such as botulism. Use dial-gauge pressure canning for canning sweet corn safely and adequately.
We include both a raw pack and a hot pack recipe to give you options from which to choose. We love the hot pack recipe, but either one will do your corn proud and keep it happy in long-term storage. Try both methods and see which one you like better.
Don your safety gear. Fill the hot jars with cut corn kernels. Leave 1-inch headspace in each jar, and do not overpack the corn or press down on the kernels too hard.
If desired, add one teaspoon of salt to each jar. Then, fill jars with boiling water, leaving 1-inch headspace. Gently press the cut kernels with a butter knife to remove air bubbles, but don’t press hard enough to bruise the corn.
Add the lids, and process the jars in the pressure canner. Processing time and pressure vary depending on your location, so check with the National Center for Home Food Preservation to get precise information for your canning process. After processing, allow the Mason jars to cool for at least 24 hours on the counter before storing them away.
Don the safety gear. Add kernel corn to the saucepan, and add a cup of hot water for each quart of kernels. Heat to boiling, and simmer for five minutes. Add a teaspoon of salt to each Ball canning jar, if desired.
Pour the corn and liquid into the Mason jars, leaving 1-inch headspace. Gently press the kernels with a butter knife to remove air bubbles. Seal the lids, and process the jars in a pressure canner.
Your processing time and pressure depend on your location, so check with the National Center for Home Food Preservation to find the specifics. Allow your jars to cool on an out-of-the-way countertop for at least 24 hours before putting them on shelves.
Can You Freeze Corn for Storage?
Can you freeze corn on the cob or when the corn is cut off the cob? Of course, you can. The process is much the same as for canning. You can raw pack the corn or hot pack it in zipper freezer bags or other airtight containers and put the packaged corn into your deep freezer or home freezer to eat when you crave a Mexican dish or BBQ when the weather gets colder.
Canning Corn – Why Preserve Corn?
There are tons of different vegetables and fruits out there just waiting for us to taste them, so what makes corn so unique? The preservation process can be fun, and you’ll feel productive and responsible when you successfully sock corn away to eat on a rainy winter day. But is that enough of a reason to preserve corn?
If you’re going to spend your money and precious time canning corn, you need to know that the result is worth the effort. This section looks at the benefits of preserving corn.
We start by giving an overview of corn’s many health benefits and show you how regular corn consumption can make you a healthier human. And, we close out our guide by sharing our favorite recipe with canned corn so that you know what to do with your corn once you open the jar.
Corn’s Health Benefits
Canning sweet corn is a great way to preserve a healthy food for the long haul. Corn is packed with nutrients, fills you up, and keeps you moving.
Corn contains lots of carbs, too. A serving of corn has up to 15 grams of carbs, which means that corn is an excellent long-term fuel that won’t burn away in a few minutes.
You get plenty of minerals and vitamins when you eat corn regularly. When you eat corn, you get the vitamin B spectrum, which contributes to your general wellbeing. You also get zinc, copper, magnesium, manganese, and iron.
And, corn is high in fiber, which makes it a valuable dietary supplement for digestion. Your family gets a ton of health benefits whenever they have a serving of corn.
Amazing Flavor
The best part about corn is its flavor. It’s fine that corn is high in nutrients, minerals, and vitamins, but if it didn’t taste good, that wouldn’t matter. Luckily for our palates, corn is delicious.
It’s a staple in many parts of the world and works as flour, a side, as corn relish, or as part of the main course. Our favorite use for it is this incredible sweet corn and peppers recipe that will change the way you look at side dishes.
Coat a baking dish with oil, and heat the oven to 350°F. Remove the pepper tops, and scoop out the seeds. Place the peppers in the baking dish.
Heat one tablespoon of extra-virgin olive oil in a skillet over medium heat. Add the chopped pepper, onion, and preserved corn kernels. Sauté the mixture for about five minutes or until veggies are tender. Add cilantro or parsley, add chili powder, and drop the heat to low.
Whisk the milk and egg whites in a small bowl, and then add it to the corn mixture. Stir, and increase the heat. Keep stirring until the egg whites start setting.
Fill each pepper with about a quarter of the mixture. Then, add water to the bottom of the dish, cover the peppers with aluminum foil, and bake for 15 minutes or until the peppers are tender.
We hope you had a great time exploring our corn canning guide. Every summer sees us enjoying corn on the cob, but it’s essential to know how to can corn to enjoy it all year long. Our article helps you find the right canning recipe for your needs and makes canning sweet corn an easy and fun experience.
Thanks for reading our corn preservation guide. If you found that our canning corn guide helped you, please help us and share our sweet corn canning tips with family and friends on Pinterest and Facebook.