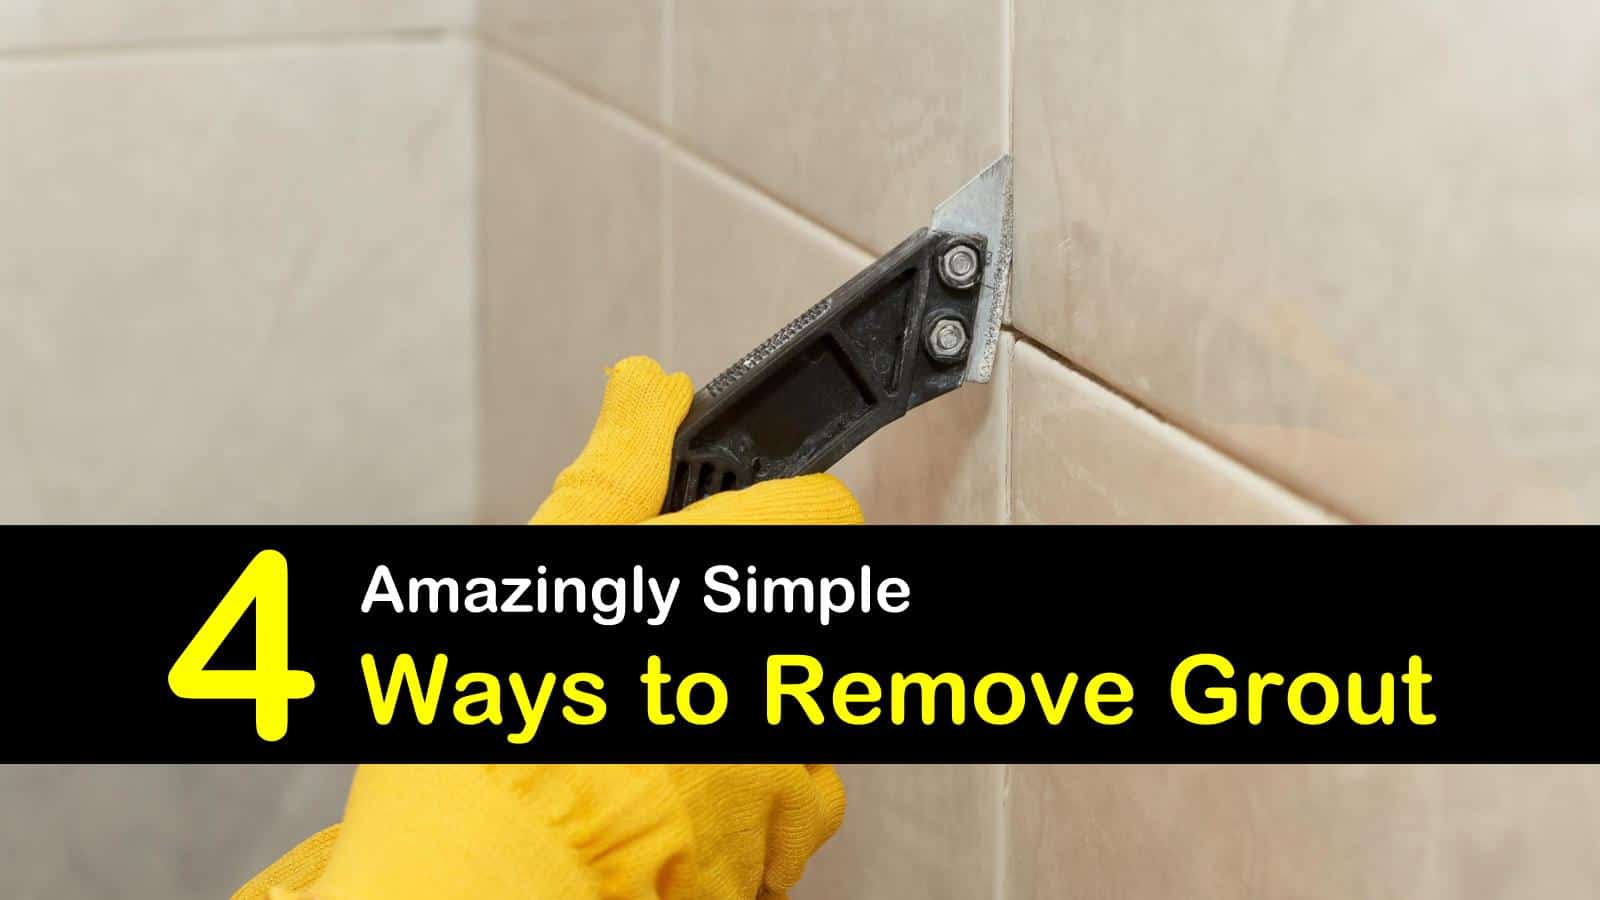
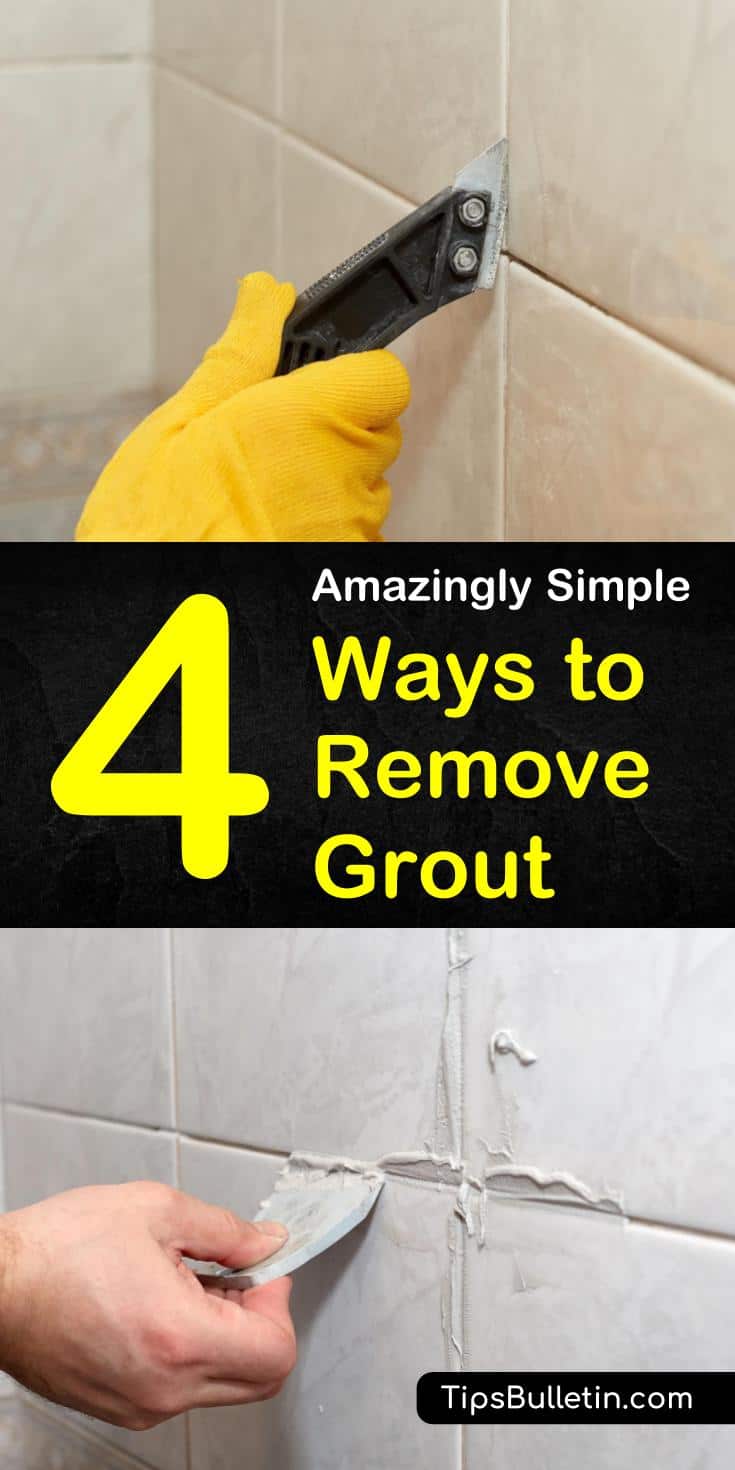
When we wake up and walk into our bathrooms every morning, the last thing that we want to see is grout that is black with shower mold and other nasty contaminants. Knowing how to remove grout will keep our homes looking their best. To ensure that we don’t have to live with unsafe grout in our homes, it’s a good idea to know the best way to remove grout from tile floors and walls.
Having a tried-and-true grout removal plan will prepare you for your tasks and make them more enjoyable. This guide shows you how to remove grout using a grout removal power tool or two, and we also give you information on removing grout using just your hands and a few manual tools.
You’ll also get some fantastic information on how to clean and maintain your new grout so that you won’t need to replace it for a long time. It’s a one-stop do it yourself shop for all things grout.

Remove Grout the Easy Way
Before you start on the main task and begin removing grout, you need to get everything ready first. If you prepare correctly, your grout removal process will be much simpler. You’ll be able to work with confidence knowing that you’ve protected your stone tiles or porcelain tiles from chipping and sawing.
Preparing the Area
Preparation might not be glamorous, but it’s the foundation that allows you to get the work done quickly and well. This section examines how to prepare your working area in advance of your grout removal work.
You’ll get a comprehensive rundown of the steps you should take to protect your tiles and ensure that simple grout removal doesn’t snowball into a full tile replacement job because of damage. With some prep work, you’ll be ready to start de-grouting and getting your bathroom floor looking its best.
Clean and Tape Your Work Area
You might wonder why you need to clean the grout and tiles, seeing as you’ll be removing grout anyway. Why should you care how clean the area is before you get to grout removal?
A proper scouring, cleaning, and taping job is essential before you start the heavy-duty work. Your cleaning gets the surrounding area ready to take the new grout, and the tape protects your existing tile and keeps it from meeting the same fate as the old grout.

Begin by giving the tile a good cleaning with a sponge and soapy citric-acid water as a descaling solution and use a toothbrush to deep clean grout to remove deposits and stains that may make removal more challenging. Use the scraper to clean off large debris, and then clean off any soapy residue with a damp cloth. Allow the tiles and grout to completely dry.
Tape the tiles so that the grout joints are all that is visible. Taping will help to stop you from sawing into the tile as you cut up the grout. Drape canvas tarps or large blankets over any surfaces that flying grout chips might damage.
You’ll also want to pick up some standard safety gear of your own. In addition to wearing a long-sleeved shirt and long pants, you should also have a pair of safety glasses, a dust mask, and gloves ready to put on while you work.
A pair of kneepads is also a must if you’re working on floors. Having your equipment ready to go will speed everything up and eliminate last-minute issues.
Removing Grout with a Grout Removal Tool
Once you’ve got the tile floor or tile wall taped up and ready to go, it’s time to start the real work. Using grout removal tools can be labor-intensive, but with the right instructions, you’ll make the work fly by.
You have a few different options from which to choose to get your grout out. Knowing the proper method for your needs will make the work easier and help you prepare for the tasks at hand.This section looks at different ways of removing grout.
We give you the ins and outs of the time-honored manual method for grout removal and show you what you need to do if you want to use your brawn and hand tools to chip out your grout. You’ll also get an excellent method for stripping out epoxy grout, and we close out the discussion with a rundown on the most popular ways of how to remove grout using power tools.
Manual Grout Removal
You don’t need power tools to remove grout or caulk. Folks have been using their hands and muscles to chip out the old grout for y. ears. Manual grout removal takes time and patience, but you can get it done with some perseverance.
All you need is a manual grout removal tool and the will to proceed. You might be a bit more tired when it’s all done, but you’ll know that your grout is perfect. You’ll need a tool with a carbide blade to slice through the grout in a hurry.
Insert either the grout removal tool or grout saw in the grout joint, and begin cutting through it. The grout removal tool allows you to plow through the grout as you go, and the saw lets you make a neat cut down the center. Once you’ve made the initial cut and safely removed as much loose tile grout as you can without damaging the tile, it’s time to move to the chisel.
Angle the blade away from the tile edge, and tap with a hammer to loosen the grout. Vacuum out the loose grout as you go. Move to the screwdriver to get at the smaller pieces, always making sure to protect the tile as you work. Manual removal takes some time, so move slowly and don’t rush.
Removing Epoxy Grout
When you work with ceramic tiles that experience exposure to grease or acid, you’ll often use an epoxy floor grout to prevent contamination or mold. Epoxy grout is waterproof and doesn’t mildew easily, which makes it ideal for kitchens, bathrooms, and industrial areas.
However, you need to use a particular procedure to remove epoxy grout and take care when dealing with mold if it does occur.
Before you begin, don all safety gear, open all windows, and turn on nearby fans to promote good air circulation. Clean the grout with the scrubber and cool water to get rid of mold or other stains. Use the paintbrush to apply the stripper to the grout joints.
Always check the label, and always make sure to follow the manufacturer’s instructions for best results. Let the stripper sit for at least 30 minutes, and use the stirrer to check whether the grout is soft. You might need to wait as long as two hours for the epoxy to soften.
Scrub the softened epoxy with a stiff-bristled brush, but take care not to scratch the tiles. Once you’ve removed all of the grout using the brush and stirrer, pour the trisodium phosphate into the hot water, and apply the solution to the tile to deactivate the stripper. Wipe the tiles with paper towels to clean them.
Use Power Tools to Remove Grout
You don’t have to stick to old-fashioned techniques when you want to remove your grout, of course. Modern technology has made grout removal much more comfortable than it used to be.
You can use a combination of power and manual tools to cut through your grout like butter and start removing it in no time flat. With the right tools and knowhow, you can get your tile floor finished before you know it.
Because you’re using power tools, be on guard against damaging the tiles as you clean out the grout. A tile blade or oscillating tool will help prevent this, but stay alert and avoid potential issues before they occur.
Begin by positioning the grout removal blade so that it is horizontal against a horizontal seam or vertical against a vertical one, depending on the situation. Press the blade to the grout, and turn on the tool. Never force the blade; let it do the cutting along the grout lines for you.
After you’ve cut as much as you can with a straight cut, angle the blade to get to the excess grout near the tile surface edges. Take your time to avoid harming the tiling.
Now that you’ve taken care of the big tasks and cleaned off the edges of the tile, it’s time to go manual. Use the screwdriver to chip out bits out of the grout, and use the utility knife to get at the last crumbs.
Vacuum as you work to pick up grout debris. Once you’ve finished removing the grout, you’re ready for regrouting. Regrout the area, and get ready to maintain it for the long haul.
Caring For and Cleaning Your New Grout
Once you’ve got your new grout in place, you need to ensure that it doesn’t meet the same fate as the old grout. Make sure that the new grout stays clean and free of contaminants or mildew with a specific care and cleaning approach. Plan now for long-term care so you can enjoy your new tile floors, grout color, and integrity for years to come.
Check for grout haze, which is a whitish film left on the surface of the tile after you grout an area with too much grout. Treat it with a commercial grout haze remover for best results. Lemon juice also removes grout haze with time.
As a bonus, your lemon juice cleaner also doubles as a non toxic toilet cleaner. Minimize grout haze during installation by using a gum rubber float to rub away new grout from tile without getting into your grout joints.
DIYers are ahead of the pack when it comes to regular tile care and can use some top-flight home remedies. White vinegar is a fantastic non-toxic natural mildew remover and is perfect for treating grout regularly. Spray diluted vinegar on your tiles every morning after you shower.
We hope that you enjoyed checking out our grout removal tips. Having clean and unspoiled grout is necessary if we want our family to stay healthy. Our guide shows you the best way to remove grout from floor tiles and wall tiles and gives you some top-notch cleaning tips to boot.

Thanks for reviewing our grout removal article. If you found our pointers on how to remove grout useful, please spread the love and share this grout removing guide with your family and friends on Pinterest and Facebook.