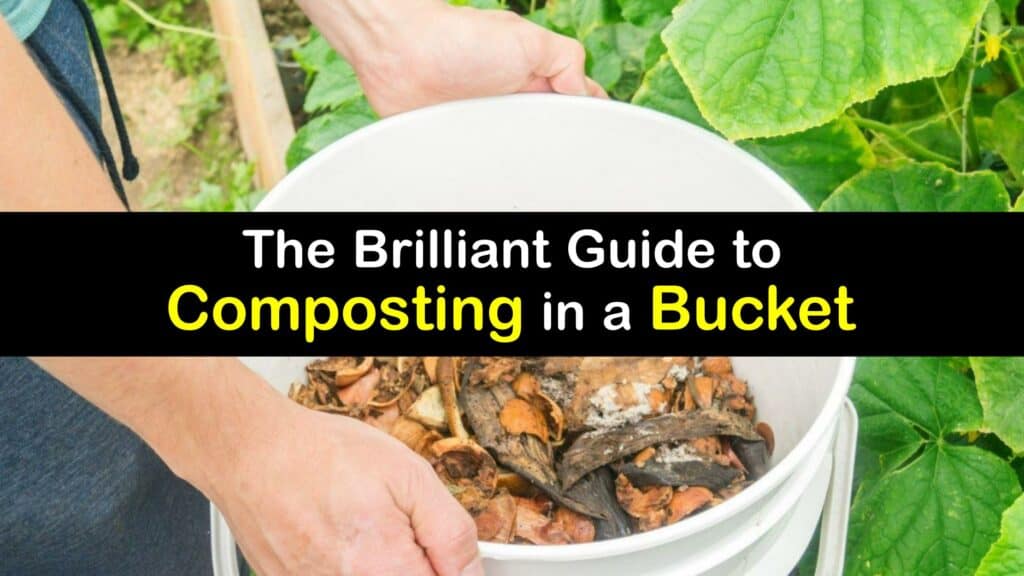
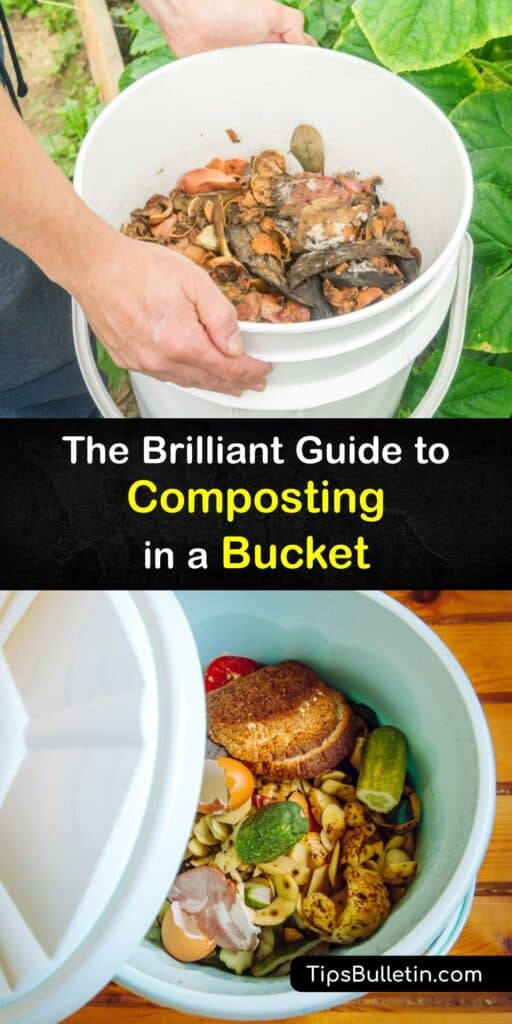
If you like being more self-sufficient, composting might be perfect for you. One big misconception about composting is that you need to be an expert, but this is untrue, especially with our beginner-friendly tutorials. Learn about home composting and how to start a compost bucket; turn your trash into treasure today.
Composting household waste like vegetable scraps, coffee grounds, and grass clippings is a simple and sustainable step toward green living without shelling out big bucks or making significant sacrifices. Producing compost with the trash we generate teaches us to reduce and reuse while creating something practical.
Creating compost can be as involved or as hands-off as you wish; find out how to design a compost system that works within the structure of your life, making it easy to keep up with and continue. Follow this guide and discover how to turn organic scraps into something helpful; feed your garden, lawn, and houseplants with fresh, nutrient-rich compost.

The Beginner’s Guide to Composting in a Bucket
If you’re concerned about smelly compost that attracts neighborhood critters or you feel frightened of the work involved, you need these helpful tips and tricks. Making compost in your backyard is fun and easy with this hands-on guide to completing composting.
Learn easy and beneficial ways to boost your compost in a bin or bucket by layering green and brown material, and create optimal conditions for the composting process to commence. Save your money, stop buying compost, or move from indoor composting to an outdoor bucket system; starting a beneficial bin for your organic waste has never been easier.
What Exactly Is Compost?
Composting is nature’s recycling process; it allows us to take almost any organic matter and break it down into a beneficial soil amendment. All plants need soil-related considerations, like good drainage, structure, and nutrient retention, and adding fresh finished compost to your gardening space ensures these basic needs are met.
When you learn how to start a compost bucket, you are putting millions of microorganisms to work as part of a self-sustaining cycle. These micro and macroorganisms trigger natural decomposition by eating the compostable material and drawing on the nitrogen, carbon, and oxygen content to reproduce.
The ideal compost bin creates a welcoming environment for microorganisms to prosper and do their work quickly by ensuring a supply of nutrients, oxygen, and water. Learn the best way to layer organic material in the composting bin, like dried leaves, shredded newspaper, and kitchen waste, to encourage natural composting and create beneficial support for your soil.
Green Material Basics
The best way to compost in a bucket is by paying close attention to the organic matter you add to the system. As a general rule, we split compostable material into two categories: green and brown material. Each type of material has specific benefits and is essential for a healthy compost heap.

Green material is an umbrella term for nitrogen-rich items like vegetable scraps, grass clippings, garden waste, and common kitchen litter like coffee grounds, egg shells, and tea bags.
Nitrogen is what biologists call an essential macronutrient because it’s responsible for building amino acids, which form the foundations of plant proteins and enzymes.
What Is Brown Material?
Composting in a bucket requires more than just green material; you also need the proper ratio of brown materials to kick off the composting process. Brown matter is rich in carbon, another significant source of nourishment for the hungry microorganisms in your composting bin, and easy to find around your house and yard.
Brown matter helps your compost pile retain its structure and prevents compaction, which keeps everything porous; oxygen is vital in a DIY compost bin, and good airflow will encourage vigorous microorganism growth.
Carbon-rich brown material includes wood yard trimmings, untreated wood chips, shredded newspaper and cardboard, and dry leaves.
What Not to Compost at Home
While making compost is flexible regarding the types of organics one could use successfully, there are a few things to avoid when composting within a DIY system. For example, as a general rule, cheese, milk, oils, and cooking grease are a big no-no because they slow the natural decomposition process.
Never put animal or human waste into the compost; it spreads pathogens and diseases. Additionally, meat products require an industrial-scale composting operation to generate enough heat to kill bacteria and contagions. You can also keep away fruit flies from your compost bucket by avoiding adding meat.
For this same reason, your compost pile won’t be able to break down compostable food service bags either because it doesn’t get hot enough. Be diligent about sneaky produce stickers on fruit skins.
Never put glossy packaging or utensils into your compost, even if they claim to be biodegradable; save those for your weekly recycling pickup. Don’t put chemically treated grass clippings or herbicidal plant trimmings in the bin, as this kills the beneficial microorganisms doing all the work.
Is Composting in Plastic Bins Safe?
Before starting a compost bucket, it’s a great idea to review some of the safety considerations to remember if you intend to use your compost for edible vegetables instead of ornamental plants; the plastic bin you choose should reflect its intended use.
Both the Environmental Protection Agency and the U.S. Food and Drug Administration advise that non-food grade plastic has the potential to transfer plastic production chemicals into your compost and then your harvest. Compost piles can get pretty hot, and this temperature change allows chemicals to escape.
Fear not; composting in plastic to fertilize vegetables is no problem with a few food-grade plastic bins. A food-grade plastic container is a reliable way to stop the unintentional transmission of chemical substances and keep your compost suitable for use on food crops.
Check with your hardware store or local nursery for a qualified plastic composter.
How to Start a Compost Bucket
One of the quickest ways to reduce waste from food scraps and yard trimmings is to start a convenient compost bucket. Find out how to make a portable compost bin from a 5-gallon bucket and a little ingenuity in just a few easy steps.
To begin bucket composting, you must create drainage and oxygen holes. Get a 5-gallon bucket, rinse it with warm water, and let it dry in the sun to kill any unwanted micro bacteria clinging to the plastic. Get a power drill and attach a ⅛-inch drill bit; ensure the drill is fully charged and ready for work.
Flip the bucket over and start drilling holes around the outermost edge of the bottom, working your way toward the center. Make the holes about an inch apart; you want enough holes for ventilation without compromising the structure. Once you finish the bottom, grab the lid and repeat the process to complete your DIY compost bin.
How to Make a Large Compost Bucket With Wheels
Composting in a bucket gives you many diverse options for convenience and mobility. If small, portable buckets don’t suit your needs, why not learn how to make a larger compost bin to wheel around for extra convenience?
Head to the store and pick out a 30 to 40-gallon outdoor trash bin; make sure it comes equipped with wheels and a snug-fitting lid. Remove the tags and stickers, rinse the container, and give it some fresh air and sunshine to eliminate all non-biodegradable materials.
Charge up your trusty drill and attach the paddle-style bit. Start at the top of the bin with one hole, then continue down the side of the bucket, drilling holes in three-inch intervals.
You should be able to fit approximately three rows of holes down each side and several in the lid. When the holes are drilled, rinse the bin again, and move on to layering your organic material.
How to Layer a Compost Bucket
Once you pick and prep your preferred bucket, it’s time to collect and layer compostables. Learning how to layer a compost bucket might seem intimidating, but it’s fun and easy. Remember, the layering and ratios are the same whether you’re using a pile, heap, bucket, or compost tumbler.
Microorganisms love to consume carbon and nitrogen, so you’ll need plenty of green and brown material. Begin with a layer of brown material like dried leaves and twigs.
Make a shallow well and add a layer of greens like vegetable scraps. Cover it with another layer of browns; you want to create pockets of green material within the browns.
The ideal ratio for composting yard waste and kitchen scraps is two parts brown to one part green; too much moist green material turns the compost into sludge. If you have a material deficit, trade with a neighbor to ensure you have the compostables you need to get those golden compost ratios.
How Long Does Compost Take?
The estimated completion time for home compost varies depending on numerous factors, like the environment, temperature, compost material, and the microorganism activity within the organic matter. Perhaps even more relevant is the method you choose for bucket composting.
For example, cold composting means filling the bucket, sealing it, and not interfering; this method takes up to a year to yield finished compost.
Hot composting means you monitor the temperatures and turn the compost accordingly once it reaches 150 degrees Fahrenheit. Hot composting takes a month to six months, and the results equal cold composting.
Making Compost Tea for the Garden
If you have a surplus of green materials, such as food waste, grass clippings, or plant trimmings, as many DIY composters usually do, turn it into a nutrient-rich compost tea. This simple steeping recipe produces a hearty compost tea to enhance and improve soil quality and plant growth.
Find a pillowcase, fill it with several handfuls of green material, and secure it at the top. Fill the 5-gallon bucket with water and submerge the pillowcase. Add the fish tank aerator to keep the oxygen levels up, and seal the bucket for at least 36 hours.
To use this compost tea, dilute one part tea with three parts water. Fill a spray bottle or garden sprayer and apply a layer of mineral-rich tea all over the soil. It’s also alright to spray the plant leaves in the early morning or late evening to avoid burning the foliage in the hot sun.
Isn’t it amazing that a few organic scraps have the power to transform trash into finished compost? Producing rich, homemade compost is a smart and sustainable way to improve soil structure and nutrient retention and encourage vigorous growth throughout the garden.
Knowing how to start a compost bucket gives you the freedom to reduce, reuse, and recycle on your terms and provides you with a nutritious product for your efforts. Start with a 5-gallon bucket, layer it with green and brown material, and monitor your mini ecosystem to get the “black gold” compost you’ve always dreamed of.
Green living means keeping thousands of pounds of material out of landfills through composting and conscious effort. Composting is fun and easy, and it brings the household together. We hope you’re ready to begin your composting journey confidently and you encourage your family to join in, too.

If you loved learning how to start a compost bucket, share this beginner-friendly composting article with friends on Pinterest and Facebook who want top-notch compost this year.