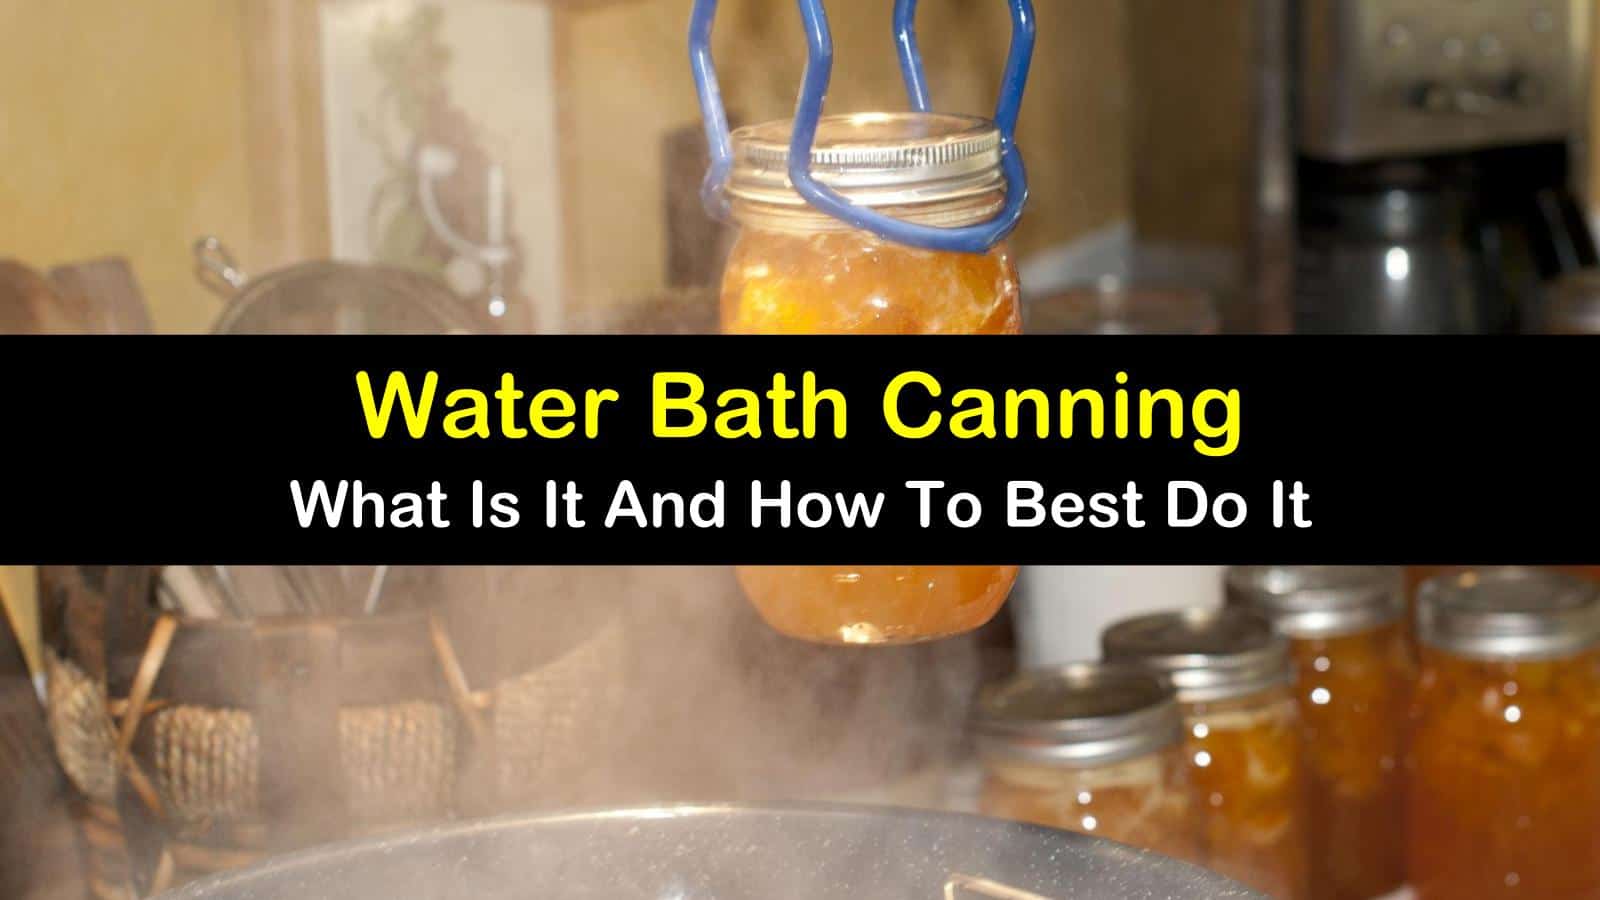
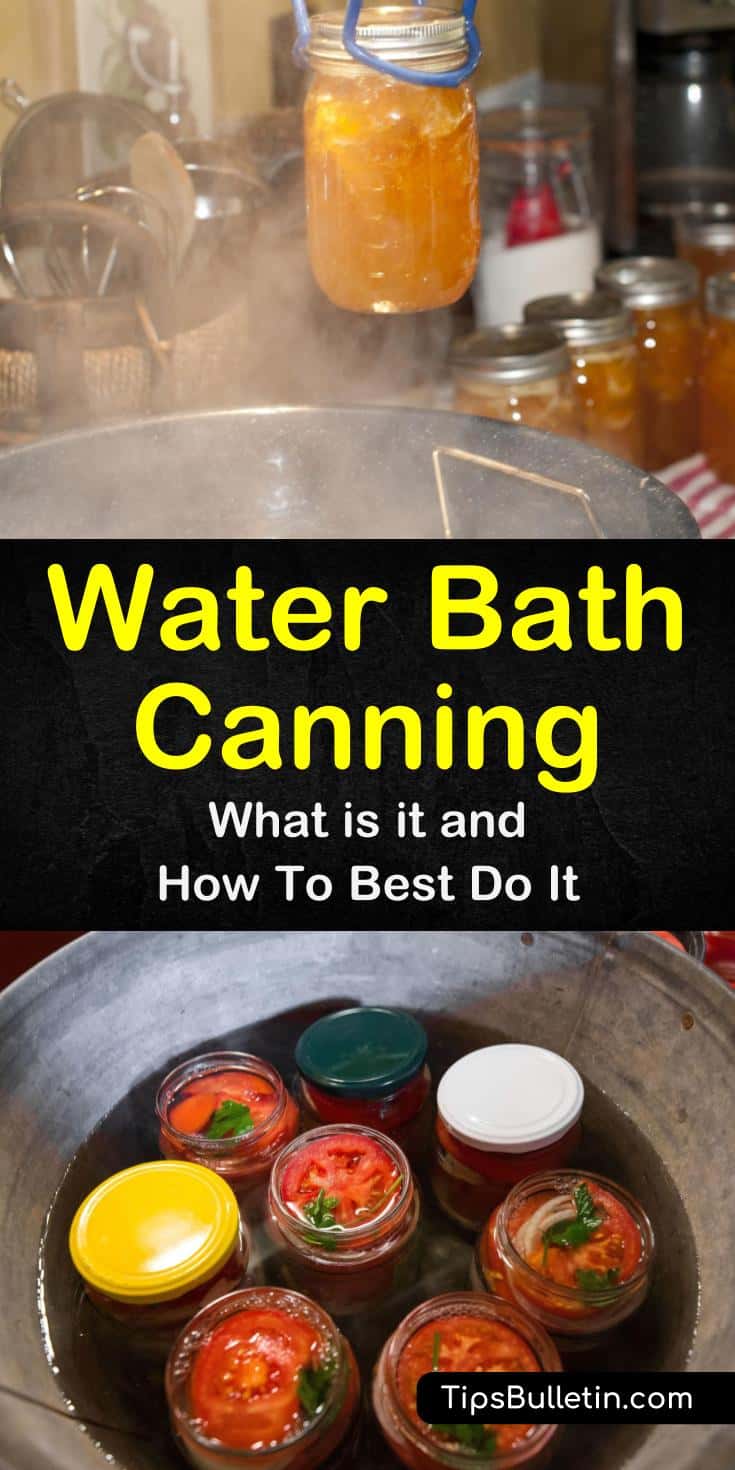
Are you new to canning? If so, then you might wonder what is water bath canning. Water bath canning is the easiest method newbies can learn to begin canning at home.
As a food preservation method, water bath canning is only safe to use on high acid foods, such as fruits, pie fillings, jams, jellies, pickles, and tomatoes. Low acid foods, such as sauces with meat, meats, green beans, and any other non-pickled vegetable, use pressure canning via a pressure canner.
During spring and summer, home gardeners end up with an abundance of fruits and vegetables, often more than they can eat or give away before it spoils. There also comes the point where the neighbors no longer want the fresh produce as they don’t know what to do with it either. Home canning allows you to safely preserve your fruits and vegetables to use at a later date.
What is a Water Bath Canner?
The easiest way to answer the question of what is water bath canning is with its basic definition. It is a canning method that involves processing jars of high acid foods in a hot water bath. Boiling water canning, as it is also sometimes called, doesn’t require the use of a pressure canner.
A pressure canner uses a specified amount of pressure to create shelf-stable jars. You can use a pressure canner in place of a water bath canner as long as you don’t seal the canner and allow it to pressurize.
You can go to your local retail store and purchase ready to go water bath canning kits, or you can even find these available online. However, you probably have several of these items already in your kitchen. Instead of spending money on specialized equipment, use what you have on hand, and only purchase the pieces you need.
Whether you will tackle water bath canning pickles, strawberry jelly, or sauerkraut, you need some basic canning supplies that can be used for whatever food you are planning to can. Here are our suggestions.

Water Bath Canning
Now that you have gathered together the equipment needed, you are ready to learn how to water bath can. If using a large pot, you need something that allows you to add enough water to cover one to two inches above the jars. You can make your own canning rack by tying together enough bands so the bottom of the pot is covered or you can use a cake cooling rack.
Prepare the Canning Pot
Fill the water canner or stock pot at least halfway with water. Cover with a lid, turn on the heat and bring water to 180°F for hot packing and 140°F for raw packing. Maintain simmering water until jars are filled and ready to process.
Prepare Canning Jars
Carefully inspect your Mason jars, lids, and bands to ensure they will properly function. Jars should be free of nicks, cracks, sharp edges or any uneven rims as these imperfections may cause the jars to break or not seal. The sealing compound on lids should be even and complete with no scratches marring the underside of the top.
Check bands to ensure they fit correctly on the jars you are using. Use hot, soapy water to wash all canning supplies.
To prevent accidental breaking when filled with hot food, jars used for hot packing require pre-heating in 180°F water. Canning lids and bands can stay at room temperature, which makes for easier handling when filling jars. Per the USDA, bands and tops do not require pre-sterilization.
Filling the Canning Jars
The recipe you use for high-acid preserving will vary based on what produce you are canning. You can find numerous canning recipes to follow online, or you can use the Ball Blue Book or other canning recipe book for ideas.
There are many tips on canning apples and other fruits and veggies so that you end up with a delicious product that can be enjoyed for years. A recipe for canning applesauce will differ little from easy to can jalapenos or that of other types of fruits and vegetables that are safe for water bath canning.
You can also use pickle mixes or salsa mixes for the simplest of ideas to preserve cucumbers or tomatoes in a fun yet delicious way. If canning tomatoes using a water bath canning method, you must add a ½ teaspoon of citric acid or two tablespoons of lemon juice for each quart. These fruits are not always high enough in acid once they have matured and require the addition of acid for safe preservation.
Prepare the food as directed, then use your jar lifter to remove your jar from the hot water. Use the funnel to fill the hot jars one at a time, always leaving the recommended headspace as stated in the recipe.
If required, remove any air bubbles using a knife, rubber spatula, or a bubble remover tool, sliding the device between the jar and food at least two times to remove any trapped air.
Remove food residue by wiping jar rims with a damp cloth or paper towel. Place lids on the top of the jars, ensuring they are centered and the sealing compound contacts the rims of the jars — secure bands until they are hand tight.
Process Filled Jars
How you place the jars in the boiling water bath varies based on whether or not you have a canning rack. If you have one with handles, load them directly onto the wire rack and use the handles to slowly lower the jars into the water bath. If you are using a homemade one for canning tomato juice or tomato sauce, use a jar lifter to carefully place them into the water bath one at a time.
Always keep jars vertical to prevent food from coming into contact with the rim. Check the water level; there should be enough water to cover one inch above the lids. If necessary, add more hot water until you reach the desired level.
Place jars at least ½ inch apart to prevent them from bumping into each other during the canning process. Turn the heat up and bring water to a rolling boil. Place the lid on the pot and begin timing.
All canning recipes include instructions on the amount of time required for processing. These times may require adjustment for different altitudes, like processing jars for ten minutes at sea level. Quart jars often have different processing times than pint jars since there is a size difference.
This time starts after they are placed in the canner and the water has reached a full boil. Reduce heat if necessary, to achieve a gentle rather than a vigorous boil.
Cooling Down Jars
Once processing time is up, turn off the heat and remove the lid. Leave jars in hot water for an additional five minutes to give them time to settle. Use handles to remove the rack of jars or use a jar lifter to remove one jar at a time.
Do not tilt jars as it can interfere with the jars’ ability to create a vacuum seal. Place jars on a cooling rack or several towels laid out on the counters, leaving at least one inch between jars.
Do not place jars in a drafty location as this can cause temperature shock, which leads to jar breakage. Leave jars alone for 14 hours. Do not move or touch the jars during this time. The lids will make noises as they are flexing and sealing.
Testing and Storing Processed Jars
Test seals by lightly pressing down on the lids. If sealed, the tops will not flex or wiggle when pressed. Remove the bands and test the seal by lifting each jar by the edge of its rim. If sealed correctly, the lid will stay attached as you lift it.
Refrigerate any improperly sealed jars immediately, or if it has been less than 24 hours, you can reprocess the jars using new lids and bands or new jars. Wipe down each container to remove any food or sugar residue — store jars in a dark place for up to 18 months.
There are many ways to use the fruits and veggies you preserve. A recipe with canned peaches, tomatoes, peppers, pears, and more is just a click away. Instead of using canned produce from the grocery store, where you do not approve of the preservatives in the food, opt for using what you have canned yourself. You know exactly what goes into every jar.
Thank you for learning what water bath canning is and how to water bath can. If you found our canning instructions helpful, please share our water bath canning guide with others on Facebook and Pinterest.