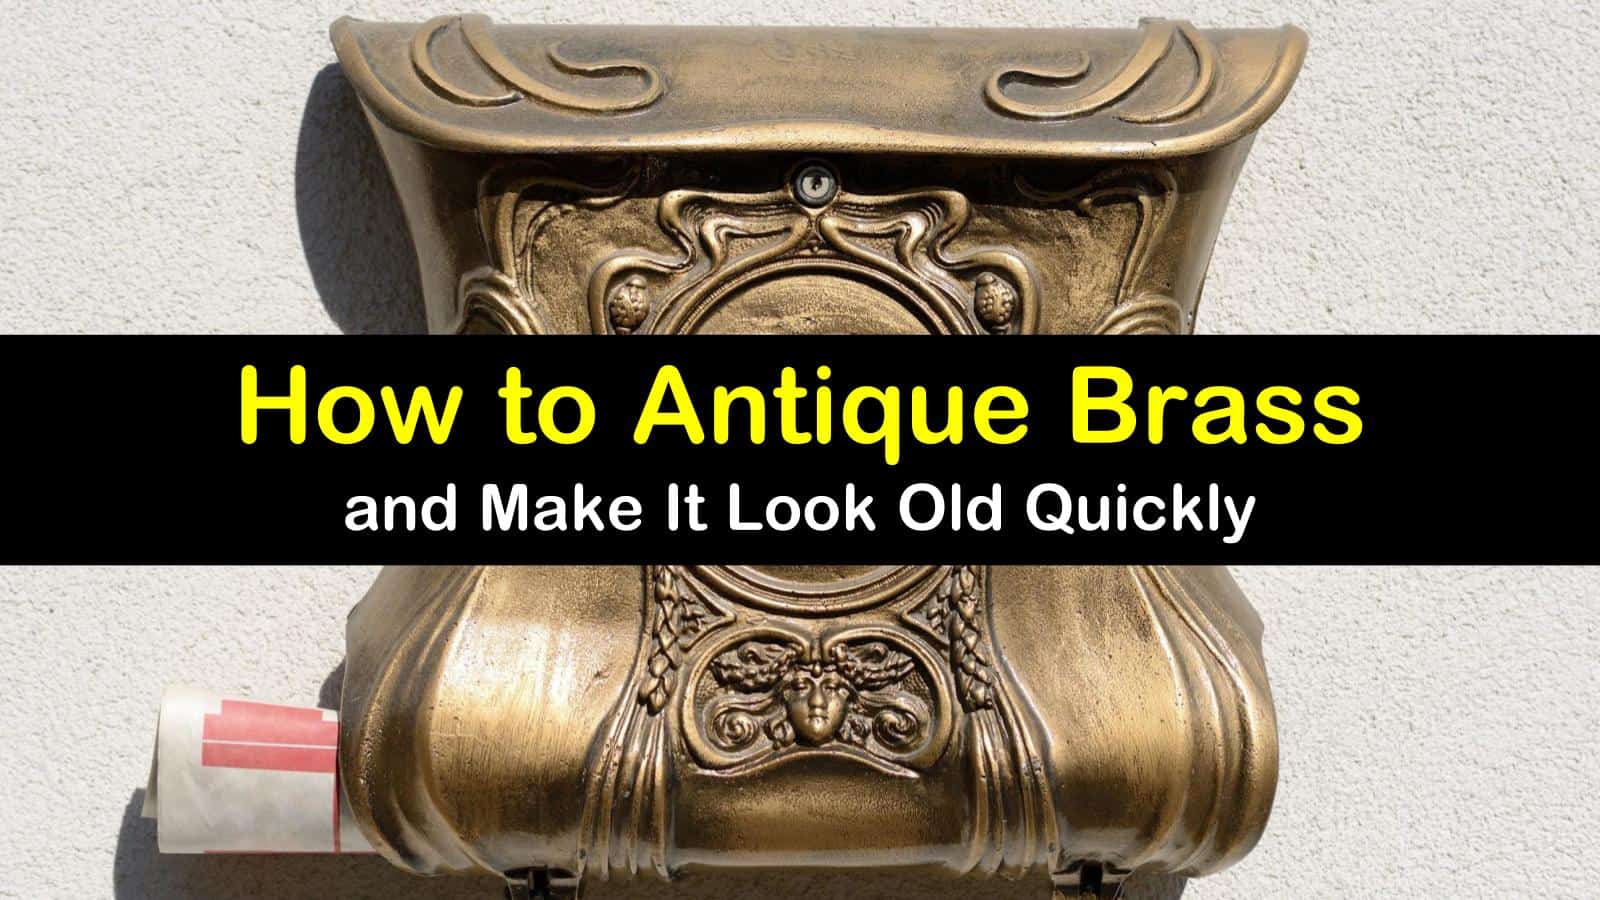
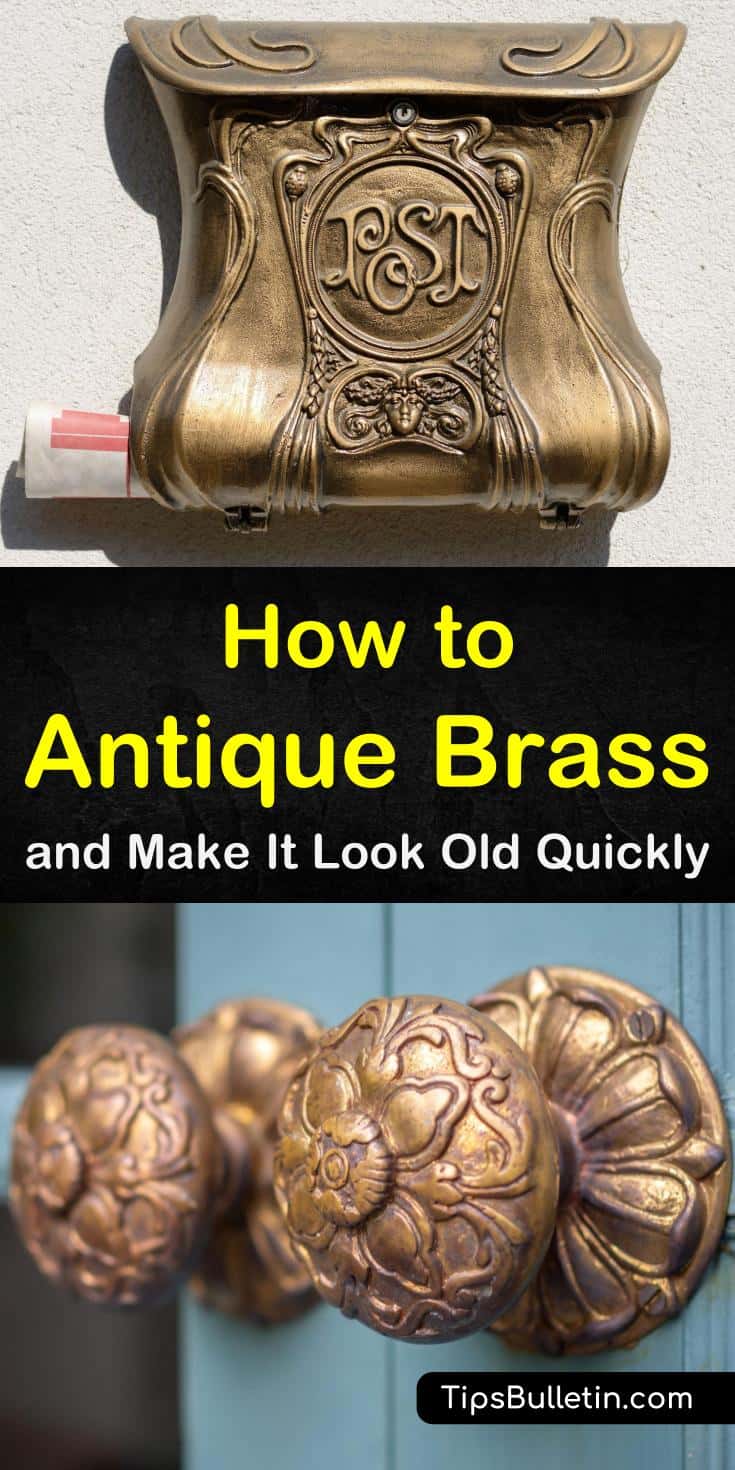
Brass adds a touch of class and style to any home. Yellow brass knobs, pulls, sconces, and fixtures give your rooms exceptional warmth and depth, and the effect is even stronger when you have antique brass. Knowing how to antique brass gives you the flexibility to create your home environment as you see fit.
When you antique your brass, you add complexity and grace to your decor. This article looks at the best methods of darkening brass. You’ll learn how to prepare your brass for antiquing, including the best way to clean away clear lacquer from your fittings before you treat them.
We give you some top brass aging recipes, and you’ll even get the lowdown on which commercial brass agers are worth using when you want a quick and easy option. Your home will shine, and your guests will rave about your good taste.
The Best Ways to Antique Brass Properly
Making brass look old is not a difficult process but there are some steps to follow to make sure you do it correctly. In order to know the best way to tarnish brass, we first need to look at what tarnish is, and how it works and forms.
Raw brass oxidizes in a hurry, and this process causes tarnish to develop. Tarnish arrests oxidation and prevents further decay. You can cause tarnish to develop by forcing your brass fixtures to oxidize through various methods. Before you can create tarnish, though, you need to know how to prepare brass.
Preparing Your Brass
This section walks you through the brass preparation process to get ready for tarnishing. We show you how to determine whether you’re working with solid brass or plating, and you’ll also get our best methods for cleaning dirt, grime, verdigris, and lacquer off of your brass pieces before you tarnish them.
Clean the Brass
Before antiquing brass, you need to know the best way to clean brass first. Your number one task will be to get your brass cleaned and ready to go through the aging process so that you can age it correctly and so that it will last.
Manufacturers polish brass and then protect it against tarnish by applying one or more coats of clear lacquer, and you’ll need to clean off both the finish and any dirt and grime from your new brass pieces before you can tarnish them. You’ll use this same method to prepare brass for refinishing. Follow this easy process to clean brass before antiquing.

Place your brass pulls and other pieces in the boiling water, and let them sit for at least ten minutes. Remove the clean brass with tongs and allow items to cool, then use the toothbrush and more hot water to clean out any crevices. Clean off any lacquer with nail polish remover or paint stripper and steel wool.
Check Whether Your Brass is Solid or Plate
Brass is a popular alloy and comes in solid and plate form. You’ll often find brass plating covering zinc or other metals to add a touch of warm color to metal fittings.
You should always check whether you’re working with solid metal or brass plating before you start antiquing brass, as plating requires gentler methods than solid pieces. The easiest way to tell whether you have a brass plate or not is to use a magnet.
Brass is not magnetic, so if you place a magnet against a piece of brass and it sticks, you’ve got a brass finish on your hands. Solid brass can tolerate the stronger antiquing methods, but be careful with plated brass and only use gentle aging methods such as a vinegar wash.
How to Patinate Brass – Home Remedies
Now that your brass is clean and lacquer-free, it’s time to start the antiquing process. When you age metals, it’s best to try the safest and lowest-impact methods first before moving on to stronger options.
Having a few brass antiquing options that use household products is a significant first step when you want to age your brass. In this section, you’ll learn about home remedies you can use to antique your brass.
These recipes take a bit longer than commercial products, but you can use them without worrying about your family’s safety. And, they won’t damage the metal pieces or eat through the brass layer to expose the underlying metal if you’re working with brass plate.
Treat Your Brass with Salt Water
Good old salt water is one of the best oxidizers out there, which is why metal exposed to salt water rusts or tarnishes so quickly. Harness that power to create custom-aged brass hardware in just a few days.
You’ll need a bit of patience when you use this method, but it’s completely safe and won’t harm your shiny brass items during a brass makeover.
Don the gloves. Stir water and salt together until the salt dissolves. Paint the solution on your brass objects, and let them sit.
Repeat the process each day for a few days to get a good patina on the brass. The salt water mimics actual aging and creates an intricate pattern on your brass.
Use Vinegar to Age Bright Brass
Vinegar is a fantastic natural cleaning agent and is a great liquid brass cleaning solution. It’s also perfect for giving your brass drawer pulls a light coating of patina and doesn’t pose a danger to the user. Vinegar contains acetic acid and accelerates brass oxidation, which encourages patina development.
It gives your brass a darker and older appearance than salt water can produce. Always wear gloves around newly cleaned brass to avoid leaving skin oil on the metal.
Put on the gloves, and pour the vinegar into a small bowl. Using a paintbrush, paint the vinegar solution on the brass door knobs and other pieces, and let them sit for a few hours.
If you want a greener color, mix a tsp of salt with the vinegar. To make the patina even darker, heat the treated brass with a hairdryer or oven.
Try Using Ammonia Vapors to Age Brass
Ammonia is another fantastic DIY cleaning solution that you can use for all sorts of things. Ammonia is a great way to clean away grime from floors and tiles, and it can get your laundry looking brand new.
You can also use it to tarnish brass. When you expose brass to its vapors, ammonia adds a uniform brown layer of tarnish.
Place the wood blocks on the bottom of the container, and add the ammonia. The tops of the blocks should be above the liquid. Place your brass pieces on the blocks, being careful not to let them touch the ammonia.
Close the lid, and let the pieces sit overnight. When you open the top the next day, the brass should be a deep brown.
Commercial Methods for Darkening Brass
Home remedies can only get you so far before you need to break out the big guns. If you want to age your brass wholly and quickly, try a commercial brass antiquing method. Commercial products pose a bit more of a risk, but they work wonderfully.
This section looks at the best commercial brass aging products. Use these agers to get your brass looking centuries old in a heartbeat.
Since they are commercial agents, they have a company standing behind them. These antique-brass solutions will get the job done for you.
Use a Commercial Brass Ager
Commercial antiquing agents are powerful and bring many active chemicals to the table. Use these agents to get even the most stubborn brass fittings looking like they’ve been around the block. Always wear proper safety gear when you work with commercial agents, and be sure to work in a well-ventilated space.
Don your safety gear, and dip the fabric into the brass ager. Rub the liquid on brass pieces, and let them dry.
Reapply as needed to darken the tarnish. If you have to apply the ager to picture frames, faucets, or other mixed surfaces, cover any areas you don’t want to age with tape.
Age Your Brass with Paint
You don’t have to spend forever getting your brass pieces looking old and venerable. If you don’t have the patience or time and need to age some brass in a hurry, paint them with a specially designed spray paint. Using paint has many advantages, including reduced time requirements and a guaranteed aged look.
Use a specially designed brass tarnish color paint; you can find it via a quick Google search. Wear safety gear when working with spray paint to avoid inhalation. Apply the paint in light coats for the best effect, and be sure to tape up any areas you don’t wish to paint.
We hope you had a great time with our tips on how to patinate brass. Brass pieces with some age and tarnish make our homes look beautiful, which is why it’s crucial to know how to age brass. Our guide helps you find the right process and gets your brass looking ancient and attractive.
Thanks for checking out our darkening brass guide. If you found our tips on how to antique brass to be helpful, please help us out and share these tips on how to age brass on Facebook and Pinterest.