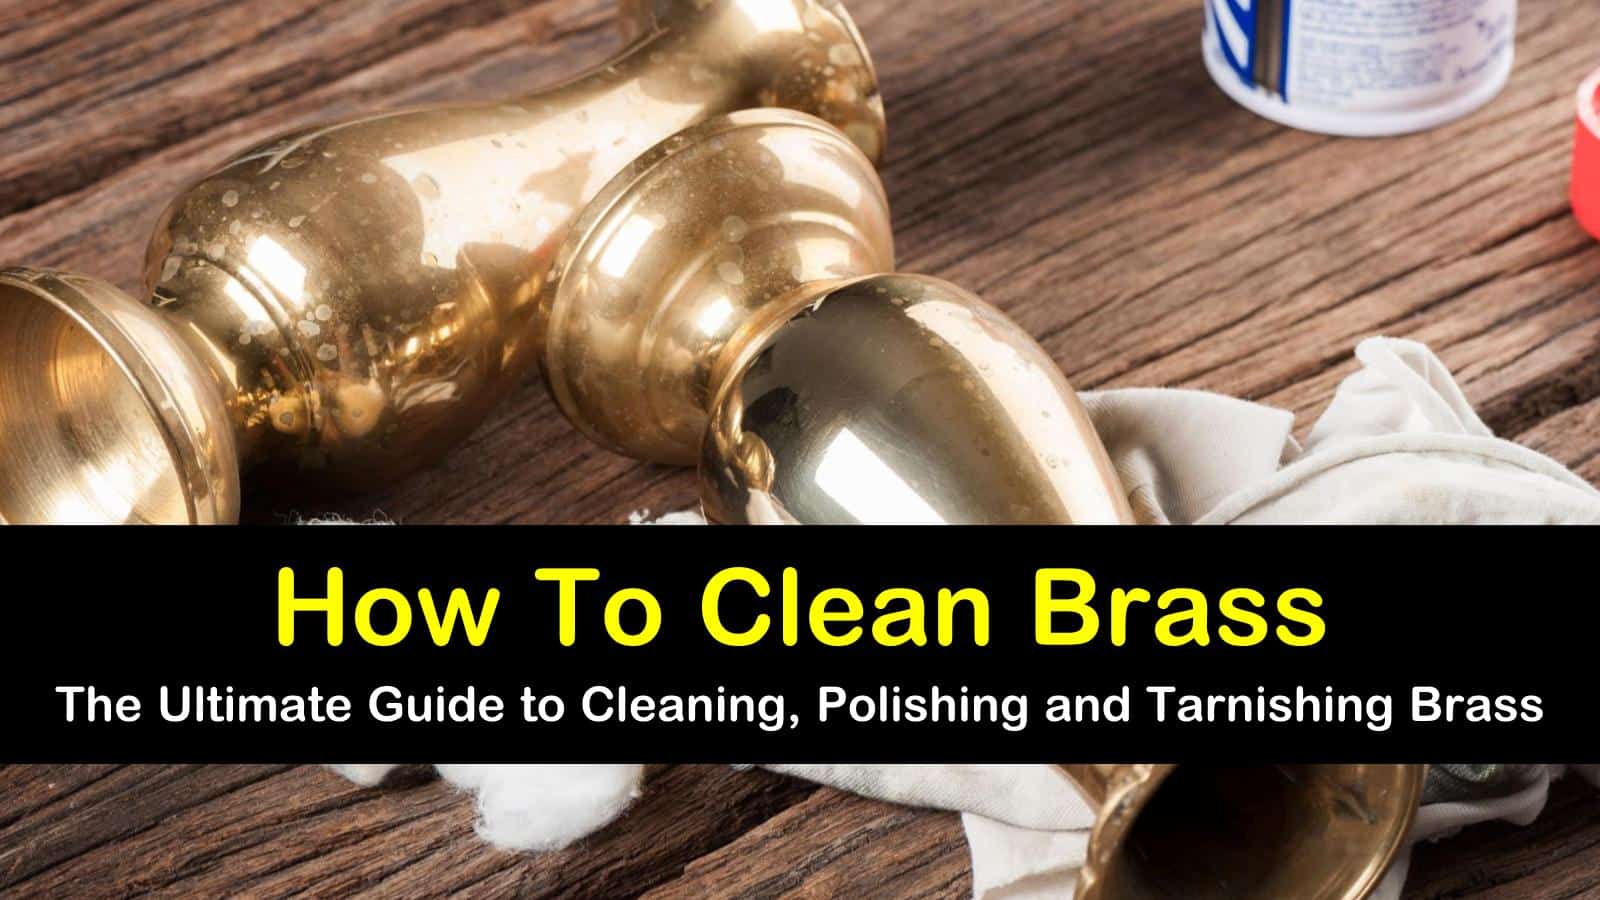
Brass adds style and class to our homes. Brass knobs, hinges, and other decorative and functional pieces bring color and complexity to any living space, and the fact that they are metal means that they will last indefinitely if properly maintained. That’s why knowing how to clean brass is such a crucial skill.
This guide examines all aspects of brass cleaning and care. We take you on an exploration into tarnish and show you when it’s a good idea to encourage it and when you should clean it away. You’ll discover excellent home tarnishing processes, so you can keep your brass looking just as you like.
This article dives into different brass cleaning methods and recipes to prepare you for all occasions and possible brass cleaning challenges. We even show you how to clean the more difficult brass pieces such as knobs and hinges safely and efficiently. With our advice and a little elbow grease, your brass fixtures will fill your house with a clean, warm, and comforting glow.
- Cleaning Brass – Preparing Brass for Cleaning
- Cleaning Brass with Vinegar
- How to Clean Brass – Other Homemade Brass Cleaners
- Cleaning Brass with Commercial Brass Cleaners
- How to Clean Brass Hinges, Knobs, and Other Hard-to-Clean Items
- How to Remove Tarnish from Brass – All About Tarnish
- How to Tarnish Brass
Cleaning Brass – Preparing Brass for Cleaning
When you’re ready to start cleaning your brass, you first need to make sure that it’s ready for you. Many brass pieces feature a layer of sealant to prevent oxidation, and you’ll need to clean all of that away before you proceed.
You’ll also have to make sure that the brass is grime-free and in the right condition for cleaning. This section tackles how to prepare your brass for tarnish removal.
You’ll learn what to do with raw brass to get it as ready as possible for cleaning, and we also show you how to treat brass sealed with wax or lacquer so that you can clean away any tarnish. Once you’ve finished this section, you’ll know exactly how to get your brass ready to clean.
Preparing Raw Brass
If your brass isn’t in a protective seal of some sort, you’ll have a much easier time getting it ready for the cleaning process. Most brass you purchase is sealed to prevent oxidation, but you can check by running your hands on the surface of the metal to feel for a clear coating of some type. If you don’t feel anything aside from brass, you can do simple cleaning.
Clean any grime or debris from the brass using warm, soapy water and a gentle brush. Dry the brass with a soft cloth or hair dryer when done. Clean away any lingering residue with a cotton swab soaked in rubbing alcohol.
Preparing Sealed Brass
If your brass has a lacquer or wax sealant, you’ll have to clean it off with a grime remover before you can clean off any underlying tarnish or dirt. Failing to clean away sealant will interfere with your tarnish removal and can result in unsatisfactory results or even damage to the brass itself.
Tackle the lacquer with hot soapy water and elbow grease. Scrub the brass until you’ve removed all lacquer or wax. To ensure that you haven’t missed any sealant, clean the area thoroughly with a cotton swab soaked in rubbing alcohol after you’ve dried the piece entirely.
Cleaning Brass with Vinegar
Vinegar is one of the best and most used household items around. Because vinegar contains acetic acid, it works very well on all sorts of contaminants and dirt. You can use vinegar to clean clothes or get stains out of wood, and it works great as a natural brass cleaner, too!
This section looks at the different ways of cleaning brass with vinegar. You’ll find out which everyday condiment contains vinegar and cuts through tarnish, and we also show you some fantastic brass cleaner recipes with vinegar. You’ll wonder how you managed this long without having vinegar in your brass cleaning arsenal.
Wipe Away Tarnish with Ketchup
Ketchup, or catsup, might not seem like it would be much of a cleaning agent, considering how often we have to work to remove ketchup stains from our clothes and carpet. However, ketchup makes a fantastic brass cleaner, as well as a great silver cleaning solution. You probably already have a bottle of ketchup in your fridge, just waiting on the next batch of French fries or a nice juicy hamburger.
Ketchup contains lots of vinegar, and it also includes tomatoes, both of which are active anti-tarnish agents. If you have a simple tarnish stain, give good old-fashioned ketchup a try.
If you have a coin collection or have some really dirty dimes and nickels, try ketchup for removing the gunk. Often, the best way to clean coins is with ketchup, as the acidic mixture really does a great job of eating away tarnish and stuck-on messes.
Don the gloves. Squirt the ketchup on the tarnished area, and wipe with a wet cloth. Repeat as needed. Once the brass is clean, rinse the area with another damp cloth, and dry the brass.
Seal your brass with wax or lacquer to prevent oxidation and to keep brass from tarnishing again so quickly. This brilliant tarnish solution is fast and easy and saves money, too.

Clean Away Brass Tarnish with Salt, Flour, and Vinegar
This recipe combines the cleaning power of vinegar with the abrasive scrubbing power of salt, and it uses flour as a binding agent to form a paste. If ketchup doesn’t clean away the tarnish, you can always kick things up a notch with this recipe. Test this option on an inconspicuous area first.
Mix the vinegar and salt in a bowl until the salt dissolves. Stir in the flour to make a paste, and dip the toothbrush into it. Apply the paste to your brass, and let it sit for up to an hour.
Scrub with the toothbrush until the tarnish lifts away. Clean away any residue with a damp cloth, and seal the clean brass with lacquer or wax.
Get Your Brass Beautiful with Vinegar and Water
Sometimes, all you need is vinegar and a little something with which to dilute it to get the effect you want. This recipe dispenses with additional ingredients and focuses on using vinegar to get your brass looking its best.
Don the gloves, and mix the water and vinegar. Dip the sponge in the solution, and apply it to the brass. Scrub with a toothbrush until you clean the tarnish away.
Repeat as necessary. Clean the area with a damp cloth and dry it thoroughly. Seal the brass with wax or lacquer to prevent oxidation.
How to Clean Brass – Other Homemade Brass Cleaners
Vinegar isn’t your only option when it comes to cleaning brass, of course. You don’t have to look far in your pantry and under the sink to find other great brass cleaners.
If vinegar isn’t cutting it, you have lots of other DIY brass cleaning supplies you can reach for that will get the job done safely, quickly, and effectively. This section examines the best ways to polish door knobs using DIY cleaners other than vinegar.
You can use these cleaning methods to tackle stubborn tarnished spots, and they won’t damage the surrounding area or expose you or your family to potentially hazardous cleaning chemicals. You’ll find out how to use lemon juice to make your brass shine, and we let you in on an excellent brass cleaning method using toothpaste as well as the best way to use linseed oil on brass.
Use Lemon Juice and Baking Soda
Baking soda and lemon juice are great cleaners on their own, and when you combine them, they form a brass-cleaning solution that you have to experience to believe. This wonderful combination can be used to clean many different household components and leave them gleaming.
Lemon juice is acidic and shares many cleaning properties with vinegar, and baking soda brings both abrasive power and effervescent cleaning action to the table. They also combine to make a fantastic copper cleaning solution.
Mix lemon juice and baking soda in a bowl, and apply the mixture to the brass items using a clean cloth. Scrub with the toothbrush until the tarnish lifts away, and clean and dry the area with a cloth.
Seal the brass with wax or lacquer to prevent future oxidation. You can also learn how to clean copper pots and other copper cookware in much the same way you do for brass items.
Remove Tarnish with Toothpaste
Toothpaste, like vinegar, is a surprisingly useful cleaning product. You can clean a lot more than teeth with toothpaste and can use it to tackle acne, apply grout, and remove brass tarnish. Only use the paste style of toothpaste and not a gel, which might not have the same deep cleaning power as simple white toothpaste.
Don your gloves to clean metal jewelry or brass pieces, and apply the toothpaste to the metal using a clean cloth. Scrub the brass with an old toothbrush until you remove the tarnish. Repeat the process as needed for heavily tarnished items.
When the tarnish is gone, remove excess toothpaste with a damp cloth, and dry the brass with a cloth or hair dryer. For the best results, seal the brass with wax or lacquer to keep it from tarnishing again.
Clean Your Brass with Boiled Linseed Oil
Linseed oil has been a time-honored way of cleaning all kinds of metals for centuries. Boiled linseed oil is doubly useful; when you use linseed oil, you clean away any existing residue and tarnish, and you also leave a thin layer that acts as a protective coating on the brass and inhibits future tarnish from forming.
Put on the gloves, and combine the boiled linseed oil and whiting powder to form a paste. Apply the paste to the brass with a cloth, and rub the brass until you remove the tarnish.
Use your clean cloth to wipe off any additional paste, and buff dry until it gives off a warm glow. You won’t need to apply lacquer or wax when using linseed oil.
Cleaning Brass with Commercial Brass Cleaners
Sometimes, the homemade cleaning options need a helping hand to get the job done. If you need to turn to something stronger than a DIY brass cleaner to remove tarnish and grime, you can always use a commercial brass cleaner.
Commercial metal cleaning products are effective and safe to use when handled properly. This section examines the best practices when working with commercial brass cleaners.
We look at the recommended gear you should wear whenever you work with one of these powerful cleaners, and you’ll also find out the best application methods so that you can get your brass pieces beautiful quickly and safely.
Wear Appropriate Safety Gear
Commercial brass cleaners such as Bar Keepers Friend, Wright’s, Brasso, and many others are highly effective at getting rid of tarnish, but they often contain caustic and dangerous chemicals. You shouldn’t be afraid to use commercial cleaners when you need extra cleaning power, but make sure to wear safety gear to protect yourself when you do use them.
Always wear gloves and safety glasses or goggles when you work with commercial metal cleaners. Many brass cleaners produce dangerous fumes, too, so make sure to wear a respirator, and keep all windows open, as well.
Turn on any nearby fans for good measure. Some cleaners will keep working until you wipe them away, so make sure to wipe clean and dry the brass entirely after using a brass cleaner.
Always Consult the Cleaner Instructions
Your commercial brass cleaners might all seem similar, but they contain different chemical mixtures and therefore have different effects on your brass items. One size does not fit all with brass polish, so consult the instructions whenever you use one.
Check to verify the type of application you’ll need to employ, such as spraying, painting, or smearing. Each cleaner will have different requirements for how long to leave it on the brass and whether to scrub or not, so check for that, as well. You can’t reapply some cleaners over and over; make sure that you don’t overuse your selected brass cleaner.
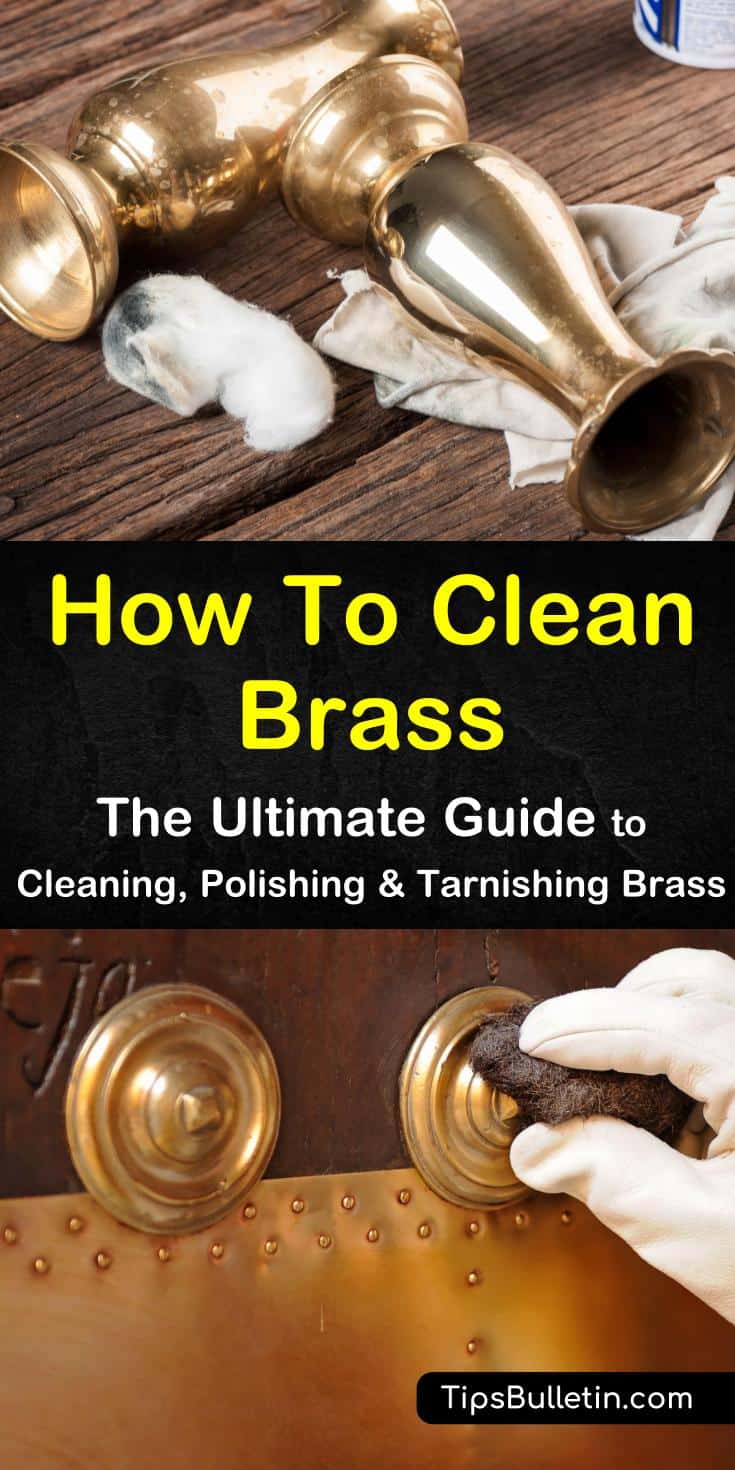
How to Clean Brass Hinges, Knobs, and Other Hard-to-Clean Items
Having the best cleaning methods, be they commercial or DIY, isn’t enough to get every bit of your brass looking its best. Many of your brass items are likely tough to clean and difficult to dismantle.
Brass knobs, pulls, and hinges are all prime spots for grime and tarnish, and they can be challenging to clean. This section covers the best ways to clean a brass sink and hard-to-reach brass fittings and fixtures.
We look at how to get your knobs looking their best, and you’ll also get an excellent method for cleaning hinges and other tricky spots. Don’t let those hard-to-get-at brass items prevent your home from looking fantastic!
Cleaning Brass Hinges and Small Brass Pieces
Hinges and other small brass bits are magnets for all kinds of grease and grime. Thanks to their location in high-traffic areas, you can count on regular dirt and tarnish buildup on most of your hinges.
To make your home glow, you need a suitable method of cleaning and polishing your brass pieces and hinges without damaging the doors or frames. If you can remove the hinges and other pieces to clean them, try letting them sit in simmering cookware filled with equal parts milk and water until they are clean.
Rinse them under hot water when they’re clean, and reattach them in their original spots. If you have to clean the hinges or other pieces while they’re on doors or other large items, use our vinegar cleaner and an old toothbrush to get at the crevices.
Cleaning Brass Knobs and Pulls
Brass pulls and knobs are some of the most prominent examples of brass in many homes and are the first brass items most visitors encounter. That’s why you need to make sure that they stay clean and beautiful. Add your knobs and pulls to your weekly cleaning tasks to keep them polished.
If you can remove the doorknobs and pulls, try simmering them in a milk and water solution as with the hinges. If you can’t remove the brass items, clean them with lemon slices and baking soda.
Dip one side of a lemon slice in baking soda, and scrub at the tarnish with the coated lemon until it lifts away. Clean and dry the brass.
How to Remove Tarnish from Brass – All About Tarnish
Before you get started on polishing brass, it’s a good idea to get to know as much as possible about the products you’ll be cleaning. You’re going to spend a healthy amount of time trying to either clean away or add tarnish to your brass pulls, knobs, and other items, and so you should try to understand with what you’re dealing.
This section looks at everything there is to know about tarnish. You’ll understand what tarnish is, why it forms, and what you can do to either encourage or discourage it from developing. We also show you why you might want to add tarnish to newer pieces as an elegant and decorative touch.
What is Tarnish?
Brass doesn’t exist in a natural form; you can’t dig brass out of a brass mine. Brass is, instead, an alloy formed from zinc and copper. The two base metals mix to form brass, which you can then use to either create solid brass pieces or as a plating material over other metals such as pure zinc.
Before cleaning a brass item, check to see if it’s pure brass by holding a magnet near the piece. If the magnet sticks, the item is brass plated. When raw, untreated brass encounters air, the alloy rapidly oxidizes, which causes tarnish, a dark surface discoloration, to form.
The tarnish acts as a protective layer against further oxidation and inhibits decay. Because tarnish impacts brass color and shine, the raw metal is often treated with a lacquer to prevent oxidation.
Why Remove or Add Tarnish?
Although tarnish might seem like a pain to have to deal with, it is, in fact, a handy weapon in your decorative arsenal. A badly tarnished brass piece can suddenly spring to life when cleaned and will transform any space with touches of rich gold and mellow gleams.
The effect isn’t limited to house decorations, either; polished brass buttons make a suit, purse, or coat look like new again. You won’t always want to clean away your tarnish, though. There are plenty of times when your home will benefit from some aging effects.
Having antique items in your house creates a sense of depth and complexity in your spaces, and nothing says “antique” faster than well-aged brass pieces with rich, warm patinas. As someone who values a beautiful home, you’re sure to find yourself working with new brass to coax an impression of age and experience from it and make it look like old brass at some point.
How to Tarnish Brass
As we’ve discussed, you’re going to want to add tarnish to brass from time to time. To make sure that your brass pieces look fabulous after your tarnishing process, you need to have a tried-and-true method and some dependable recipes. Having a winning tarnishing approach will give you peace of mind and save you time and money.
This section looks at how to tarnish brass safely and effectively. You’ll learn how to get your brass ready for tarnishing, and we also give you several time-tested recipes so that you’ll have greater choice and control over the tarnishing process and the result.
Prepare the Brass
Your brass objects will probably not be ready for tarnishing as soon as you purchase them. After all, much of the treatment your new brass received before you bought it was designed to prevent tarnish from forming, so you’ll need to make sure to remove all of that treatment before you proceed. Trying to tarnish lacquered brass will only result in frustration and discolored metal.
If you’re working with untreated brass, also called raw brass, the preparation process is simple. Clean away any grime from the brass using warm, soapy water and a soft toothbrush, dry thoroughly with a clean cloth or blow dryer, and rub away any lingering discoloration with a cotton swab soaked in isopropyl alcohol, which is also called rubbing alcohol.
If you’re tarnishing lacquered brass, remove the lacquer before proceeding. Clean the piece in hot soapy water, and scrub thoroughly to remove the finish. Repeat until the veneer is gone, and then clean any lingering debris away with a cotton swab soaked in rubbing alcohol.
Apply Tarnishing Solution
Once you’ve cleaned your brass, it’s time to start tarnishing. You can always use a commercial antiquing solution to tarnish brass, but we recommend one of the excellent DIY tarnishing recipes we’ve included below.
Sticking with a household product is safer and gives you greater control over the end product. Always wear gloves when tarnishing to prevent oil from your skin from impacting the finish.
The salt and water accelerate and control the oxidation process. Mix equal parts water and salt in a bowl, and don the gloves. Dip the paintbrush in the salt-water solution, and paint the brass.
Repeat every day until you reach the desired color. Seal the brass with wax or another metal sealant to arrest the oxidation process.
You can also use this recipe for cleaning coins if you wish. The vinegar produces a more significant aging effect than salt water. Pour the vinegar into a bowl, and, if you want to add a greener color to the tarnish, stir in a tbsp of salt.
Put on the gloves, and dip the brush in the vinegar. Paint the surface of the brass. Use a hair dryer to heat the brass; if the brass is at 450°F or so while the vinegar solution is on it, you’ll get much faster and more noticeable results. Apply lacquer or wax to seal the brass.
Vinegar fumes cause the brass to turn a uniform shade of rich brown. Don the gloves, add vinegar to the bucket and place the wooden blocks in the bucket so that any brass pieces you put in there won’t touch the vinegar. Add any brass you wish to tarnish and seal the lid.
Check the brass items after a few hours, and leave them in the bucket until they reach the desired color. Rinse the brass in warm water, and dry with a soft cloth. Seal the brass with wax or lacquer.
Ammonia fumes produce an authentic-looking tarnish that looks like it might have formed over a century. Always wear safety gear when working around ammonia, and be sure to open any windows and turn on fans.
Add the ammonia to a bucket, and place wooden blocks in the bucket to keep any brass items out of the liquid. Place the brass on the blocks, and seal the bucket with the lid. Check hourly, and remove the pieces when they reach the desired color.
Because ammonia’s effects wear off over time, you should not seal brass treated with ammonia fumes; instead, leave the brass clean and ready for repeat treatments to maintain an antique brass appearance.
We hope that you had a great time with our guide on how to clean brass. Making sure that your brass items look their best is crucial to keeping your home beautiful.
Our guide shows you how to remove tarnish from brass and can help you keep your brass clean and shining so that your home looks and feels its best at all times. You’ll be amazed at the remarkable difference in appearance a few pieces of shiny metal can make!
Thank you for reading our guide to cleaning brass with vinegar and other items. If you enjoyed our brass cleaning guide and found it helpful, please spread the love and share our article on how to remove tarnish from brass with your family and friends on Pinterest and Facebook.