When harvest season comes, we always love the bounty of produce that we find in our stores, gardens, and farmers markets. Having fresh vegetables makes our dishes tasty and our families happy and healthy. To get that delicious and nutritious experience all year long, we need to know the supplies needed for canning.
Pickled goods are a bestseller for many of us. Having a complete and high-quality home food canning kit will ensure you have canning supplies and will get you ready to enjoy the fresh flavor of vegetables and fruit all year long.
This guide looks at which canning supplies you must have in your toolset to preserve your produce for long-term consumption. You’ll discover which containers are best for canning.
We also show you which supplies are invaluable to prepare your ingredients to go into the jars, and you’ll learn about the best processing tools for both low- and high-acid foods. By the time you finish our guide, you’ll be ready to start canning.
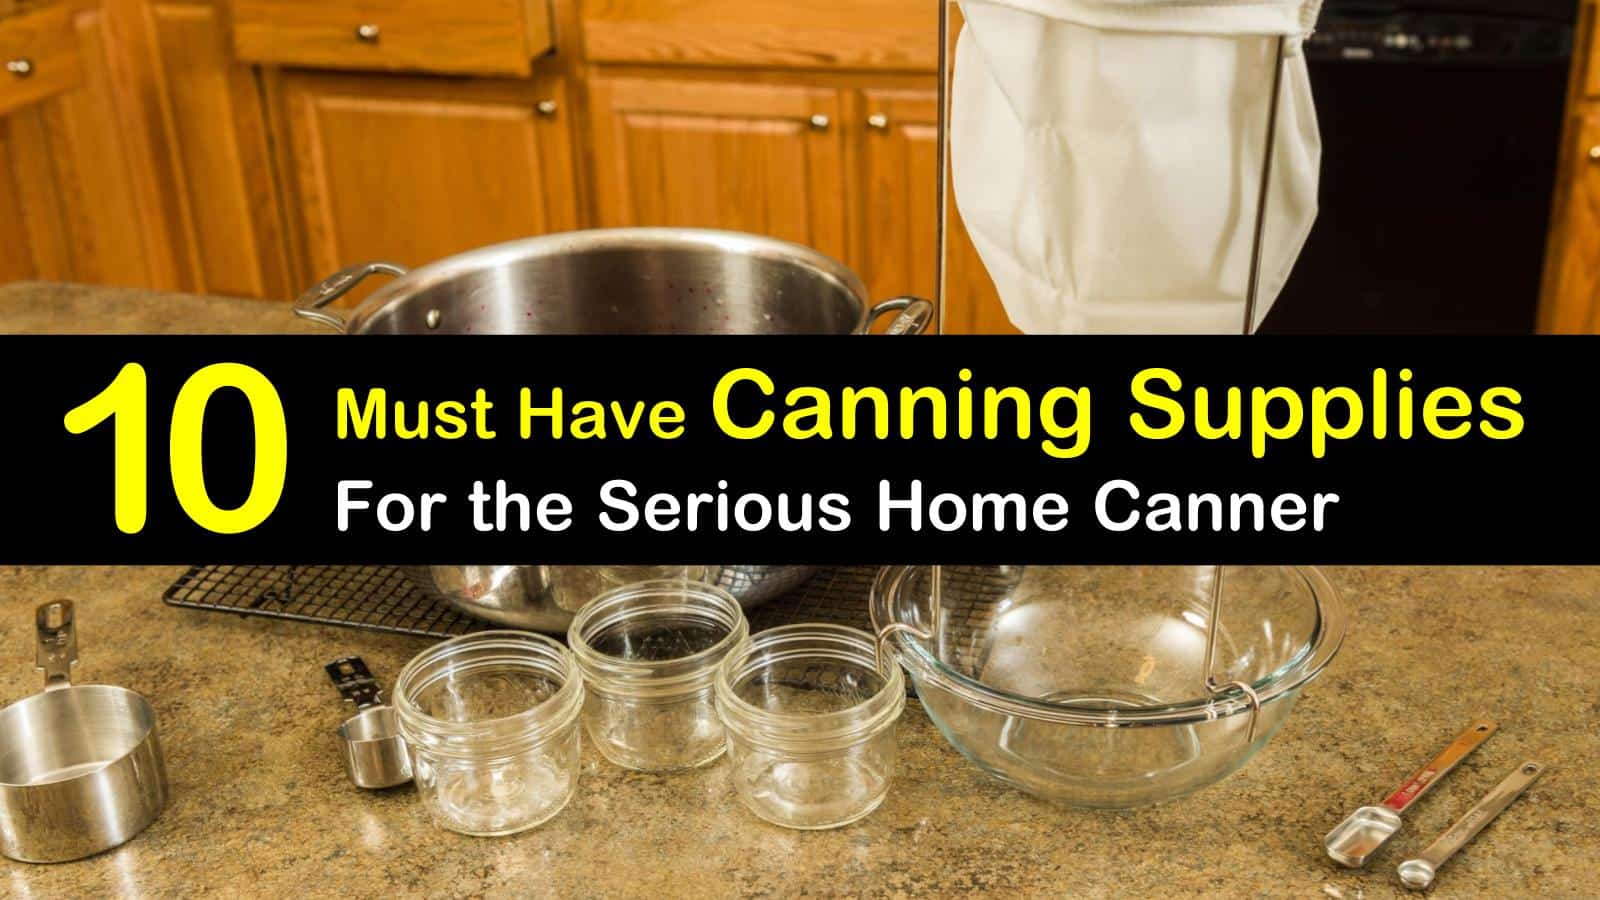
Supplies for Canning
Make sure that you have everything you need before you start your canning adventure. You don’t want to get part way through the canning process only to discover that you need a missing piece of equipment, after all. Have your equipment present and accounted for before proceeding with your grandmother’s best dill pickles recipe for canning or for making homemade applesauce with that bushel of apples you bought at the farmer’s market.
This section looks at the different equipment you’ll need to pick up to ensure you have a productive canning experience. We give you a list of essential canning supplies, from the containers to the canners.
You’ll be all set after getting everything on our list. After you gather all the necessary supplies, and before you begin canning, be sure to sterilize everything properly to ensure the proper food safety protocols.
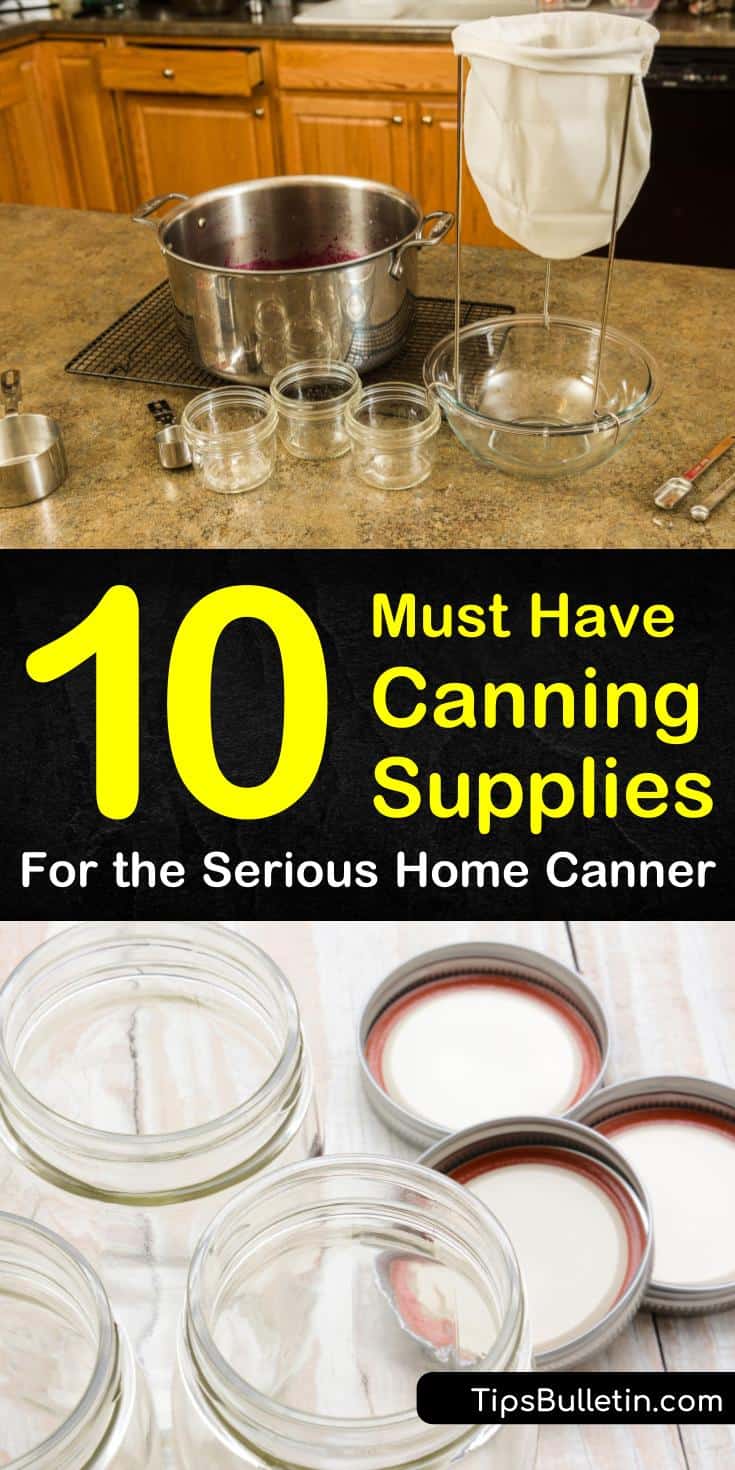
Canning Jars, Rims, and Lids
Before you start home canning, you’ll need appropriate storage containers for your food. Mason jars are the preferred food storage option for many home canners and should be the first of your supplies needed for canning. Ball manufactures different glass jars that come in all sizes and types, and you’re sure to find a Mason jar that works for your situation.
You can use wide mouth jelly jars, or you can go with a regular mouth style of canning jars if you wish. Wide mouth jars are suitable for food that stays in larger pieces.

Mason jar lids come with the jars, but you should pick up extra canning lids for contingencies. You’ll have several sizes from which to choose and can go with half-pint jars, pint jars, and quart jars.
Canning Funnel
While some folks don’t use a canning funnel when they start pickling their produce, it makes your canning experience much more comfortable and a lot less messy. When you have a proper canning funnel, you can get both the food and pickling liquid into your jars without making a complete mess of your kitchen counters and floor.
A good canning funnel is one of the most overlooked but essential canning supplies and is vital for wide mouth canning. Think of the time and mess you can avoid when you have canned spaghetti sauce or pickled jalapenos. Your funnel is indispensable!
Select a stainless steel funnel that is designed for canning. You’ll need the large opening in the funnel to get your food in the jars safely without damaging it unnecessarily. The funnel’s wide mouth makes it perfect for more than canning, too; you’ll find yourself using it to get all kinds of food in containers more efficiently, including soups and leftovers.
Stir Stick
You might not consider a small, blunt utensil to be of much use when you’re preserving your produce. How crucial could a flat stick be, after all? However, you would be surprised at how big a part in the canning process this innocuous little item plays.
You’ll use your stir stick in every jar to gently press the pickled food to force out any air bubbles before you close and seal them. You don’t need to make a special trip to the store to find a suitable stir stick. There are many potential candidates for this important item; probably in a drawer in the kitchen.
Your recipes for canned carrots, tomatoes, pears, and mushrooms all require you to remove air bubbles before sealing the jar. A wooden chopstick works fine, a skewer is ideal, and a swizzle stick can do the job, too.
A butter knife works very well to get out air, as well, but if you use a knife as a stirrer, be sure to use a blunt one. Take care not to damage the food while you press them with your stir stick and move them around gently to get rid of air pockets before you add the lid and jar ring.
A Jar Lifter is One of the Important Canning Supplies
A jar lifter is one of those canning supplies that seems silly until you get one, and then you won’t remember how you managed without it. Your canning jars are going to spend quite a bit of time in boiling water, both before and after you fill them with your foodstuff.
To get your Ball jars out of the hot water without burning yourself, you need to use a lifter. While some people use makeshift lifters fashioned from wire or take their chances with standard kitchen tongs, both of these solutions are risky.
It only takes a little instability or a slipped hand to drop a jar, resulting in broken glass, ruined food, potential burns, and a messy kitchen. Jar lifters are inexpensive and readily available at grocery and hardware stores, and they make a potentially fraught process much more relaxed and safe.
Mixing Bowls
You’ll be doing a lot of combining and mixing when you start home food preservation, no matter what you are canning. When canning vegetables or fruit, you’ll use a canning recipe to get your food ready for hibernation, and that requires lots of large mixing bowls and several different utensils.
If you want to make sure that your canned food recipes come out perfectly, have a few large mixing bowls ready to go. Fortunately, you won’t have to add mixing bowls to your shopping cart and dedicate them solely for pickling recipes.
Your kitchen cabinets are already full of mixing bowls that will work for your situation. Be sure not to use a mixing bowl that has cracks or rust, though, as any defects can contaminate the recipe and result in spoiled food.
Stock Pot or Dutch Oven
As with mixing bowls, you’ll use large pots every time you start canning produce. You’ll need to have pots on hand to cook your food before placing it in the canning jars, and the pots will also put in lots of time in boiling water for sterilization and for pouring into your Mason jars to complete the pickling process.
We need to go big when we select our supplies needed for canning, and that goes double for the stock pot. You don’t have to spend gift cards on new stock pots, but make sure to use one of your currently owned cooking containers that is large enough to hold any amount of canning ingredients necessary to get the job done.
A cast-iron Dutch oven is a great choice, thanks to its even heating and easy cleaning. If you use a Dutch oven, a lid lifter is a great accessory and will make your experience easier.
Pectin
Pectin is a natural food agent and thickener, and you’ll use it in lots of canning recipes. You’ll find that not all fruits need added pectin to become jelly, but it’s an essential ingredient for many others and is the key to consistent quality in all of your assorted jellies and jams. Pectin is one of the must-have canning supplies and should always be in your pantry.
You’ll find pectin as both a liquid and a powder; check your recipe to determine if one form is preferable to the other. Pectin is available in most grocery stores in the canning supplies or baking sections. While there are different pectin brands available, and most are excellent, we usually go with the tried-and-true Sure Jell brand pectin.
Food Mill or Food Processor
When you start canning, you’ll be doing a lot of blending and puréeing to get your food ready for the Mason jars. You can always chop everything by hand, but that’s labor intensive and takes a long time. When you need to process a lot of ingredients in a short time, nothing beats a food processor or food mill.
Both food processors and food mills work well in any canning process, and both produce quality results. However, food mills are a better choice for canning because of the way that they work. Food mills don’t introduce nearly as much air to your blended food, which is beneficial when canning, as air can spoil preserved products.
Fortunately, if you will be learning how to can corn, carrots, or peppers, you will not need a food mill or food processor. For these and other veggies and fruits, you just slice them to the size you want for canning. Scraping the corn off the cob is a bit messy, but yields nice firm kernels that are perfect for preserving.
Water Bath Canner
Once you’ve used the pots, funnels, and jars to get your food ready for the shelf, you need to process them. Any canned food that spends time at room temperature must be completely sterile to prevent spoilage, and that’s where your canner comes in. What is water bath canning? Water bath canning involves placing your filled and sealed canning jars in a boiling water canner for ten minutes or longer, depending on container size and altitude, is essential to keeping your food healthy.
It’s important to note that low-acid foods such as carrots and beets are vulnerable to dangerous contaminants such as botulism. Water bath canning is not suitable to process these sorts of foods. Only process high-acid foods in a water bath canner to ensure the safety of your canned product for consumption.
Be sure to carefully clean your canner completely after each use to make sure that it is ready for the next time you can. It’s also wise to clean your water bath canner right before you use it, as well, to make certain that there are no lingering contaminants present that could harm your food.
Pressure Canner
When you work with high-acid food or meats, take special precautions to make sure that your veggies and fruits aren’t exposed to and contaminated by hazardous agents. To make sure that your foods are sterile and ready to sit on a room-temperature shelf for months, always process this sort of product in a pressure canner for the health and safety of your family.
As in water bath canning, place your filled and sealed jars on a canning rack within the canner. You won’t add nearly as much water as you do to a water bath canner, however. A pressure canner is necessary for pressure canning peaches, most vegetables, seafood, meats, and poultry.
Processing times vary based on altitude, the food that you are canning, and the types of containers you use, so always check the National Center for Home Food Preservation Guide for your specific processing time (..). It’s important to note that a pressure cooker isn’t interchangeable with a pressure canner, so don’t substitute one for the other.
We hope that you enjoyed this guide to canning supplies. To make sure that the year’s produce doesn’t spoil and go to waste, we need to preserve them.
Having a dependable canning process starts with having the correct supplies needed for canning, which is why we developed this guide. After you read our article, you’ll be armed with the knowledge of what to get for canning and will be able to enjoy tasty produce throughout the year.
Thanks for reading this home canning supplies guide. If you found our tips for canning tools useful, please share these canning equipment tips with your family and friends on Pinterest and Facebook.