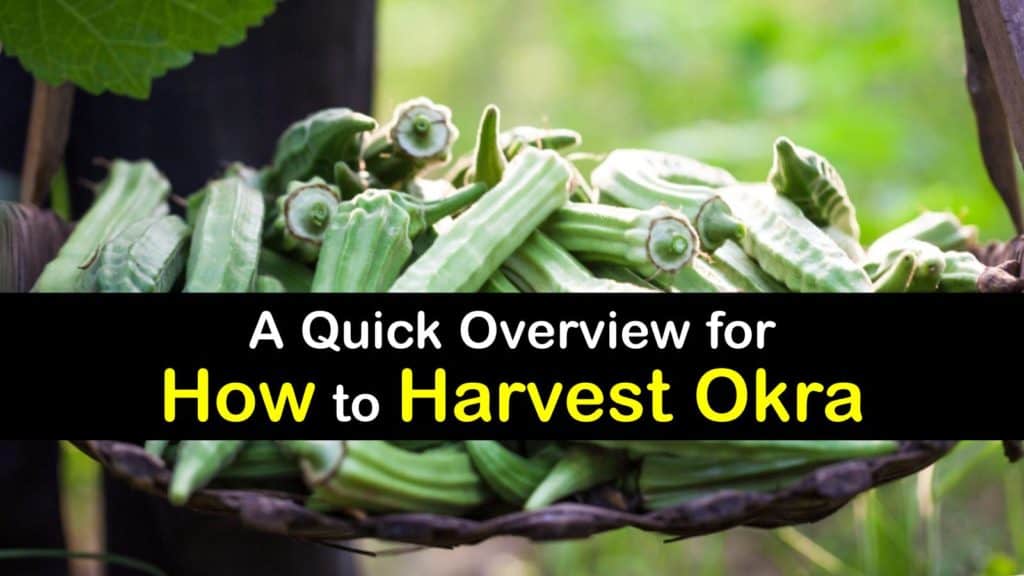
Congratulations are in order if you’ve reached the end of the growing season and your okra plants are flourishing. Though it is an exciting moment in your gardening journey, figuring out how to harvest okra isn’t always straightforward for a first-timer. The timeline for when to pick okra is different for everyone based on what the okra plants look like and if they have had enough time to mature.
Okra is an herbaceous annual part of the mallow family. Okra pods are called Abelmoschus esculentus, and the okra flowers are called Hibiscus esculentus. This fruit loves warm climates. The warm weather from the southern United States is probably the first place that comes to mind when you think about them. They are popular ingredients in stew and gumbo, but they are also the perfect choice for pickling.
Knowing when to harvest okra might not be something you know how to do yet. However, after reading this article, you’ll have all the knowledge you need to pick okra like a pro.

How to Grow Okra
Maybe your okra seeds have already gone through germination, and you are ready to start harvesting okra, or perhaps you don’t even know what it takes to reach okra harvest time. If you’re not quite ready for information on how to harvest okra, it helps to start growing okra in your home garden.
Always choose the sunniest space on your property to grow your okra seed pods. Remember that these plants love hot weather, and they need a minimum of six hours of full sun every day.
Growing okra from seed starts with waiting for the right weather. Wait until the outside temperatures are at least 60°F at night and 85°F during the day. When it is time to plant okra in northern regions is often not until late June to plant their seed pods. How long does it take for okra to grow? Don’t worry. These fast growers reach maturation in about two months.
Okra plants thrive in soil with a nearly neutral pH level between 6.5 and 7.0. Some cultivars, like Clemson Spineless and Burgundy, might be hardy enough to withstand levels up to 7.5.

They also benefit from lots of compost or organic matter. Prep your beds ahead of time by tilling in compost or fertilizer before planting them. Ensure that they continue to have nutrients throughout the entire growing season by using a continuous-release fertilizer.
Okra plants have very fragile roots that must not be damaged. Thoroughly water all of the seedlings about one hour before planting them. Carefully remove them from their pots, separate seedlings, and use spacing of ten inches between each one.
Cucumbers or tomatoes are great companion plants for okra if your looking for organic gardening ideas. Garden companions help repel unwanted insects and draw beneficial ones to aid in pollination.
Wait a few days before mulching around the base of the plant to allow the soil to absorb the warmth of the sun. Water them with an inch of water per week or more if there are dry periods.
Before discovering when to pick okra, understand that there may be a few problems that you run into as these plants develop. Okra growers usually find that their plants have issues with pests and diseases.
Some of the most popular types of infestation are root-knot nematodes, corn earworms, Japanese beetles, aphids, and stink bugs. If you can prevent these things from happening, you’ll soon be ready to learn when to harvest okra.
When to Harvest Okra
When is okra ready to pick? There are a few tell-tale harvesting signs to look for once these plants start to mature. Let’s take a closer look at the okra harvesting process.
When to Pick Okra
Pod formation differs based on the variety you choose. These crops do mature quickly, usually a few days after flowering. Once the okra flowers start to show up, check on your plants every day.
Okra pods reach their best flavor when they are about three inches long and tender. Some cultivars may have to stay on the plant a little bit longer before cutting them. If you allow them to sit too long, the pods turn tough and fibrous.
How to Harvest Okra
Always wear gloves and a long-sleeved shirt before going out to the garden. Handle the pods as little as possible to prevent skin irritation. Even the spineless varieties have some prickers on the stems, leaves, and pods. Long sleeves and gloves are the simplest options for protecting yourself.
Harvest your okra pods with clean pruning shears or a sharp knife. Each time you prune a pod, it encourages more to grow, so make sure you regularly harvest the okra. The roots are fragile. Snipping the stems above each pod is the best way to ensure you don’t damage the plant.
If you come across some already woody pods, then use those in dishes that take a long time to cook, like stews. Do not leave pods on the plant unless you plan to dry them for seeds. The longer the okra grows, the tougher it becomes.
Seed Saving
Many gardeners prefer to leave a few fruits on the plant and use them for the seeds. Leave the pods attached until they start to harden. Remove the saved pods, wrap them in twine around the stems, and hang them upside down in a cool, dry location.
Once completely dry, split open the pods and harvest the seeds to use for the next growing season.
Storing Harvesting Okra
Freshly picked okra is best stored in plastic bags in your refrigerator for three to five days. Other people freeze dry okra or freeze their pods. To freeze them, wash each fruit thoroughly before removing the stems.
Blanch your okra in boiling water for three minutes and place them in a bath of ice water. Line a baking sheet with the pods and set the sheet in the freezer overnight. Remove the tray and dump the frozen pods into a freezer bag before setting them back in your freezer.
Arguably the best way to store your okra pods is by pickling them. Pickling is a tangy-tasting method that many people rely on. You may quick-pickle your okra if you plan to eat it within a few weeks, or you can water can or pressure can them for more extended storage options.
Set your fresh okra in a strainer and place it over a large bowl. Pour the salt over the okra and toss it to coat. Let the pods stand for 30 minutes while still tossing them every five to ten minutes. Rinse the okra and drain.
Put the pods in canning jars and set them aside. Add the vinegar, water, sugar, and pickling spice to a small saucepan and bring it to a boil until the sugar dissolves. Let the solution cool for five minutes before dumping it into the canning jars. Place the lids on tightly and refrigerate them overnight before snacking.
If you don’t want to pickle your okra or want some other way to preserve them, there is a way to can okra for frying later. They’ll be just as crisp and tasty as the day you picked them.
Figuring out the timeline for when to pick okra could be different in various growing zones. Regardless of where you live, knowing when to harvest okra is determined by the look and size of the okra and is knowledge that any gardener, regardless of their experience level, can master.

If this article explaining how to harvest okra has helped you pick the perfect pods, share this article full of tips on when to harvest okra on Facebook and Pinterest.