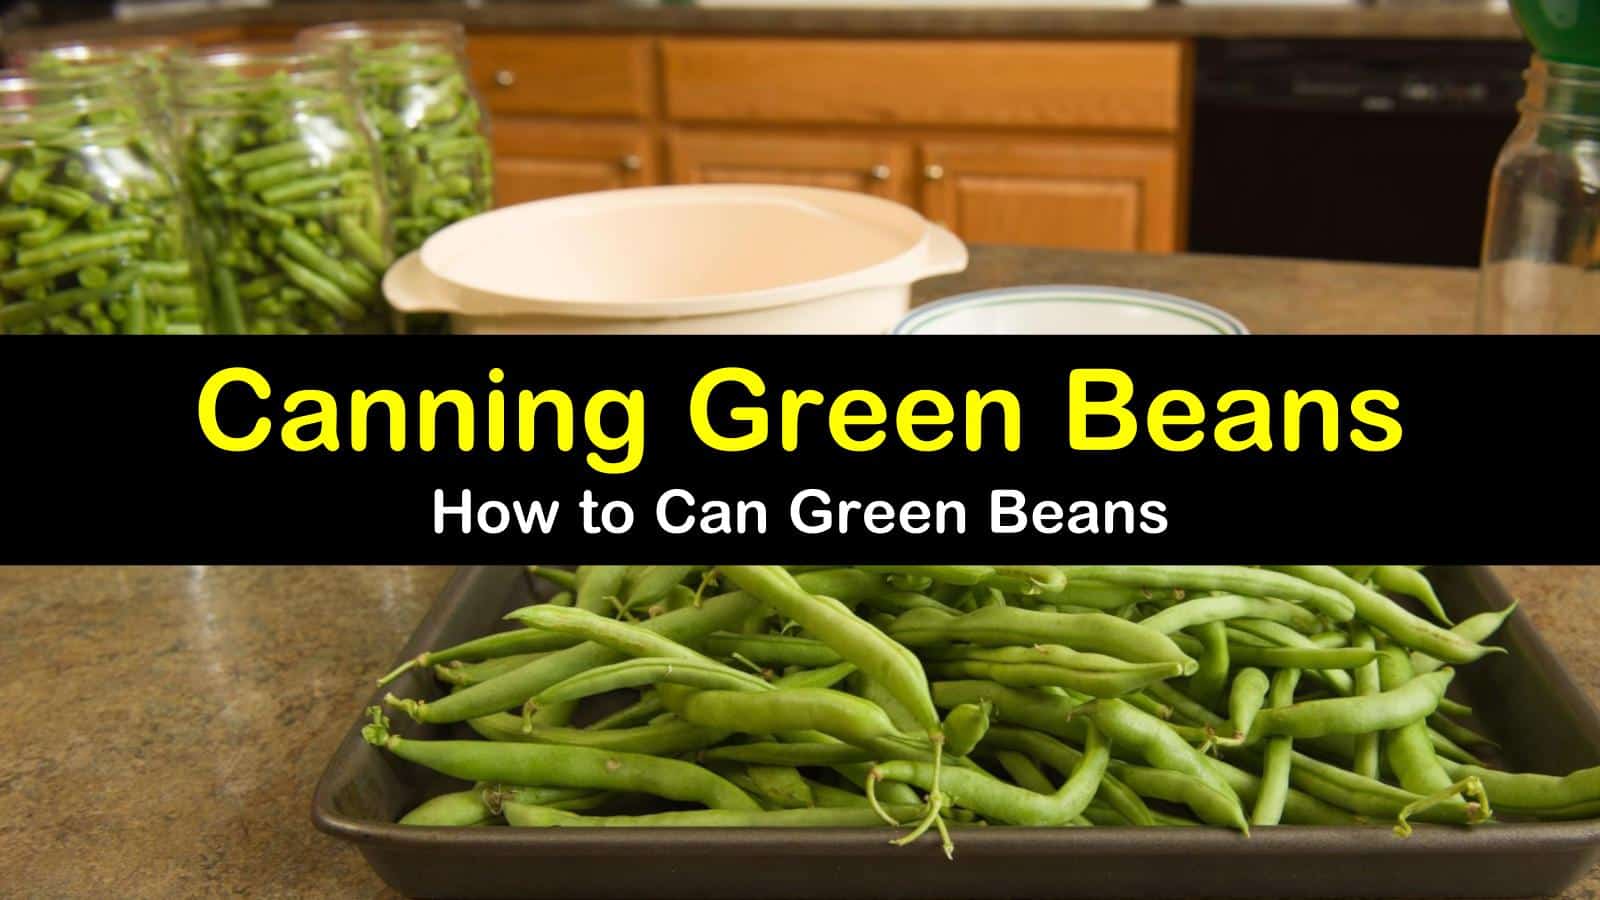
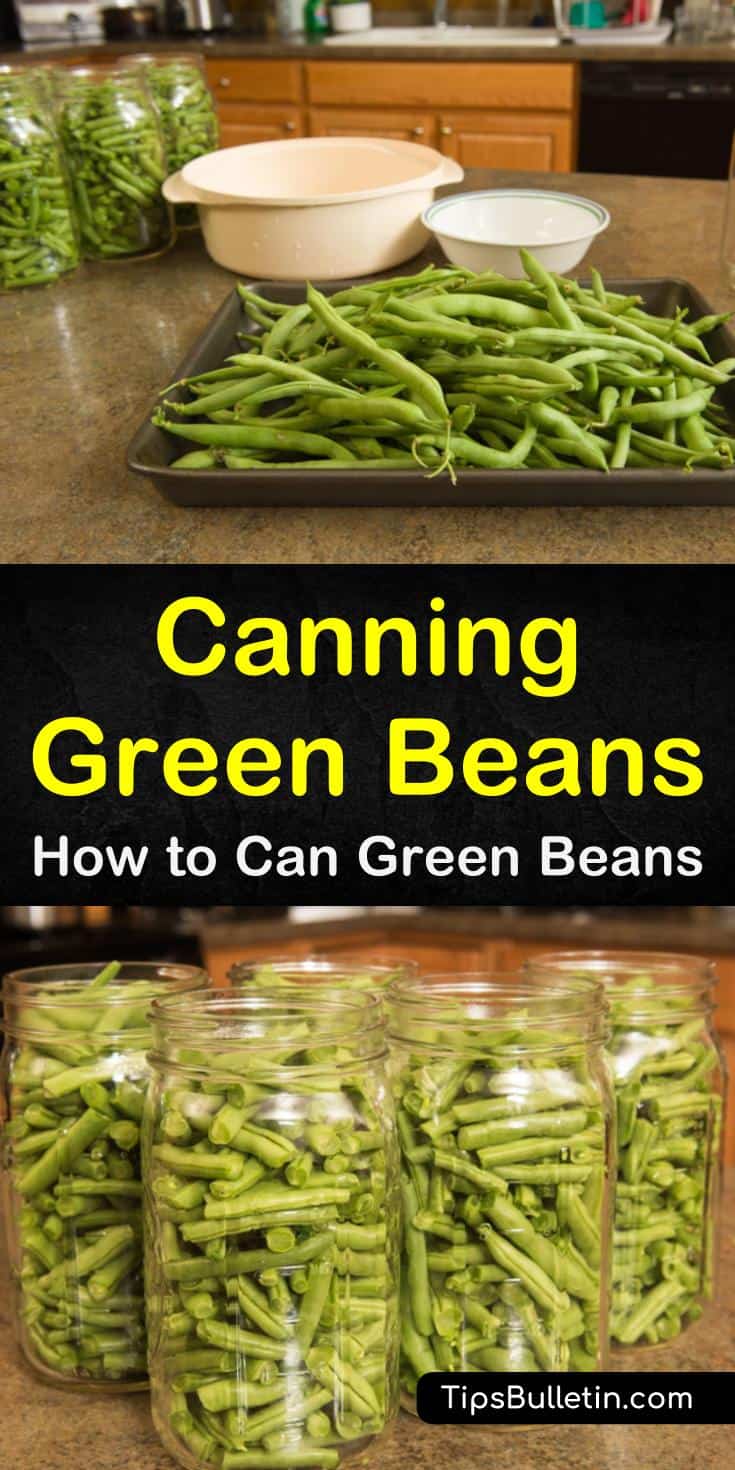
When the growing season gets late, and your garden is mature, it seems like you’ll never run out of green beans again. We’ve all experienced the joy of bountiful vegetable harvests and the anxiety of wondering what you can do with all of your produce, and nowhere is this more accurate than when dealing with green beans.
Green beans are an excellent and nutritious addition to any meal and are versatile enough for a side dish or part of the main course, but there’s nothing worse than having too many of them and being forced to watch them go bad.
To get the most out of your garden and to keep your family well fed and healthy, it’s essential to know how to can green beans for long-term storage and use.
In this article, we provide you with tips and tricks to make your next green bean canning experience an easy and successful one. Our guide walks you step-by-step through preparing and canning your green beans without canning salt.
We show you how to can your beans using a pressure canner, and if pressure canning green beans isn’t an option for you, we also let you know how to can green beans without a pressure cooker.

We explore how eating green beans can help you improve and maintain your health, and we even throw in our favorite canned green bean recipe to show you how to use your canned green beans after storage.
Canning your green beans will make your family happy and keep your meals fresh and exciting all year long. You won’t know how you managed without homemade canned beans!
Preparing to Can Green Beans
There are many ways to keep green beans fresh but nothing is worse than putting in the time and energy to preserve your green beans only to pull out a jar of home canned green beans a few months later and discover that the food has spoiled.
That’s why, if you want your green beans to survive the canning process and go on to have long and happy lives in your Ball pint jars, you need to make sure you have a method that works and produces consistent results.

This section examines the preparation and canning process and gives you the information you need to ensure stable and reliable results. We look at the most popular ways to prepare beans for canning, and we give you our recommendations for the best and most tried-and-true methods. We also give you a canning method that eliminates the need for a pressure cooker.
How to can beets and other fruits and veggies follow similar preparation and canning methods. However, some produce requires a pressure canner, while others can be canned using the water bath method. It depends upon the amount of acidity in the fruit or vegetable to be canned.
Preparing Your Green Beans
For the best results at the end of the canning process, use the best fresh green beans around and prepare them correctly. Be sure to select only pole beans that are ripe and ready for picking.
We’ve found that the best canning beans are pods three to five inches long that contain beans that have already plumped up inside the pod, but others pick only flat beans for canning. Whichever type you choose, you’ll need to then clean and snap them.
Except for a few bean varieties such as Bush beans, you’ll need to string, snap, and wash them all. Pull out the strings with your finger and thumb, and break each pod into smaller pieces; you should be able to break an average-sized bean into two or three 2-inch pieces with trim ends. Fill a large bowl with cold water, and add the beans to the bowl.
Agitate the beans with a gentle motion until the water becomes dirty, and then, empty the container, refill the water, and add the beans. Continue to wash beans until the water remains clear.
Canning Green Beans
Now that your beans are prepared and waiting patiently in a bowl of clean, cold water, it’s time to start the canning process. When it comes to canning green beans, there are several approaches you can take.
You can opt to hot pack your green beans, which involves cooking the beans for five minutes before canning them, or you can cold pack them.
Cold packing is also called raw pack and is a method that allows you to preserve fresh beans. Either way is excellent and will reward you with a lovely meal on the other side.
If using the hot pack method, bring a large pot of water to a boil, add the beans, and cook for five minutes. Drain the beans and pack the hot beans loosely into the jars. If using the cold pack method, pack the clean raw beans into the jars.
From here on, both methods use the same steps. Fill the packed jars with boiling water, leaving a 1-inch headspace at the top. Use a plastic knife or another flat utensil to press lightly on the beans in the jar until you’ve pushed out all the air bubbles.
Wipe the rings and lids, and seal the canning jars until they are fingertip tight. If you can fruits and veggies regularly, you may be tempted to reuse your canning lids to save a little money. However, can you reuse canning lids safely? Unfortunately, you cannot.
The rims can be used as many times as you like but the lids lose their ability to hold a seal after you use them. Spend a little extra to buy new packages of lids and ensure that the food you preserve remains sealed until you are ready to eat it.
Add the jars of green beans to the rack inside the pressure canner, close the canner lid, and put on high heat. Allow the steam to vent for at least ten minutes, and then close the vents and let the cooker get to the correct pressure.
You’ll need to be sure to select the proper pounds of pressure and cooking time for your altitude; we’ve found the University of Minnesota’s chart on canning pounds pressure and processing times to be an invaluable aid (..).
Note that different fruits and vegetables must be canned at varying times to ensure that they are preserved properly. For example, pressure canning tomatoes requires a certain amount of canning time that may differ from that of asparagus recipes for canning or applesauce.
What if you don’t have a pressure cooker? You can still can green beans and other produce, but you run a bit of a health risk when you do so.
Because the boiling water bath canning method only reaches 212°F, low acid foods such as green beans can still have viable botulism spores even after their bath. However, our forefathers used boiling water baths to can green beans for centuries, so it can be done.
If you don’t have the equipment for pressure canning green beans, you can place jars on a rack and immerse the rack in a pan of boiling water. Leave the green bean jars in the boiling water for at least two hours, and then remove the hot jars using a jar lifter, and allow them to cool. If not pressure canning green beans, check the jars carefully before using them in case of contamination.
Why Preserve Green Beans?
Green beans are an invaluable part of our diet, but what’s so special about them that makes them so appropriate for home canning? After all, there are only so many hours in the day, so you should make them count and avoid spending time on unimportant matters.
Fortunately, green beans have lots of features to recommend them. We’ll take a look at what green beans can do for both your health and your belly. We go over the health benefits that green beans provide you and your family, and we also see how green beans add zip to any dish.
We close out with our favorite recipe with canned green beans that you can use to make a marvelous side that works with practically any meal.
Green Bean Health Benefits
Sure, green beans are great for snacks and meals, but did you know that they also aid your health? Green beans are chock-full of fiber, and they also add protein to your diet. You’ll get lots of vitamins A, B6, K, C, and others, as well with green beans, and you’ll also benefit from the silicon, calcium, manganese, iron, copper, potassium, and other minerals found in green beans.
That’s not all, though. Green beans are full of flavonoids, which are antioxidants proven to reduce heart disease risk and prevent arterial blood clots. Even better, green beans link to colon cancer risk reduction as well as diabetes management.
You can even boost your immunity and reduce eye degeneration when you eat green beans regularly! On top of all that, green beans also help improve your bone structure and can soothe your stomach when you have indigestion. With so much going for green beans, it’s no wonder that we want to have them all year long.
Incredible Flavor and Texture
While it’s all well and good that green beans are healthy additions to your diet and can provide all kinds of benefits, none of that would matter if they didn’t taste good. Fortunately, green beans are delicious and offer one-of-a-kind flavors that you can’t find anywhere else.
You will also find that canning fruits and vegetables yourself offers a flavor that you really can’t get with commercially-packaged ones. A recipe with home-canned beans or a canning pears recipe has the advantage of the freshest ingredients that you know exactly where they came from and what, if any, preservatives are used. This makes a healthier option for everyone!
Green beans also have an unusual texture that makes them the perfect addition to dishes that need a bit more personality and life. You’ll get a satisfying crunch and burst of flavor from your green beans that will make any meal better.
Melt the butter in a frying pan over moderate heat. Stir in the Italian seasoning, garlic, Parmesan cheese, and bread crumbs, and sauté the mixture until the crumbs brown.
Meanwhile, cook the beans in hot water. After the beans are cooked, add them to the bread-and-seasoning mix, and stir the beans until coated. Add salt to taste.
We hope you liked this information on how to can green beans. While green beans are a boon in the middle of summer, they’re even better in the dead of winter, so it is essential to know the best methods for canning green beans. The prospect of canning your green beans might seem daunting, but our guide will help you along and make sure that your meals all year are green and healthy.

Thank you for reading this green bean canning guide. If you found this guide to canning green beans to be of use, we’d appreciate it if you’d share our green bean canning tips on Pinterest and Facebook.