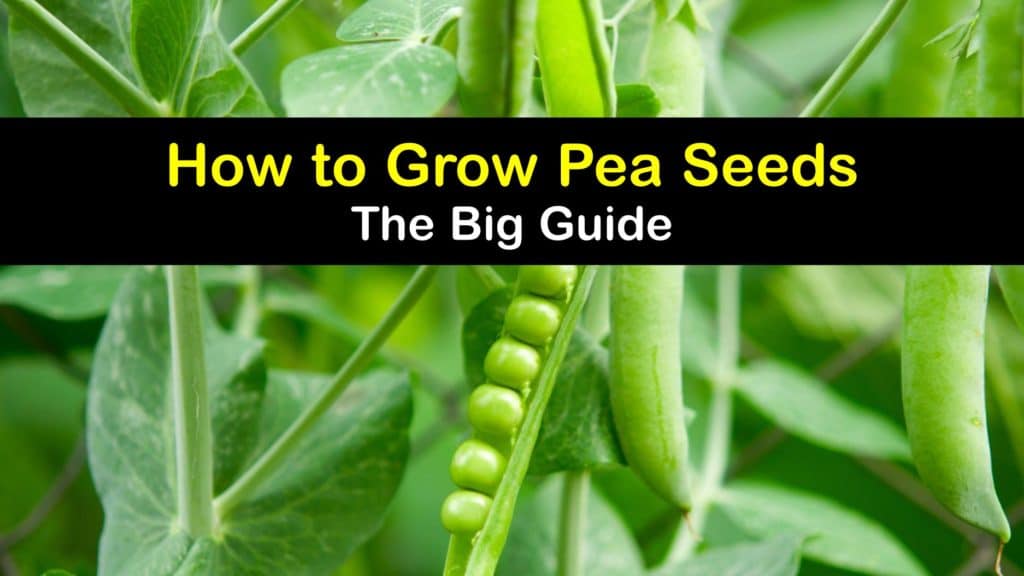
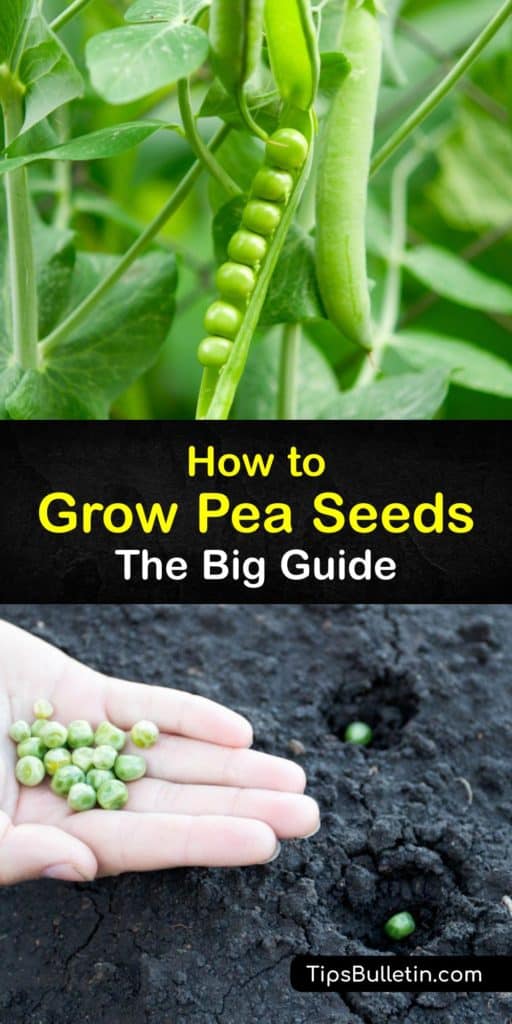
If all you’ve ever had is frozen peas, you’re missing out. Fresh peas are delicious, and they are easy enough to grow at home. Learn how to grow peas from seed by starting them indoors and growing them in the garden. Discover what your pea plants need for optimal growth and how to tell when they are ready to harvest.
There is nothing quite like growing and producing your own food, and no garden is complete without adding peas, whether you decide to grow the sugar snap pea, snow pea, or English pea variety. The fun thing about the garden pea is that you can eat them straight from the vine as a snack while harvesting.
While growing peas is relatively simple, they have a shorter growing period because they develop during cool weather. Therefore, it’s essential to start them indoors in the early spring in cool regions and grow them as winter or fall crops in warmer areas.

Planting and Growing Peas From Seed
Growing peas from seed is a great way to produce your own organic veggies, and the process is fairly straightforward. These veggies are one of the earliest crops to mature in the garden, and they are tasty in a wide range of recipes, from salads to soups and stews.
Learn about the different pea plant varieties and what pea plants want for healthy growth and pod production. Find out how to plant pea seeds indoors, transplant pea seedlings into the garden, and care for them until the end of the growing season. Explore tips for harvesting peas and using them in a healthy recipe.
Things to Know About Growing Peas From Seed
What are the different types of peas, when to plant pea seed, and how much sun do they need to flourish? These are just a few things to understand before growing peas from seed. Read on to plan your pea garden accordingly.
The three main types of peas for home growing are sweet peas, snow peas, and snap peas. The sweet pea, or English pea, does not have an edible pod and is considered shelling peas. You have to wait until the shell peas are fully plump before shelling them, and they are the fastest-growing green pea type.

Snow peas, or Chinese pea pods, are a flat and edible podded pea, and they take the longest to mature. In comparison, the sugar snap pea is a cross between the snow pea and English pea. Their seed is a little plumper than sweet peas, and the pea pod is crisp and edible.
As some of the best vegetables to grow at home, all pea types grow well in soil with a pH between 6 and 7.5, and they need six to seven hours of sun exposure daily. While they tolerate some shade, too much causes the plant’s growth rate to slow.
If you grow peas in a garden with other veggies, consider companion planting to deter pests that destroy plants and cause diseases. Some good companion plants for peas are chives, carrots, corn, turnips, beans, radishes, mint, and alyssum. They also make good cucumber companion plants.
How to Plant Pea Seeds Indoors
When planting pea seeds, it’s a great idea to start them inside since this gives you more control over the germination process and ensures you get healthy seedlings to plant in the garden. Here is how to plant pea seeds indoors to get a head start on the season.
The best way to plant peas is to moisten a paper towel and place the pea seeds in the middle rather than putting them in dirt. Fold the damp towel over to cover the seeds and place it in a ziplock bag.
Set the bag in a safe area of the kitchen and let them sit for seven to ten days. Check the seeds during this time and add a little more water to prevent the towel from drying out.
Next, the way to grow peas is to fill small pots with seed starting soil and place a seed sprout one inch deep in the center of each pot. When growing peas in pots, water them lightly to keep the soil moist and set them in front of a sunny window. This part of growing peas indoors is easy. Once the seedlings have three to four pairs of leaves, it’s time to prepare the garden and harden off your plants.
How to Grow Peas From Seed in the Garden
After planting peas from seed indoors and the pea shoots emerge, it’s time for outdoor transplanting. Discover how to harden off the seedlings and move them to their new home in the garden bed.
The best time to plant peas outside is in early spring. Before planting peas outdoors, harden off the young plants by taking them outside and setting them in an area where they receive some morning sun or afternoon shade for a couple of hours each day.
After four days, move the plants to a spot where they get full sun all day. Prepare to transplant them after hardening them off for about a week.
Start the garden by working finished compost or aged manure into the dirt. If you desire a pea plant that grows fuller with lateral branching, clip away the top of the seedling just above a pair of leaves while leaving two to three pairs of leaves on the seedling.
Dig a hole slightly bigger than the pea pot and carefully remove the seedling from the container. Place it into the hole and backfill it with dirt, making sure the soil level is the same as in the container. Space the plants five to six feet apart to ensure adequate spacing and air circulation and water them gently.
Position a pea trellis in the garden bed right after planting and spread mulch around the peas to help the ground retain moisture and prevent weed growth.
Garden Pea Plant Care and Harvesting
Peas are fast-growers, and it’s vital to give these plants care as they grow to ensure they produce an abundance of pea pods for harvesting. We explain what pea plants want to thrive and when they are ready to pick.
If you’re concerned about birds, slugs, and snails, consider covering your pea varieties with netting or floating row covers until they grow out of the seedling stage. As they grow taller and begin climbing the trellis, help the branches by coaxing them onto the support, but take care when manipulating them since the branches snap easily.
Water your plants sparsely to give them no more than an inch of water each week to prevent pea rot. Remove weeds by hand to avoid disturbing the pea plant’s shallow root system. Fertilizing is unnecessary if you plant peas in nutrient-rich soil and mulch the bed.
Keep an eye out for common pea plant pests like aphids, Mexican bean beetles, root-knot nematodes, wireworms, and the pea moth caterpillar. Remove them by hand once you spot them, or use insecticidal soap to eliminate them.
Typical pea diseases are white mold, downy mildew, powdery mildew, and fusarium wilt. The best ways to stop these diseases from ruining your crop are to perform crop rotation, choose resistant plant varieties, remove plant debris, and sterilize your garden equipment after each use.
Most pea types are ready to harvest 60 to 70 days after sowing seeds. Snow peas are ready for harvesting when the pods begin showing immature seeds inside. Snap peas are ready when the pods get plump and are still glossy, and shell peas are good for picking when the pods become waxy.
Harvest peas in the late morning after the dew dries for the crispiest pods and pick them regularly to encourage more pod growth. Hold the vine with one hand while using your other hand to pull off the pods.
Using Fresh Snap Peas to Make a Healthy Side Dish
While it’s easy to steam snap peas, why not give your veggies a little zing by sauteing them with ginger and garlic? This Asian-inspired side dish is flavorful, simple to prepare, and perfect alongside any dinner recipe.
Drizzle the grapeseed oil into a large skillet and saute the garlic and ginger for one minute over medium heat. Pour in the snap peas and soy sauce and cook while occasionally stirring for about six minutes. Turn off the heat, stir in the sesame oil, sprinkle with sesame seeds, and serve.
Sugar snap peas are one of our favorite vegetables to harvest since we get to munch on their sweet goodness while picking them from the vine. However, all pea plant types are a great addition to the garden, and they are easy to grow if you start peas indoors and give them proper care.

We hope that learning how to grow peas from seed keeps your garden overflowing with tasty pea pods, and we’d love it if you’d share our pea seed growing guide with the veggie-lovers in your life on Facebook and Pinterest.