If you plant shallots in your veggie garden this year, you’re in for a real treat. Shallots are members of the Allium, or onion family. They have a mildly sweet flavor described as a combination of garlic and onion. In this article, learn how to harvest shallots, the best ways to store them, and several tasty ways to use them in the kitchen.
Since shallots are sometimes hard to find at the grocery store, growing them at home is well worth the effort. They are eaten raw or cooked and add an unmistakable, earthy spice to a recipe.
Shallots have a relatively long growing season and take 90-120 days to reach maturity, depending on the variety. In warmer regions, shallot bulbs get planted in late fall for an early summer harvest. For areas with harsh winters, plant sets of shallot bulbs in late winter or early spring, approximately four weeks before your area’s average last frost date. They’ll be ready to harvest in late summer.

Best Tips and Tricks for Harvesting Shallots
When to harvest shallots depends on your growing climate and intended culinary use, and whether you you grow shallots indoors or outside. Harvest the leafy green tops as needed throughout the growing season to use like chives or green onions. The bulbs are ready to eat once the leaves begin turning yellow.
The botanical name for shallots is Allium cepa var aggregatum. Other plants in the Allium family include bulbing onions, garlic, leeks, and scallions. Shallots also get called multiplier onions because they usually form sets of four to 12 small bulbs.
Although most growers harvest shallots after one growing season, the plants are actually biennial, which means they grow leaves and roots in their first year, go through a dormant period, and develop flowers and seeds the second year.
Sometimes shallots flower prematurely in their first growing season due to drought or heat stress, a process called bolting. The good news is, the flower stalks or scapes are edible. Use them as a garnish for fresh salads or lightly cooked, like green onions.

Shallots grow best in an area that gets full sun and has consistently moist soil rich in organic matter. The same holds true for shallots vs common white onions.
They have a particularly shallow root system and suffer when competing with weeds for nutrients and water. Use mulch around the plants to retain moisture, insulate the soil surface, and minimize weed growth.
Spacing between shallot plants should be approximately two inches. Overcrowding leads to stunted growth and increased risk of rot and fungal disease.
If it’s your first time growing them, you might find yourself asking, “When are shallots ready to harvest?” Read on to discover all you need to know about harvesting shallots and what to do with them once they’re out of the ground.
When to Harvest Shallots
There are a variety of factors to keep in mind when determining when to pick shallots or harvesting green onions. Get a general idea of your expected shallot harvest time by checking the days to maturity listed on the seed or bulb package.
However, environmental conditions like temperature and rainfall play a significant role in the plant growth rate, whether you are dealing with onions or when you harvest beets or potatoes.
If you planted shallot bulbs in the fall, they reach maturity in late spring or early summer. When you plant sets in early spring, the time to harvest shallots is late summer or early fall.
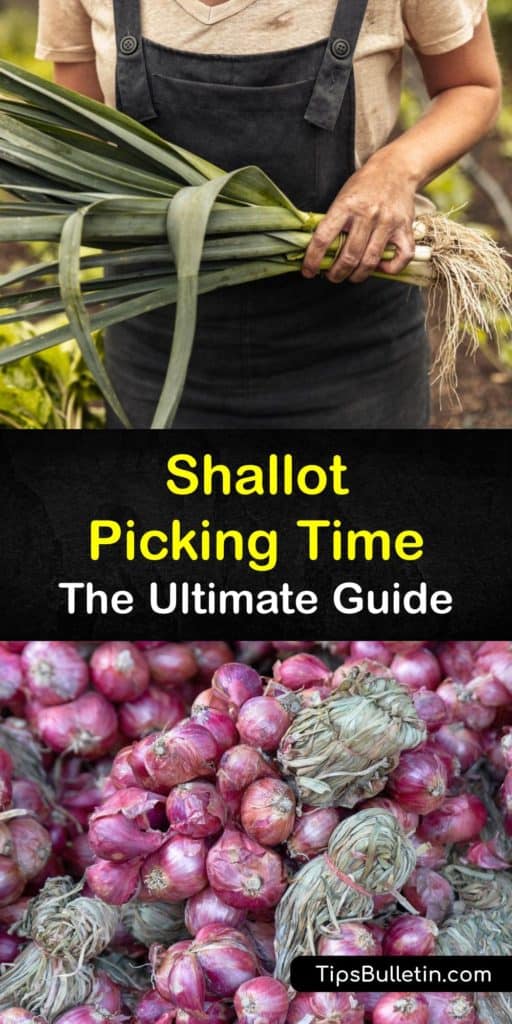
Shallot bulbs are ready to dig up when the leaves wither and fall over. The bulbs look like small onions with papery brown skins.
How to Harvest Shallots
Once it’s time for harvesting shallots or when to harvest onions of another type, gently loosen the surrounding soil with a spading fork or hand trowel. Avoid puncturing any of the small bulbs. Follow the same guidelines while picking carrots.
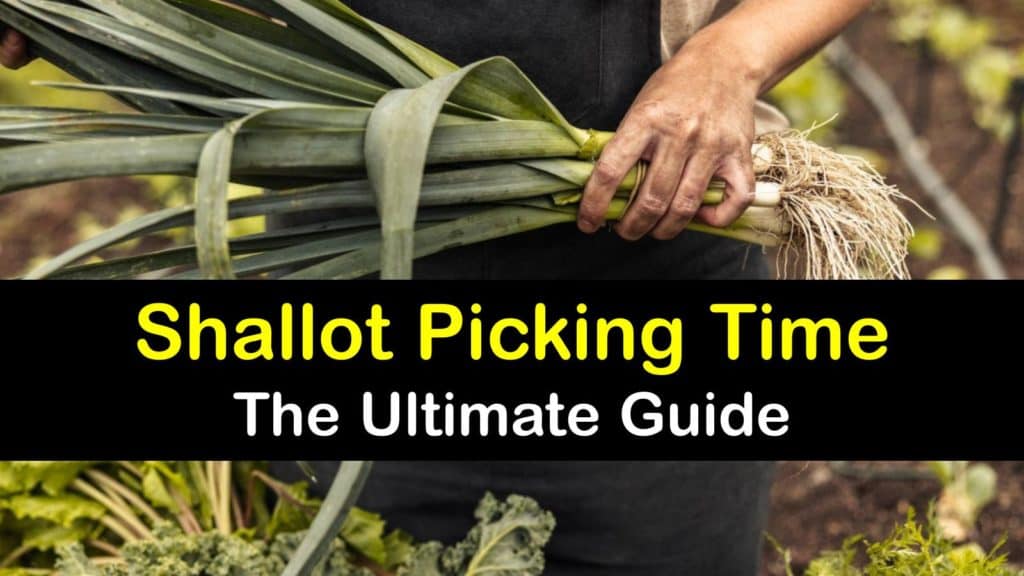
Use your hands to lift the entire plant out of the ground. Leave the dry tops intact and shake off any excess soil. Thoroughly check each bulb for signs of rot or insect damage, and discard any spoiled ones.
Shallots must cure for two or three weeks to harden the skins and seal the necks for storage. If the weather allows, cure them in a shady, dry place outdoors. Otherwise, move them indoors for curing.
Storing Homegrown Shallots
Once fully cured, store shallots in a paper or mesh bag in a cool, dry place that consistently stays between 35-45℉. Ensure adequate air circulation to keep your shallots fresh for as long as possible. When properly stored, shallots last for up to six months.
Keep shallot greens in a perforated bag in the crisper drawer of your refrigerator, or wrap them in a damp paper towel.
Freeze homegrown shallots to extend their shelf life. Freeze them whole, chopped up, or mixed into a delicious shallot and herb-infused butter.
Heat a small sauté pan on medium. Warm the olive oil in the pan for a few seconds, then toss in the shallots and cook for two or three minutes. Add the minced garlic, and simmer for one more minute before removing the pan from the heat.
Place the softened butter into a small mixing bowl and pour in the garlic and shallots. Incorporate the herbs and salt, and fold them into the butter using a spatula until well-combined.
Place the compound butter mixture on a piece of plastic wrap and roll it into a log. Store it tightly sealed in the dairy compartment of your refrigerator for up to one month, or freeze it for up to three months.
Troubleshooting Common Growing Problems
Few things are more frustrating than a disappointing harvest after putting in months of effort.
Some of the most common problems gardeners experience when growing shallots come from fungal disease. To reduce the risk, ensure that the plants have proper airflow and avoid overwatering.
White rot is a soil-borne fungus that attacks the roots and base of the bulb. Neck rot also persists in the soil and affects the plants’ necks and leaves.
Discard affected plants and avoid growing Allium plants in that area for at least five years. Unfortunately, there are no known effective chemical treatments for these fungal diseases.
Cutworms, onion maggots, and thrips are some of the most prevalent shallot pests. Cover newly sprouted shallots with a floating row cover in early spring to prevent insects from laying eggs on the tender young plants.
Spray all parts of the plants with an organic insecticide like neem oil or insecticidal soap at the first sign of an infestation.
Have you been asking, “How long does it take for shallots to grow?” It depends on which variety you’re growing and what the weather has been like throughout the growing season.
Shallots are ready to harvest after approximately 90-120 days. When to harvest shallots hinges on if you planted sets in the fall or spring.

If you found these gardening tips helpful, please feel free to share this article about how to harvest shallots with your fellow gardeners on Pinterest and Facebook.