When we have a bountiful garden harvest or go apple or berry picking, we often find ourselves with far too much food. That’s why canning food is such a fantastic option. When we can vegetables or fruits, we prepare them for long-term storage so we can enjoy summer fruits and vegetables in our favorite canning recipes.
It’s essential to know how to sterilize canning jars and lids to ensure that we find tasty, unspoiled food when we open the jars. Making sure that our Ball or Mason jars are sterile before canning is crucial to our canned foods’ long-term viability. In this article, we go over the canning jar and lid sterilization process.
We show you how to sterilize glass bottles so that your food survives the long journey on your basement shelf. We also look at the preferred sterilization methods for jars, lids, and rings so that all of your canning equipment and canning supplies stay germ-free. Once you’ve read our guide, you’ll rest easy knowing that your canned goods are sterile and waiting to be enjoyed.

Canning Jars Sterilization Process
Having an excellent step-by-step sterilization method is the best way to ensure consistent success. You must be able to clean your glass jars without worrying about missing a microbe that can ruin your canned goods. Equally as important, you must know how to sterilize the canning lids, too.
In this section, we look at the best method for sterilizing Mason jars. We tell you how long to boil your jars for canning, and we look at other options such as sterilizing jars in the oven. We find out the top method for how to prepare jars for canning vegetables and fruits and getting your canning lids and rings sterile and ready for canning, too.

Sterilizing Mason Jars
When you sterilize jars for home canning, always trust the USDA guidelines, which state how long to boil jars for water bath canning. Any canned products that receive less than ten minutes’ processing time in a boiling-water canner must be placed in a pre-sterilized jar to prevent contamination.
Pressure canning is also an acceptable sterilization method, so food that goes through a pressure canner doesn’t require pre-sterilized containers. For proper pre-sterilization, you need to expose your jars to intense heat (..).
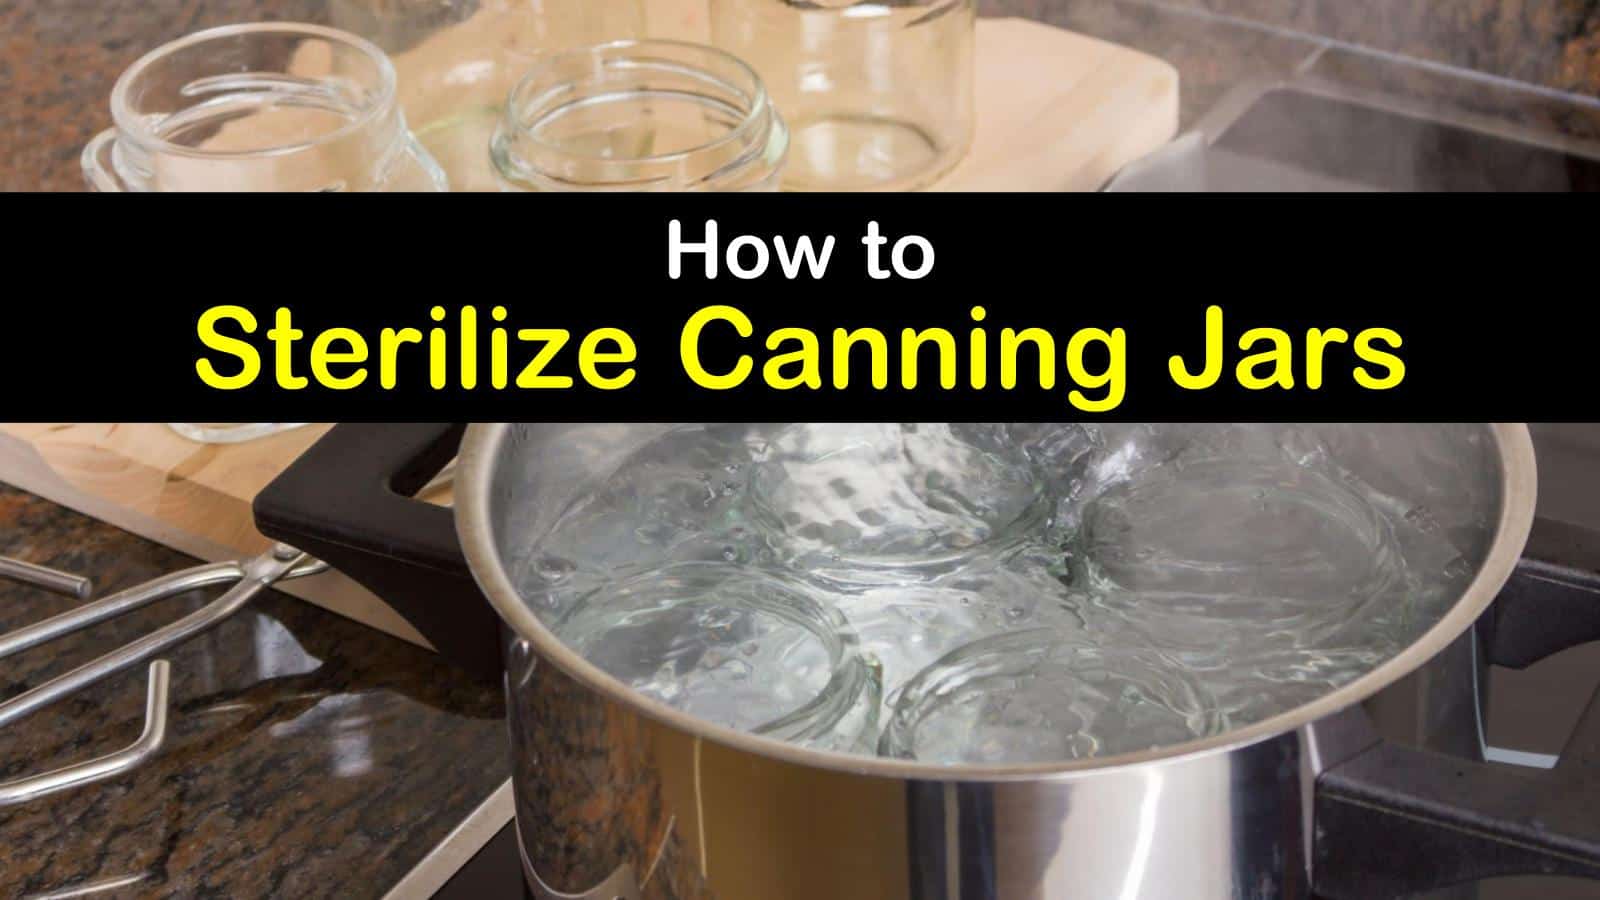
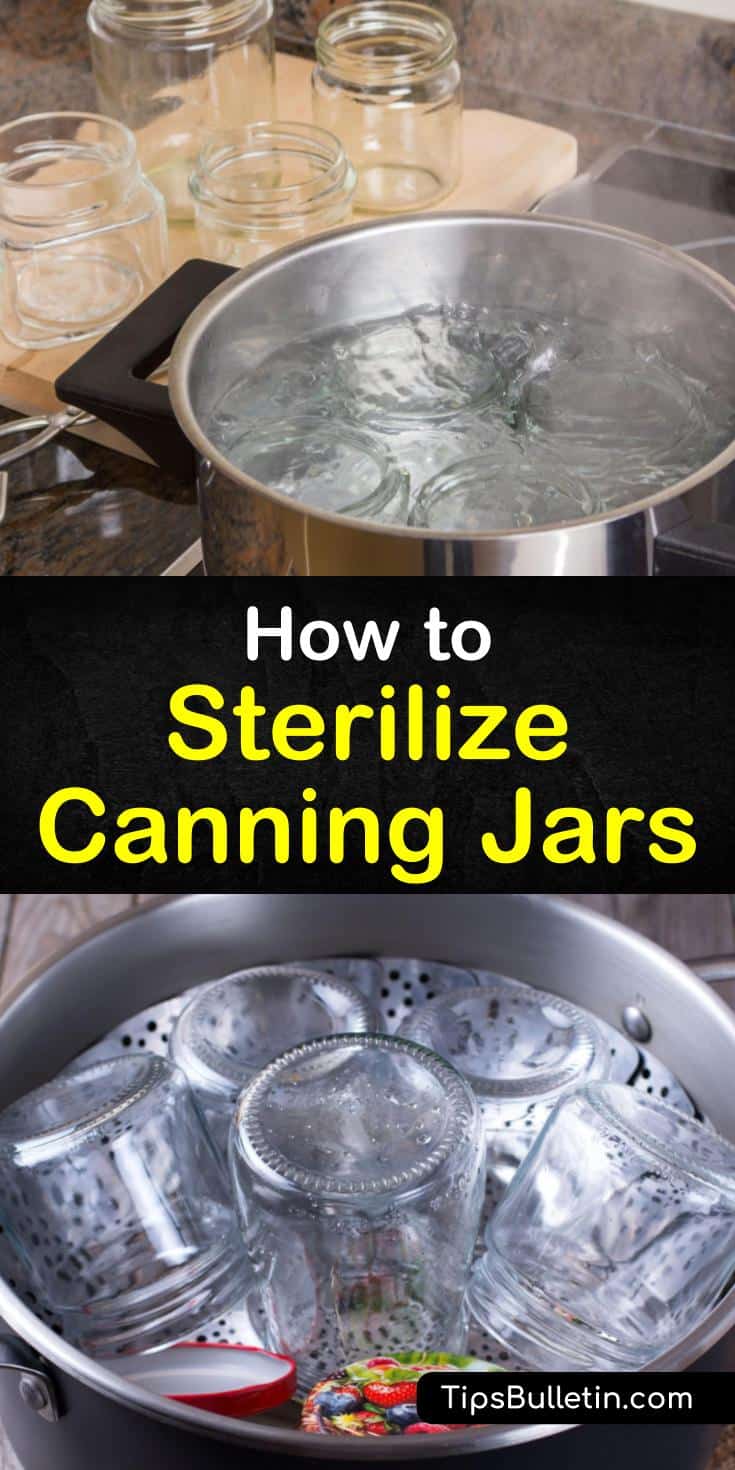
Wash your equipment in clean, soapy water. Put the clean jars into the water bath canner or pot right side up. Cover the jars entirely with hot but not-quite-boiling water so that the water bath is an inch over the tops of the jars.
Heat the water to a boil. Begin your timer when the water starts boiling. According to the National Center for Home Food Preservation, at less than a thousand feet elevation, the jars require ten minutes in the boiling water bath. Add a minute for every extra thousand feet of elevation.
When the jars have finished their boiling time, use the jar lifter to remove the jars from the water bath canning process. Drain the hot jars one at a time (..).
For sterilizing jars in the oven, put them in at 220°F oven for twenty minutes. To sterilize your jars in the microwave, wet the jars and turn the microwave to high for one minute. The jars are now ready for canning applesauce, canning sauerkraut, or any other fruit or vegetable you want to preserve.
Clean, sterilized jars, rings, and lids are a crucial part of the canning process so that there is no chance of harmful micro-organisms entering the food you preserve. The directions for how to can pears and other produce includes information on the importance of sterilization. The food you can should not only taste delicious but be safe to eat.
Sterilizing Rings and Lids
It’s not enough to get the jars clean, of course. Every part of the canning jar that comes in contact with food needs to be contaminant free, and that includes the canning lids and screw bands.
Never boil your rings and tops along with the empty jars, as you can warp and crack them, which will prevent a proper seal and leave you with contaminated food. Part of the instructions for how to can tomatoes and other food products include proper sterilization methods.
You can use the same hot water that you used to sterilize the jars to get the lids and rings germ-free. Let the water cool until it is simmering rather than boiling, and then use the tongs to add the rings and covers to the water.
Follow the same time guidelines as with the jars, with a minimum of ten minutes immersion and an extra minute for every additional thousand feet. When the time has elapsed, remove the lids and rings from the simmering water using the tongs.
We hope you enjoyed learning how to sterilize glass bottles and gained some insight into the proper sterilization methods. Before you learn how to can apples or peaches, you must know how to sterilize canning jars, lids, and rims for safe food storage.
It is a must for those of us who take pride in our canning and cooking. It is also a necessity before canning green beans, canning spaghetti sauce, or other fruits and vegetables that you want to preserve.
We want consistent and safe results every time we use the canning process, and our guide can help. We show you how to prepare jars for canning using the best and most reliable sterilization methods so you can know that your food is safe and unspoiled.

Thanks for reading our guide to sterilizing Mason jars. If you found our tips on how to sterilize canning jars useful, share our canning jar sterilization guide on Pinterest and Facebook.