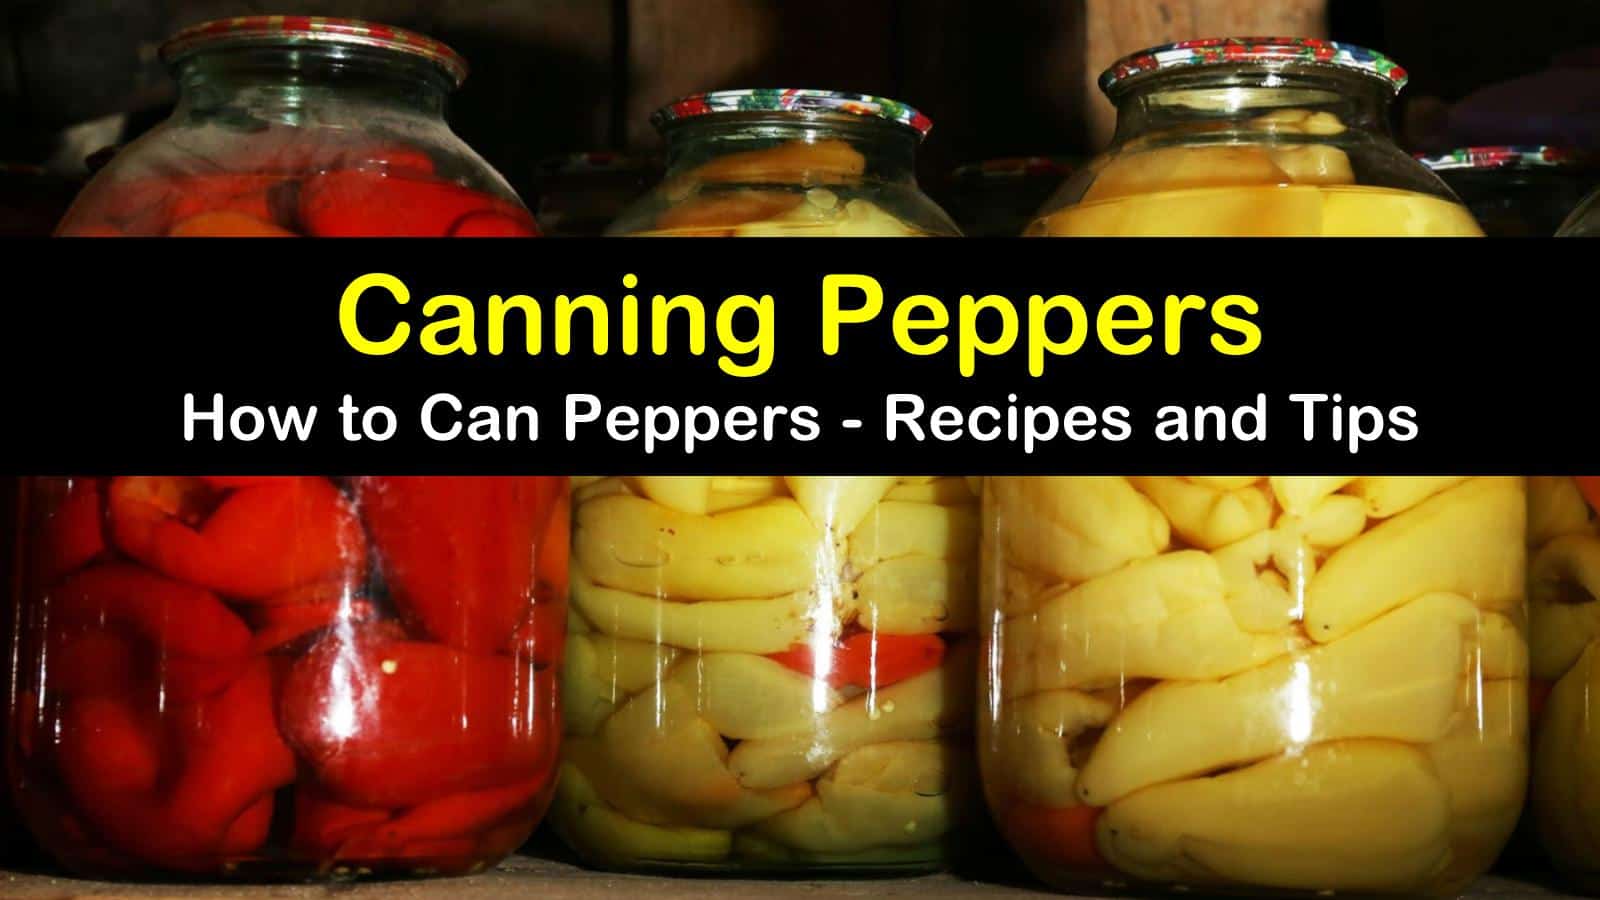
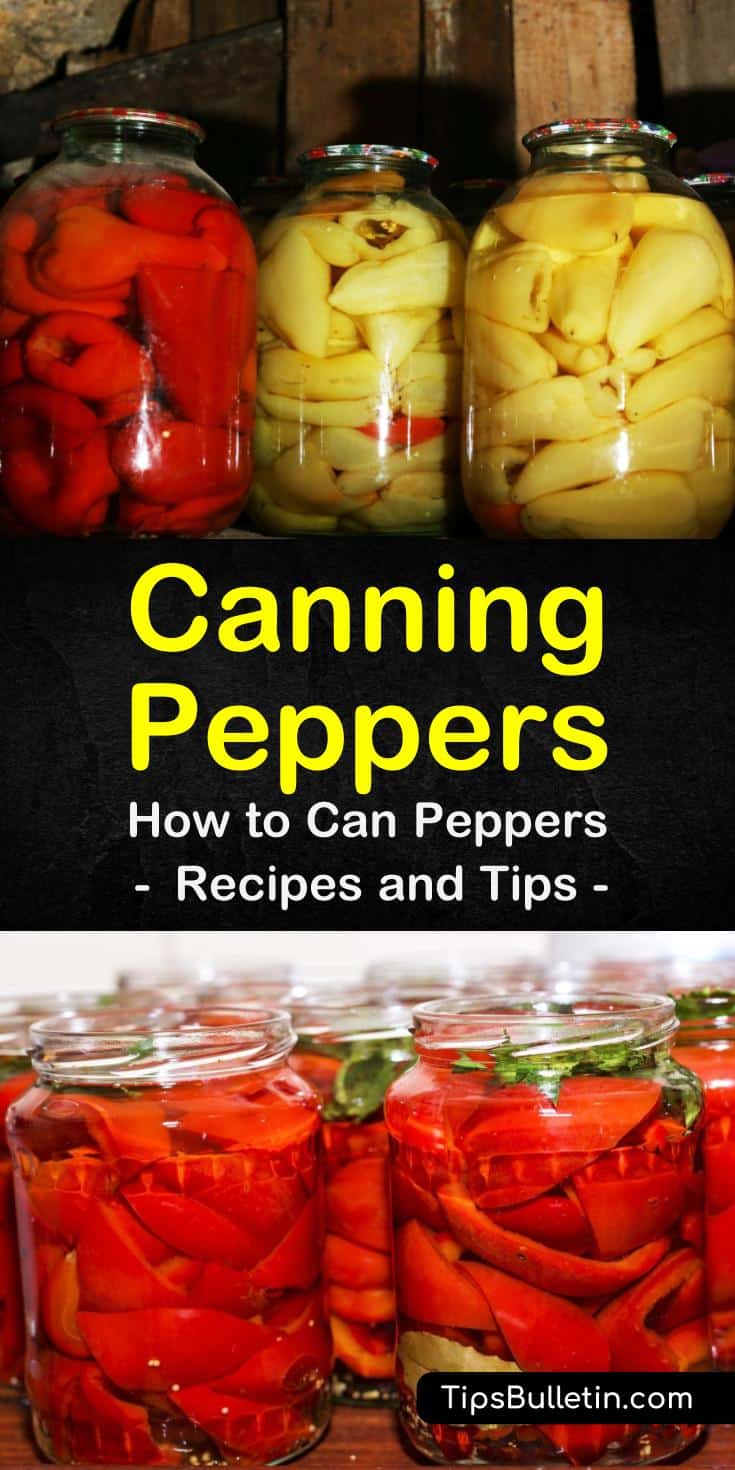
Peppers are among some of the most diverse vegetables out there. They come in a wide variety of flavors, textures, sizes, and most importantly, heat levels. Canning peppers is a great way to harness this blend of tastes by letting you enjoy these delicious foods even longer.
If you are harvesting peppers from your backyard, or maybe an indoor garden, you know it takes a long time for peppers to mature. Peppers typically won’t bear crops until anywhere between three to five months after planting. That’s a long time to wait for a plant that won’t sprout peppers all year long.
Canning peppers gives you the added benefit of setting these sweet and spicy veggies aside for later use, well after the harvest season has passed. Just imagine the delicious sauces, relishes, and salads you can make with canned peppers that will stay fresh longer.
Peppers also come with added health benefits and are loaded with antioxidants and Vitamin C. If you’re ready to learn how to can peppers, there’s no better time to start than now!

What You Need to Know to Can Peppers
Peppers are easy to grow and can be developed both outside and indoors, so they are a favorite of household gardeners. When the long-awaited arrival of pepper plants emerges in your gardens, you want to make every last pepper count.
During the growing season, pick up a bushel of peppers from your local farmer’s market or the grocery store if you don’t have them in the garden. Learn how to store fresh jalapenos, bell peppers, cayenne, banana, and other peppers so that you and your family can enjoy them later.
Of course, you can preserve a wide variety of other fruits and vegetables as well as peppers. After you are comfortable with canning procedures, try your hand at the best way to can carrots, tomatoes, or okra. You will soon have a pantry full of stored goods that you can eat year-round.
It’s important to know that while canning peppers is one option for preservation, there are other ways to keep peppers fresh, too. Freezing jalapenos and other peppers like bell and banana peppers for later use is another way of preserving pepper varieties.
Freeze banana peppers, bell peppers, and all kinds of peppers to have them for your favorite dishes. Try both canning and freezing to store peppers for different purposes and to have them whenever you have a recipe that calls for peppers.

What are the benefits of canning peppers?
The more peppers you pick, the more that rise to take their place. Sometimes, you’ll end up with a lot of peppers and wonder how to store bell peppers to eat later. Having too many peppers is never a bad thing, primarily since we use them in numerous dishes, from pasta to crunchy salads to fiery chili recipes passed down for generations.
Canning peppers means you have more access to your harvest than usual. After collecting the spoils from your garden, or even if you want to preserve the freshest pick from the grocery store while they’re still in season, canning provides you with an extended deadline.
How long do bell peppers last? Usually, peppers only last about two weeks in the fridge. Even freezing or pickling them offers a shelf life of approximately one year. Canning them, on the other hand, extends their longevity to about two years. With canned peppers in your pantry, you have the option of eating peppers whenever you want them.
You can also add your canned peppers to the mixture you create when canning spaghetti sauce for a little extra flavor. Canned peppers are a delicious addition to many recipes or just as good when eating right from the jar.
Do you have to pickle peppers before you can them?
No. You don’t have to pickle peppers before you can them. Some peppers do much better being stored fresh when canning, versus being pickled before the canning process. Pickling peppers either replaces or supplements canning hot peppers, such as Habanero, Serrano, Chile, and Jalapeno peppers.
The pickling process is used to make salsa and other tasty, spicy sauces. However, sweet peppers, like bell peppers, may also find their way into a pickling jar or two. How to pickle peppers and when to choose that option depends on your preference and how you want your peppers to taste, as well as how you will use them for your meals.
You can use similar pickling recipes to learn how to pickle okra, cabbage, carrots, and other vegetables or experiment with mixing your veggies in one batch, as well. There are many possibilities.
Canning Pepper Supplies You Need to Get Started
So you’re convinced and ready to start canning peppers as soon as possible. How to can peppers first requires collecting the necessary equipment. While the canning process is reasonably straightforward, the following canning supplies are not negotiable.
The only way to successfully can any vegetable or fruit for long term storage is either by using a hot water bath or pressure canner. For peppers, you can use either one under the right circumstances. For short term storage, you can store peppers in the refrigerator, usually for a week or two.
If you are skipping straight to canning peppers without pickling them first, then a pressure canner is the right tool for the job. Pressure canning is a crucial line of defense when it comes to preventing botulism from thriving in your food. Low acid foods like peppers often run the risk of developing botulism if not appropriately preserved.
Using a pressure canner adequately kills all bacteria associated with botulism. The only exception to this golden rule, however, is when pickling the peppers instead. Pickling peppers uses a different type of natural disinfectant to ward off bacteria when canning okra, peppers, or another veggie. This added botulism killer is usually vinegar.
How to Can Peppers in 3 Easy Steps
It’s easy to can peppers. Follow our step-by-step instructions for the best and most delicious results.
Prepare the Peppers for Canning
The number one precaution to remember when preparing peppers for canning, especially hot peppers, is to wear gloves. If you think that you can avoid wearing gloves so long as you keep your hands out of your eyes, think again.
If you don’t wear gloves while cutting up the peppers, after a while, your hands are going to start to burn. Do yourself a favor, and suit up!
The next step in the process is to wash peppers thoroughly and remove cores and seeds. For hot peppers, leaving the seeds in often intensifies the heat levels, so you may want to leave some in and some out. Cut whole peppers into small slices, whether short and round or long and thin.
Think about how you want to use them in the future. How will they fit into pint jars or half-pint jars? This depends on the number of peppers you have.
Pack peppers into your Mason jars, Ball jars, or whatever kind of canning jar you have chosen, and leave a one inch headspace between the peppers and the top of the container.
Pickling Peppers in a Hot Water Bath
Peter Piper could not have picked a whole peck of already pickled peppers because unfortunately, the task of pickling a pepper falls to you. These delicious pickled peppers are not naturally grown and ready to be canned in the wild.
Luckily, the pickling process is relatively simple to learn and do at home. If you’ve decided to go the pickled pepper route of canning peppers, then you need a killer recipe. It’s also one of the best ways to preserve okra for later eating. We just so happen to have an excellent recipe handy.
This simple recipe works with any variation of peppers. You can add banana peppers with Serrano peppers, or pickle your peppers separately. The choice is yours. Once you have your peppers divided into the Mason or Ball jars, start making the pickling mixture.
Add the vinegar and water with the garlic in a large pot and heat until boiling. After you’ve reduced the heat and soaked up enough flavor from the garlic, throw out the cloves.
Pour the mixture into the jars, allowing for only a half-inch headspace, and add a teaspoon of pickling salt to each pint jar. Remove any noticeable air bubbles before sealing the lids on the canning jars.
Now it’s time to place the jars in the water bath canner. It’s important to remember that water bath canning should only be used if you are pickling peppers. Otherwise, use a pressure canner for a product that is free from contaminants that can make you sick. Processing time for the jars is usually only 10 minutes.
Home Canning Fresh Peppers
The third and final step in this process, or the second one if you choose to forgo pickling for regular canning, is using the pressure canner. Canning fresh has advantages that pickling doesn’t, especially in the case of sweet peppers that may lose their sweetness if packed with salts and vinegar. Whether its canned Chipotle peppers, red peppers, or bell peppers, you can’t go wrong with these techniques.
When canning peppers fresh, fill the jars with boiling water instead of using canning recipes. Make sure to remove all air bubbles before tightening the lid on the container. Next, add the jars to the pressure canner and follow the manufacturer’s label for specific directions.
Generally, the processing time takes about 35 minutes. Once finished, remove the hot jars from the pressure canner using tongs and let them dry on a clean towel. After giving them sufficient time to cool, place them in a nice, safe spot in your pantry for later!
A Yummy Canning Pepper Recipe for Delicious Antipasto Salad
The best part about canning peppers is that you can make almost anything with them. Once you have your collection of pickled or canned peppers, you need a killer recipe to accompany it.
Salsa, sauces, and chilis are the most commonly made and the easiest. However, you can also try this delicious little recipe with canned peppers, which uses pepper plants of multiple shapes and varieties.
For this recipe, preheat your oven to 300°F. The best part of this recipe is most of your prep work has already been taken care of during the canning process. You’ve already removed seeds and sliced up peppers, meaning all you that’s left is to toss them into a large pot with a thin layer of olive oil at the bottom and some seasoning over the top.
Leave the wax pepper and frying pepper out for this round. You’ll use them later. After your oven has finished heating up, place the pot of peppers into the oven, covered, for approximately one hour.
Move them into a bowl large enough to hold all of them and sit in the vinegar, allowing them to absorb the juices and marinate for an additional 30 minutes. For peppers that have already gone through the pickling process, you can skip this step. Now is the time to add your frying pepper and wax pepper.
The final step includes making a salami mixture with margarine and mozzarella. Combine these ingredients, then sprinkle them over top of your batch of peppers. For an elegant touch, serve these with toasted French or Italian bread. All that’s left to do is enjoy your meal!
The canning process is simple, even if you haven’t done canning in the past. Not only do you have two different options to choose from when preparing your peppers for long-term preservation, but both are easy to follow and deliver amazing results. So whether you like it hot or prefer a tame, sweet pepper, get out there and try something new.

If you enjoyed these tips for how to can peppers, make sure you share these tricks and canning peppers recipes with friends and family on Facebook and Pinterest.